
Beautiful Plants For Your Interior
Beautiful Plants For Your Interior
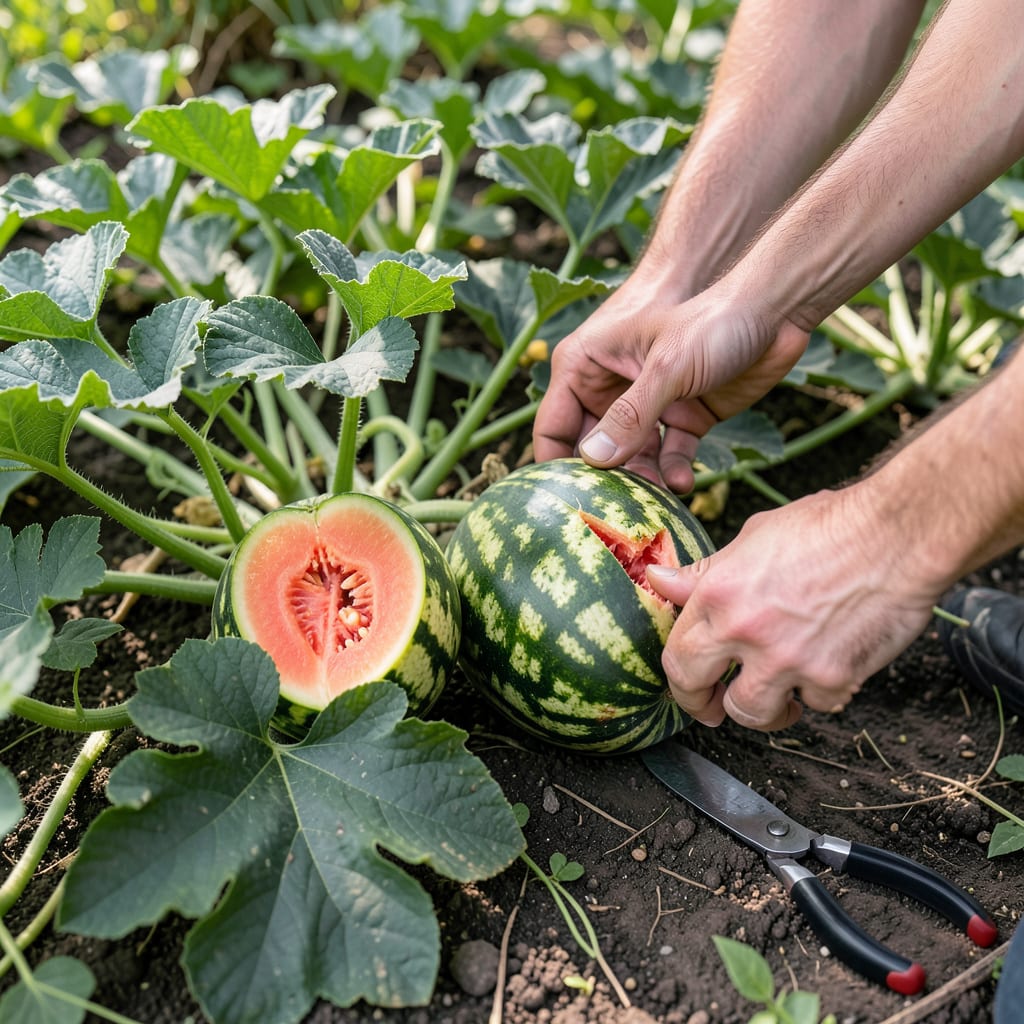
There’s nothing more disappointing than cutting into a watermelon that isn’t quite ready. With the 🍉 Watermelon, timing your harvest perfectly makes all the difference.
I’ll show you the subtle signs to look for, from tendril dryness to rind dullness. These simple tests will ensure your watermelon is at its peak of sweetness every time.


Timing your watermelon harvest perfectly starts with two foolproof tests. The tendril test and rind dullness are the most reliable indicators I’ve found after years of growing.
These methods work because they reflect the biological changes happening inside the fruit as it matures. No guesswork, just science you can see and feel.
The tendril test is my go-to first check. That little curly vine near the stem will turn from green to brown as the fruit matures. When it’s completely dry, your watermelon is in its final ripening stage.
Next, look at the rind’s appearance. A ripe watermelon loses its glossy shine and develops a dull, matte finish. This change happens as the fruit stops producing chlorophyll.
I always combine both tests for confirmation. A brown tendril plus a dull rind means it’s time to harvest. Don’t rely on just one indicator – watermelons can trick you!
These tests work for all watermelon varieties, from sugar babies to crimson sweets. The biology is the same, though timing may vary slightly by cultivar.
The tendril dries as the fruit matures because the vine is cutting off nutrients to the fruit. This is nature’s way of saying “I’m done growing!”
For the rind test, compare your watermelon to others on the vine. The riper ones will always look less shiny than their unripe neighbors. It’s a subtle but sure sign.
I’ve found these methods more reliable than size or color alone. A watermelon can look big and green but still be underripe. The tendril and rind never lie!
☀️Beyond the tendril and rind tests, there are other reliable indicators of ripeness. I always check the ground spot, listen for the right sound, and look for stem separation as confirmation.
These secondary signs are particularly useful when you’re dealing with multiple melons or different watermelon varieties. They provide additional confidence that you’re harvesting at the perfect time.
The ground spot is where the melon rests on the soil. As it ripens, this spot changes from white to yellow. A cream-colored spot indicates it’s nearly ready, while a deep yellow means it’s at peak ripeness.
For the sound test, I use my knuckles to tap the melon. A dull, deep thud means it’s ripe, while a hollow or ringing sound indicates it needs more time. This takes some practice to perfect.
The stem test is simple but effective. When you lift the watermelon, if the stem separates easily from the vine, it’s ready. If it resists, leave it for a few more days. This is nature’s way of telling you it’s time.
I’ve found that combining all these tests gives the most accurate results. The more signs that point to ripeness, the more confident you can be in your harvest timing.
☀️Even experienced gardeners can misjudge watermelon ripeness. I’ve learned the hard way that some common practices lead to premature picking or overripe fruit. Avoiding these mistakes will save you from disappointment.
Many beginners rely solely on size or external color, but these can be misleading. A large green watermelon might still be underripe, while a smaller one could be perfectly sweet.
Don’t harvest based only on size or color. Avoid early morning picking when melons are still cool. Never ignore the tendril test – it’s the most reliable sign!
Early morning harvesting is another common mistake. Watermelons are coolest at dawn, which can make them seem unripe. I always wait until mid-morning when the fruit has warmed in the sun.
Some gardeners skip the tendril test altogether, relying on less reliable methods. I can’t stress enough how important this simple check is. That brown, dry tendril is your best indicator of true ripeness.
Finally, don’t rush the process. Watermelons typically need 70-100 days to mature. Picking too early means missing out on that perfect sweet, juicy texture we all love. ☀️
Start checking daily once the melon reaches full size. The final ripening stage happens quickly, often within 3-5 days.
Yes, all watermelons develop a ground spot. Look for a cream or yellow color change. Seedless varieties may show this sign slightly earlier.
Wait and recheck in 2-3 days. True ripeness requires multiple signs. A single positive test isn’t enough for perfect sweetness.
No, watermelons only ripen on the vine. Once picked, they won’t get sweeter. Focus on proper growing conditions instead.
