
Beautiful Plants For Your Interior
Beautiful Plants For Your Interior
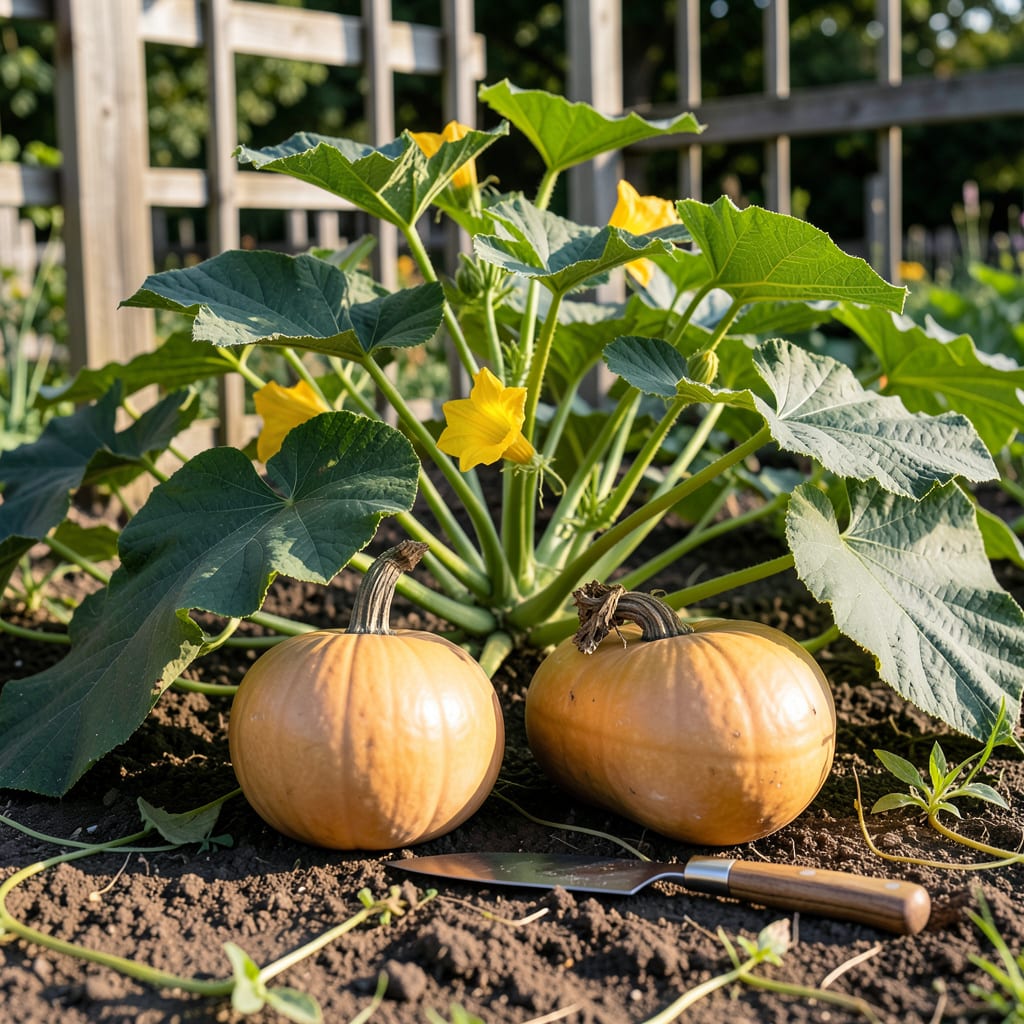
Ever stared at your 🎃 Spaghetti Squash wondering if it’s ready to come off the vine? That moment of uncertainty can make or break your harvest.
I’ll show you the easiest way to test for perfect ripeness. No more guessing games – just foolproof signs that guarantee sweet, stringy goodness every time.


Timing your spaghetti squash harvest perfectly ensures the best flavor and texture. The rind hardness test is my go-to method, but there are other clear signs to watch for too.
I always check for a deep yellow or orange skin color first, as this indicates maturity. The squash should also feel heavy for its size when lifted gently.
| row”> | cell” data-title=”Description”>Cannot be punctured with a thumbnail |
| row”> | cell” data-title=”Description”>Dry, brown, and woody |
| row”> | cell” data-title=”Description”>Hollow sound when tapped |
The thumbnail test is the most reliable. Press your nail into the rind – if it doesn’t leave a mark, your squash is ready. This hardness indicates full maturity and proper sugar development.
Another sign I watch for is the stem drying out. When it turns brown and woody, the squash is nearing harvest time. Avoid picking while the stem is still green and flexible.
Notice how the vines begin to die back as harvest approaches. This natural process signals that the plant has finished directing energy to the fruit. It’s a clear visual cue that harvest time is near.
The hollow sound test works well too. Gently tap the squash – a mature one will sound hollow, while an immature one will sound solid. This difference in sound can help confirm readiness.
For best results, I recommend checking these signs in combination. A squash that passes the rind test and shows color change is almost certainly ready to pick.
Remember that size alone isn’t a reliable indicator. Spaghetti squash can vary in size, but the maturity signs remain consistent regardless of how big the fruit grows.
After picking, I always leave a 1-2 inch stem attached. This helps prevent rot during storage and maintains freshness longer. Handle your harvested squash gently to avoid bruising.
These simple tests take the guesswork out of harvesting. With practice, you’ll recognize the perfect picking time with just a quick glance at your squash patch.
☀️Many gardeners rush to pick their spaghetti squash based solely on size, but this often leads to disappointment. A large squash doesn’t always mean it’s ripe, and picking too soon results in a watery, stringless texture.
I’ve seen others wait too long, assuming the squash will keep ripening on the vine. Unfortunately, overripe squash can split open or attract pests, reducing both quality and storage life.
⚠️ Warning: Picking before the rind hardens leads to poor flavor and texture. Always perform the thumbnail test before harvesting.
Ignoring the stem condition is another common error. A green, flexible stem means the squash isn’t ready, while a dry, brown stem signals maturity. Cutting too close to the squash can also cause rot during storage.
Some gardeners overlook the vine dieback as a harvest cue. When vines start yellowing and wilting, it’s nature’s way of saying the squash has reached full maturity and is ready to be picked.
Waiting for the perfect uniform color can also backfire. Spaghetti squash often develops mottled or streaked skin as it ripens, which doesn’t affect flavor or texture. Focus on rind hardness and stem dryness instead.
Finally, don’t harvest after a heavy rain. Wet conditions can make the rind appear softer than it is. Wait a day or two for the squash to dry before testing for ripeness.
☀️Once you’ve harvested your spaghetti squash, proper storage is key to maintaining its quality. I always start with a curing period to help the rind harden further and heal any minor scratches.
For the best results, I store my squash in a cool, dry place with good air circulation. A temperature between 50-55°F is ideal, with humidity around 50-70% to prevent rotting.
During curing, I place my squash in a sunny spot for about 7-10 days. This process helps the skin toughen up, which extends the storage life significantly.
Never store your squash directly on a cold concrete floor. I use wooden crates or shelves to allow for air circulation underneath, which helps prevent moisture buildup and rot.
Regularly inspect your stored squash for any signs of spoilage. If I notice any soft spots or mold, I remove that squash immediately to prevent it from affecting the others.
☀️Try the thumbnail test: press your nail into the rind. If it doesn’t leave a mark, it’s ready. Also check for a deep yellow color and hollow sound when tapped.
Size doesn’t indicate maturity. A large squash can still be underripe inside. Always use the rind hardness and stem dryness as your main guides.
Early picking results in watery, stringless texture and poor flavor. The squash won’t develop its signature sweetness or proper spaghetti-like strands.
Yes, overripe squash may split open or attract pests. The storage life also decreases significantly if left past maturity.
