
Beautiful Plants For Your Interior
Beautiful Plants For Your Interior
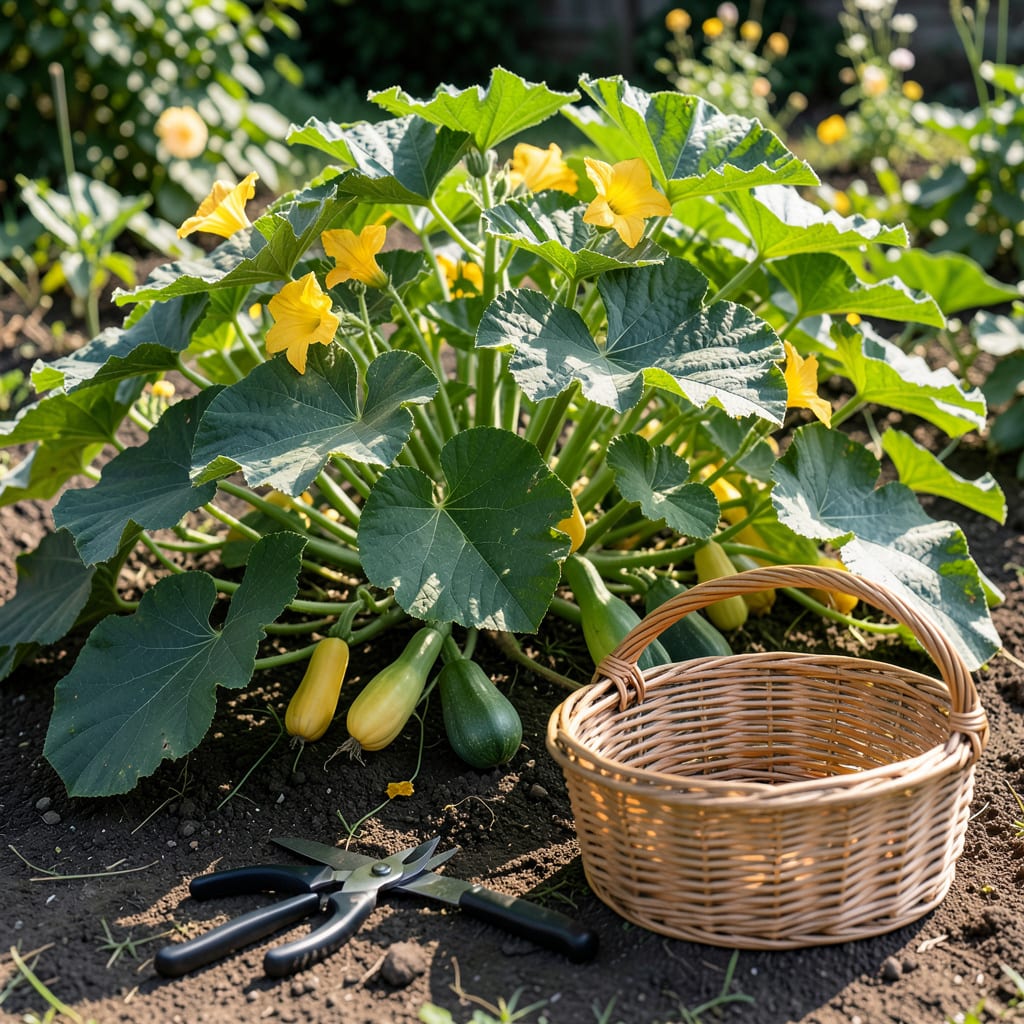
Timing your harvest perfectly can make all the difference with your 🎃 Honeynut Squash. Picking too early or too late can leave you with underripe or overripe produce.
I’ll show you the key visual and tactile clues to look for, so you can confidently gather your crop at its peak. Let’s dive into what you need to know.


I always check the rind hardness first when determining if my honeynut squash is ready. A mature squash will have a hard shell that resists pressure from my fingernail. This is the most reliable sign of readiness.
Next, I look at the stem color and condition. A dry, brown stem indicates the squash has stopped growing and is ready for picking. The skin color should also have deepened to a rich tan.
| Maturity Sign | What to Look For |
|---|---|
| Rind Hardness | Hard shell, resists fingernail pressure |
| Stem Color | Dry and brown, not green |
| Skin Color | Deep tan or orange hue |
| Vine Condition | Vines start dying back |
The vines dying back is another clear indicator. When the foliage turns yellow or brown, it’s a sign the plant is redirecting energy to the fruit. This typically happens in late September to October for most climates.
I also listen for a hollow sound when I tap the squash. An immature squash will sound dull, while a ripe honeynut produces a hollow echo. This test works best with larger, more mature fruits.
Size matters too, but it’s not the only factor. A mature honeynut squash is usually 4-5 inches long and weighs about 1-2 pounds. However, size can vary, so always check the other signs first.
Another trick I use is the pressure test. Gently press your thumb into the squash. If it doesn’t give and feels solid, it’s ready. If it dents easily, it needs more time on the vine.
The days to maturity can also guide you. Most honeynut squash varieties take 80-100 days from planting to harvest. If you planted in late spring, start checking for readiness in early fall.
Weather plays a role too. A light frost can actually help sweeten the squash, but a hard frost can damage it. If frost is forecasted, I harvest my squash a few days early to be safe.
Finally, I always use sharp pruners or a knife to cut the squash from the vine, leaving 1-2 inches of stem attached. This helps prevent rot during storage and keeps the squash fresher longer. ☀️
I’ve learned the hard way that harvesting too early is a common mistake with honeynut squash. Picking before the rind hardens results in underripe fruit that lacks sweetness and won’t store well.
On the flip side, leaving it too long on the vine can lead to overripe squash that may split or rot. The ideal window is when all maturity signs align, not just one or two.
⚠️ Warning: Never pull squash from the vine—this can damage both the fruit and plant. Always use clean, sharp pruners to cut the stem.
Another mistake is relying solely on size. While honeynut squash typically reaches 4-5 inches, some may grow larger or smaller. Always check the rind and stem first.
Ignoring the weather can also backfire. A hard frost will ruin your crop, so harvest before temperatures drop below 28°F. A light frost, however, can enhance sweetness.
I’ve also seen gardeners cut the stem too short, which reduces storage life. Always leave 1-2 inches of stem attached to prevent moisture loss and rot.
Finally, don’t harvest in wet conditions. Picking squash when it’s damp can introduce fungal diseases. Wait for a dry, sunny day for the best results. 🌿
Once I’ve harvested my honeynut squash, the first step is curing to prepare it for storage. This process helps harden the skin and heal any minor cuts, extending shelf life significantly.
I cure my squash in a warm, dry location with temperatures around 80-85°F for about 10-14 days. A sunny porch or well-ventilated room works perfectly for this purpose.
After curing, I store my squash in a cool, dry place with temperatures around 50-55°F. A basement or root cellar works well, but I’ve also had success with a dark closet in my home.
I always check my stored squash weekly for any signs of spoilage. If I notice soft spots or mold, I use those squash first to prevent the issue from spreading to others.
Properly cured and stored honeynut squash can last 3-6 months. The key is maintaining consistent temperature and humidity levels. With these steps, I enjoy my harvest well into winter. 🌱
Press your fingernail into the skin. If it resists pressure and doesn’t leave a mark, it’s ready. This test works best on the blossom end of the squash.
No, harvest when vines start yellowing or browning. Waiting too long risks rot or splitting. The squash will continue ripening off the vine if needed.
A light frost can actually enhance sweetness, but harvest before a hard frost (28°F). Frost-damaged squash won’t store well.
Use sharp pruners or a knife to avoid damaging the vine. Always leave 1-2 inches of stem attached to prevent rot during storage.
