
Beautiful Plants For Your Interior
Beautiful Plants For Your Interior
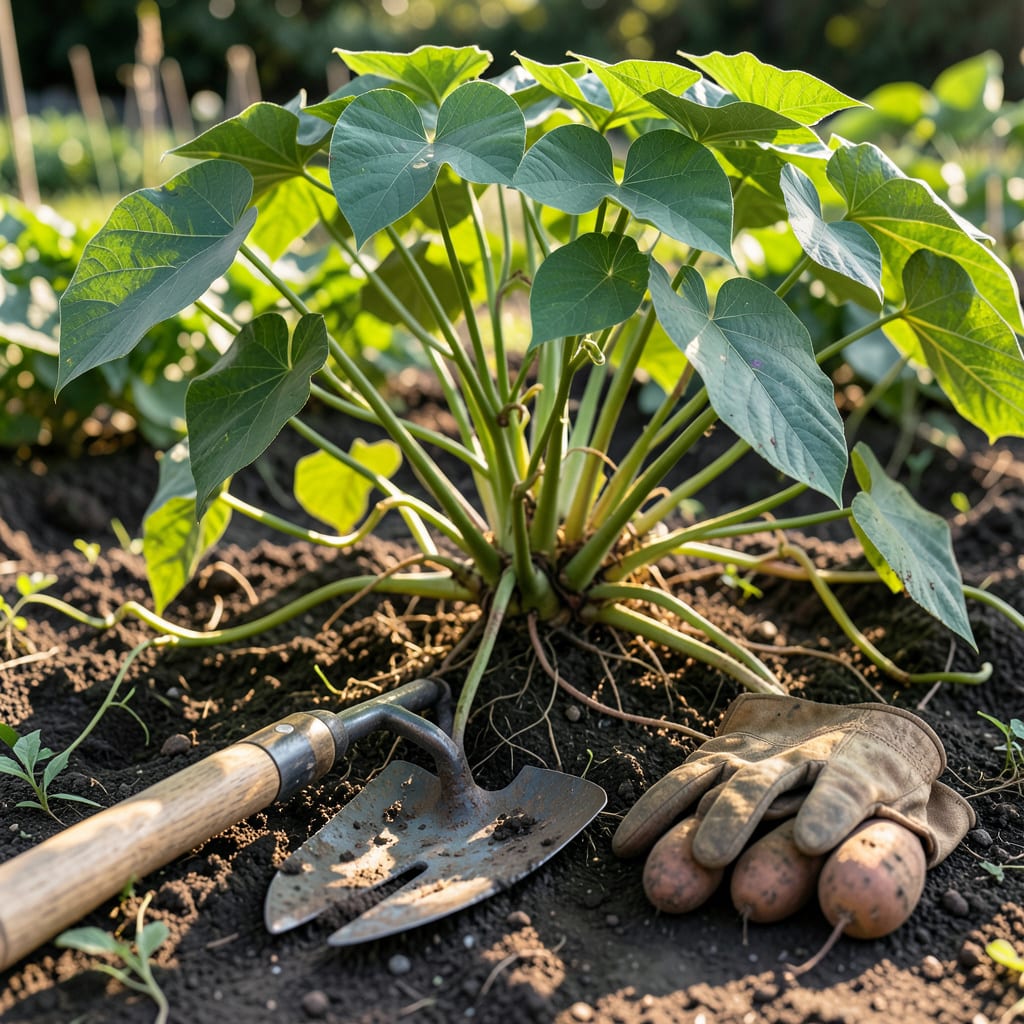
Timing your yam harvest perfectly can make or break your crop. The 🍠 Yam hides its readiness, but there are telltale signs to watch for.
From yellowing vines to firm skin, I’ll show you the most reliable indicators. Discover how to pick at peak flavor and storage potential.


I always watch for vine yellowing as the first clear sign. When the green foliage starts turning golden brown, your yams are likely nearing maturity beneath the soil. This color change signals the plant is redirecting energy to the tubers.
The dieback of vines is another unmistakable indicator. As the growing season progresses, healthy vines will begin to wither and dry, showing that the tubers have reached their full size and are ready for harvesting.
I check for soil cracks around the base of the plant. As tubers expand, they often push the soil surface upward, creating visible fissures. This is a great visual cue that harvest time is near.
Tuber size estimation is a practical method I use. Gently feel the soil around the base of the plant. If you can palpate tubers that are 4-6 inches in length, they’re likely ready for harvesting.
The skin texture of yams changes as they mature. I look for firm and dry skin rather than soft or easily damaged surfaces. This protective layer develops as the tuber reaches its peak condition for storage.
Leaf drying often accompanies vine dieback. When the lower leaves start to crisp and turn brown, it’s a strong indication that the plant’s energy is no longer going into foliage growth.
I pay attention to the growth timeline. Most yam varieties reach maturity between 100-150 days after planting. Counting from your planting date can help confirm when to start looking for these visual signs.
Weather conditions can affect harvest timing. A dry spell before harvest can help the tubers develop that firm skin we’re looking for. I avoid harvesting during wet periods to prevent rot.
Remember that early varieties may show these signs sooner than main crop types. I always check the specific recommendations for the yam variety I’m growing to fine-tune my harvest timing.
Finally, I use a gentle test dig for confirmation. Carefully excavate around one or two plants to check tuber size and condition before harvesting the entire crop. This minimizes guesswork and ensures the best results. 🌱
I always consider regional climate patterns when planning my yam harvest. In tropical zones, yams often mature faster due to consistent warmth. The 100-150 day range can shorten in these areas.
For temperate climates, I watch the calendar closely. Most varieties planted in spring will be ready for harvest in early fall. The first cool nights often trigger the final maturation process.
I monitor the growing degree days in my area. Yams typically need 2500-3000 degree days to reach maturity. Local agricultural extensions often provide this data.
In shorter growing seasons, I choose early-maturing varieties. These can produce a good crop in 90-100 days. Varieties like ‘Uganda’ or ‘White Lisbon’ work well in these areas.
I pay attention to daylight changes. As days get shorter in late summer, yam plants receive the signal to finalize tuber development. This is nature’s way of preparing for harvest.
Remember that consistent warmth speeds up maturation. In areas with cool summers, I use black plastic mulch to help warm the soil and encourage faster growth. 🌱
I see many gardeners rush to harvest their yams too early. Premature digging is a common mistake that results in undersized tubers with poor storage quality. The plant needs its full growing period to develop properly.
Another frequent error is using the wrong tools. I always recommend a sharp garden fork or hand trowel to gently lift the tubers. Using a shovel can pierce or bruise the yams, making them more susceptible to rot.
I caution against harvesting during wet conditions. Digging yams from soggy soil can lead to muddy tubers that are difficult to clean and cure. I always wait for dry weather to ensure the best results.
Rough handling after harvest is another pitfall. I handle my yams with care to avoid cuts or bruises. Even small damage can invite disease or pests during storage. Gently brush off excess soil instead of washing.
I also avoid leaving harvested yams in the direct sun. Exposure to strong sunlight can cause greening or sunscald, which affects both appearance and flavor. I move my harvest to a shady, well-ventilated area immediately.
Finally, I never skip the curing process. Proper curing helps heal minor wounds and prepares the tubers for storage. I spread my yams in a single layer in a warm, dry place for 1-2 weeks before storing. 🌱
Look for yellowing vines and drying leaves as the first signs. The tubers should be 4-6 inches long with firm, dry skin when gently felt through the soil.
You can, but undersized tubers won’t store well. If you must, wait until they’re at least 2 inches long. Early harvest sacrifices both yield and flavor.
Overmature yams may develop tough skin or split underground. In colder climates, frost can damage them. Harvest before the first frost or when vines fully die back.
Use a garden fork or hand trowel to lift tubers gently. Avoid shovels, which can pierce or bruise the yams, increasing rot risk.
