
Beautiful Plants For Your Interior
Beautiful Plants For Your Interior
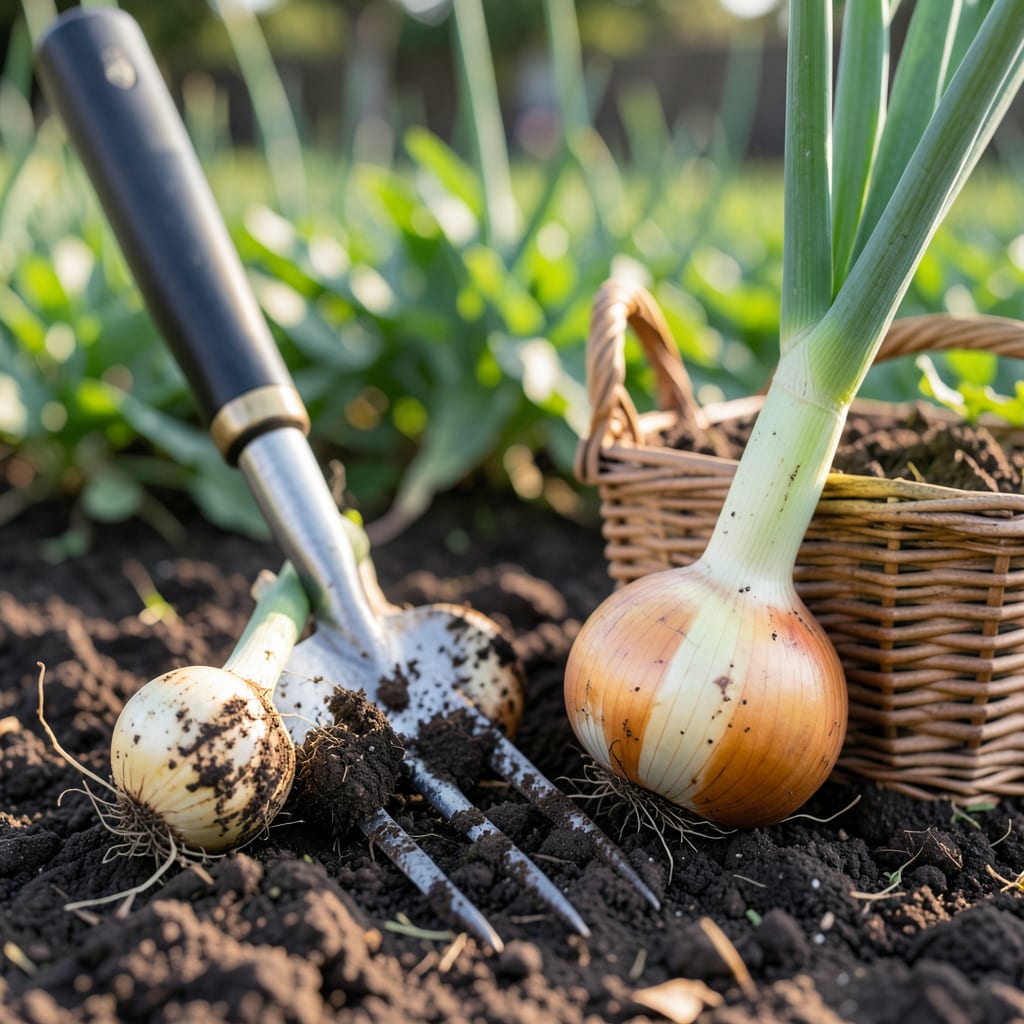
I’ve found that timing is everything when it comes to growing the perfect 🧅 Walla Walla Onion. Those sweet, mild flavors we love develop right as the plants begin to show they’re done growing.
There are clear signs to watch for that tell you it’s time to pull them from the soil. I’ll show you exactly what to look for so you don’t miss that perfect harvest window.


I always watch for the first sign: 80-90% of the leaves turning yellow and starting to flop over. This is nature’s way of saying your Walla Walla onions are nearing their peak sweetness and ready to come out of the ground.
The neck softening is another critical indicator. When you gently press the stem just above the bulb, it should feel spongy rather than firm. This change typically happens as the plant redirects its energy from leaf growth to bulb maturation.
| Sign | Description |
|---|---|
| Leaf Yellowing | 80-90% of tops turn yellow |
| Neck Softening | Stem feels spongy above bulb |
| Bulb Size | Reaches 3-4 inches diameter |
| Outer Skin | Becomes dry and papery |
I also check the bulb size – mature Walla Wallas should measure about 3-4 inches across. If they’re still small, I give them a few more days in the ground, as these onions can take 90-120 days from planting to harvest.
The outer skin gives me another clue. When it becomes dry and papery, that’s a sure sign the onion has finished growing. I make it a habit to check this by gently brushing away some soil from the bulb’s surface.
Weather plays a role too. I aim to harvest during a dry spell, as wet conditions can make curing more difficult. The ideal time is on a sunny morning when the soil is dry, making it easier to pull the bulbs without damage.
If the tops are still green and upright, I know the onions aren’t ready. Similarly, if the necks feel firm or the outer skin is still moist, I wait a few more days before checking again. Patience here pays off with sweeter, better-storing onions.
I’ve learned that harvesting too early results in smaller, less sweet bulbs, while waiting too long can lead to split onions or ones that don’t store well. The sweet spot is when most of these signs align.
For the best flavor, I harvest when about 50-70% of the tops have fallen over naturally. This usually happens in late July or early August for spring-planted onions in my zone 6 garden.
Remember that Walla Walla onions are day-length sensitive. They begin bulbing when they receive 14-16 hours of daylight, which in most regions occurs as summer approaches. This is why they’re perfect for northern gardens where the long summer days trigger their sweet bulb formation.
After years of growing these, I can confidently say that watching for these signs will give you the sweetest, most flavorful harvest possible 🌱
I always start harvesting my Walla Walla onions on a dry, sunny morning when the soil isn’t too hard. This timing helps prevent bruising and makes pulling the bulbs easier without damaging their delicate skins.
The first step is to gently loosen the soil around each bulb with a fork or trowel. I carefully work about 6 inches away from the plant to avoid piercing the onion itself, which could lead to rot during storage.
Once the bulbs are out of the ground, I brush off excess soil but don’t wash them. Moisture at this stage can cause mold or rot, so it’s best to keep them as dry as possible for the curing process.
For curing, I lay the onions in a single layer in a well-ventilated area like my garage or shed. The ideal conditions are warm (75-85°F) and dry with good airflow to help the outer layers tighten up.
I let them cure for at least 7-10 days, sometimes longer if the weather is humid. The curing is complete when the necks are completely dry and the outer skin is papery to the touch.
After curing, I trim the roots and tops to about 1 inch from the bulb. This helps prevent sprouting during storage and keeps my Walla Walla onions looking neat. Then they’re ready for long-term storage in a cool, dry place 🌱
I’ve learned the hard way that harvesting too early is one of the biggest mistakes with Walla Walla onions. Pulling them before the necks soften or tops yellow results in underdeveloped bulbs that lack sweetness.
Another common error is waiting too long. If you leave them in the ground past the ideal window, the onions may split open or begin to sprout, which ruins their storage potential and flavor.
Avoid these critical errors to protect your crop:
I always check the weather forecast before harvesting. Wet soil makes pulling difficult and can lead to bruised bulbs that won’t store well. I wait for a dry spell to ensure the onions come out cleanly.
Improper curing is another mistake that affects storage. Skipping this step or doing it in a humid environment can cause mold or rot. I always cure my onions in a warm, dry, well-ventilated space for best results.
Finally, I never wash the bulbs after harvesting. Even a little moisture can lead to spoilage during storage. Instead, I gently brush off the soil and let the curing process handle the rest. This simple step helps my Walla Walla onions stay fresh for months 🌱
Pulling onions before their necks soften results in smaller bulbs with underdeveloped sweetness. You’ll miss out on the full 3-4 inch size and signature mild flavor Walla Wallas are known for.
Avoid harvesting in wet soil as it makes pulling difficult and can bruise the bulbs. Wait for a dry spell to prevent damage and ensure proper curing.
Cure onions for 7-10 days in a warm (75-85°F), dry, well-ventilated area. Proper curing ensures the outer skin becomes papery and extends storage life.
This is the plant’s signal that bulb maturation is complete. When 50-70% of tops fall over, it means the onion has finished growing and is ready for harvest.
