
Beautiful Plants For Your Interior
Beautiful Plants For Your Interior
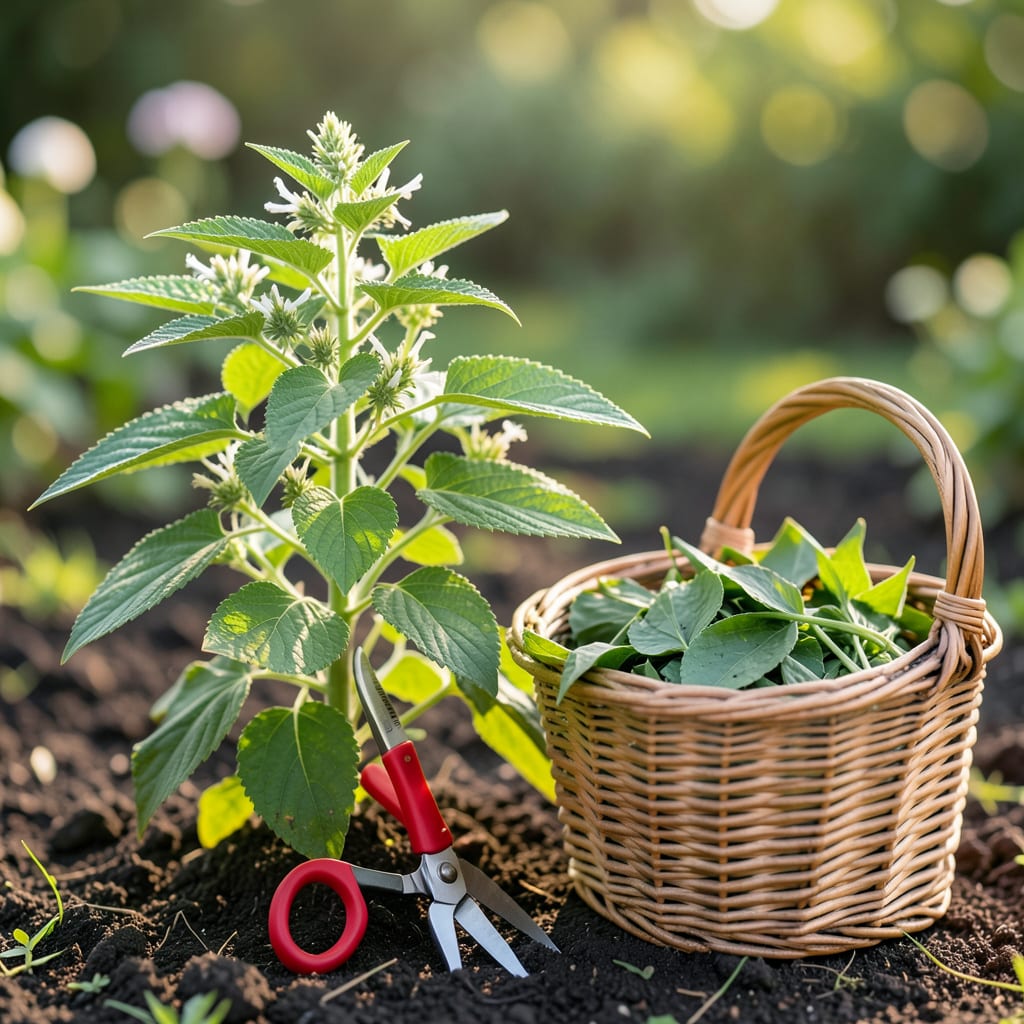
Timing your 🌿 Stevia harvest perfectly can mean the difference between mild sweetness and an intensely flavorful yield. Knowing the precise moment to pick ensures maximum glycoside concentration.
I’ve discovered that watching for flower bud formation and leaf texture changes are the most important indicators. Let me show you exactly when to harvest for the best natural sweetener.


Timing your stevia harvest is all about catching that perfect moment when the leaves pack the most sweetness. I always look for dark green leaves that feel firm to the touch.
The most reliable sign is when flower buds begin to form but haven’t opened yet. This is when the stevioside content peaks in the leaves.
| Harvest Sign | What to Look For |
|---|---|
| Leaf Color | Dark green and glossy |
| Leaf Size | Fully grown, 2-3 inches |
| Stem Condition | Woody and sturdy |
| Flower Buds | Forming but not open |
| Aroma | Strong sweet smell when crushed |
Another key indicator is the stem texture. When they turn from green to woody, your plant is maturing. This usually happens about 90-120 days after planting.
I check my stevia plants in late summer when days are still long but temperatures start to cool. This is often the optimal harvest window for most climates.
The time of day matters too. I always harvest in the morning after the dew has dried but before the heat sets in. This preserves the leaves’ natural oils.
If you’re unsure, do a taste test. Crush a leaf between your fingers – if it’s intensely sweet, it’s ready. Weak flavor means you should wait.
Remember that early harvesting gives milder sweetness, while waiting too long can make leaves bitter. There’s a sweet spot that takes practice to find.
For container-grown stevia, watch for the same signs but expect a slightly shorter growing season. Pots can dry out faster, so monitor closely.
In cooler climates, you might need to harvest before the first frost. Stevia is sensitive to cold, and frost can damage the leaves and reduce their sweetness.
Harvesting stevia properly ensures a healthy plant and maximum sweetness. I always use sharp pruning shears to make clean cuts, preventing damage to the stems.
Start by cutting just above a leaf node, about 1/4 inch above it. This encourages new growth from that point, giving you more harvests later.
The best stems to harvest are the upper portions with the most leaves. I avoid cutting more than 1/3 of the plant at once to prevent stress.
For container-grown stevia, I’m extra gentle. The roots have less space, so I harvest even less per session, maybe just 20% of the plant.
After cutting, I immediately remove the lower leaves from the stems. This helps with drying and prevents mold. I leave the top leaves intact for maximum sweetness.
If you’re harvesting for immediate use, you can simply pluck leaves as needed. But for drying and storage, I recommend cutting whole stems.
Always clean your tools between plants to prevent disease spread. A quick wipe with rubbing alcohol does the trick.
Remember that regular harvesting actually benefits the plant by encouraging bushier growth and more leaf production.
Even experienced gardeners can make costly mistakes when harvesting stevia. I’ve learned the hard way that timing is everything – picking too early gives weak sweetness while waiting too long can turn leaves bitter.
One of the biggest errors is using dull tools that crush stems instead of making clean cuts. This damages the plant and reduces regrowth potential for future harvests.
⚠️ Warning: Avoid harvesting more than 1/3 of the plant at once. Over-harvesting stresses stevia and can kill it.
Another common mistake is harvesting at the wrong time of day. I never pick stevia in the heat of afternoon because the leaves lose their essential oils, reducing both flavor and sweetness.
Many gardeners forget to clean their tools between plants. This can spread diseases that might not show up until next season, ruining your entire stevia patch.
Neglecting post-harvest processing is another pitfall. Leaving harvested stems in a damp pile causes mold. I always spread them out immediately in a well-ventilated area to dry properly.
Finally, don’t ignore the weather forecast. Harvesting right before rain means your leaves will absorb moisture, diluting their sweetness and increasing drying time.
Harvest in the morning after dew dries but before heat sets in. This preserves the leaves’ natural oils and sweetness.
You can harvest 2-3 times per season if you never take more than 1/3 of the plant at once. Regular pruning encourages bushier growth.
It’s not ideal. Leaves become less sweet after flowers open. Always harvest just as buds form but before they bloom.
Look for pale leaves, soft stems, or no flower buds. These signs mean your stevia needs 2-4 more weeks to mature.
