
Beautiful Plants For Your Interior
Beautiful Plants For Your Interior
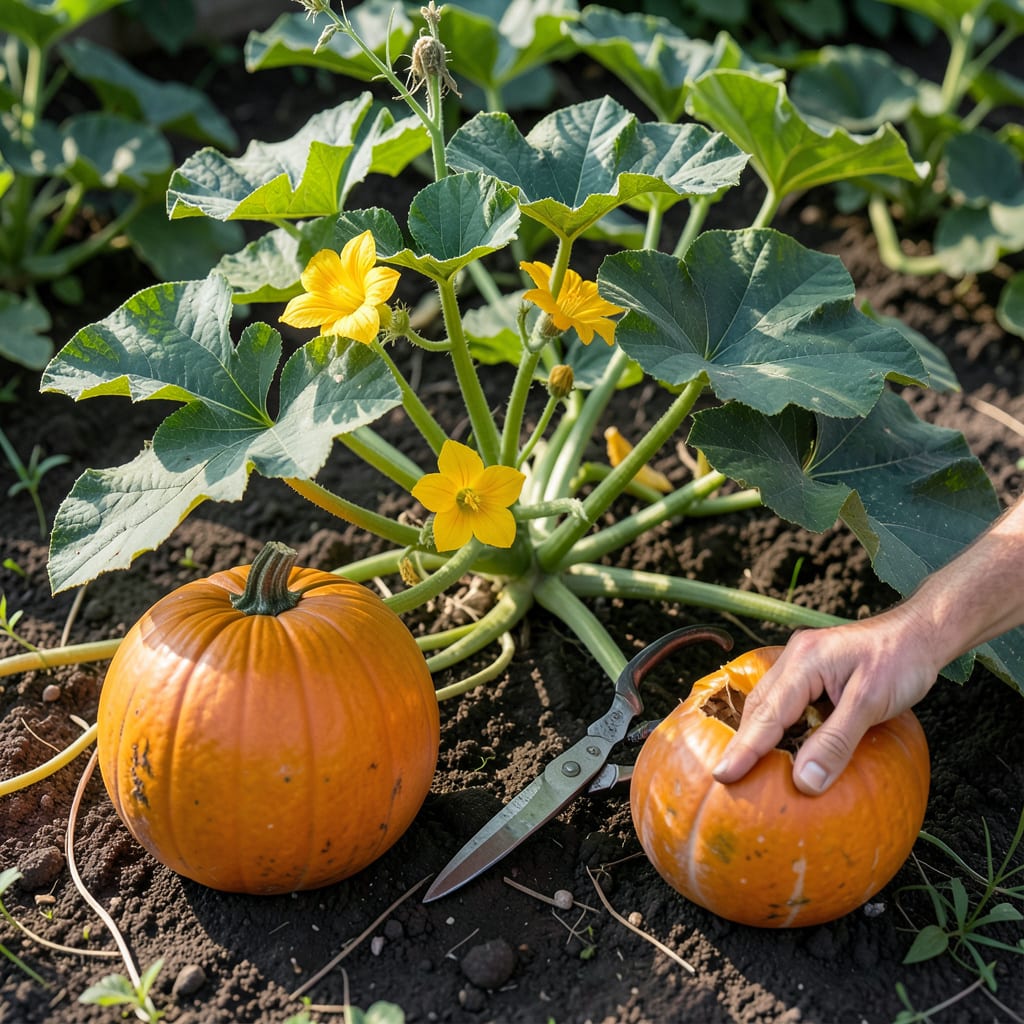
Timing your pumpkin harvest can feel like solving a mystery, but the 🎃 gives clear clues if you know what to look for. A perfectly ripe pumpkin won’t just look the part—it’ll last for months.
Discover the subtle signs in the rind, stem, and vine that signal readiness. I’ll show you how to spot them with confidence.


I always check the rind hardness first when determining if my pumpkins are ready. A mature pumpkin will have a hard outer skin that resists puncture when pressed with a fingernail. This is the most reliable indicator of readiness.
The color change is another clear signal. Most pumpkin varieties develop a deep, solid orange hue when ripe, though some heirlooms may be white, green, or blue. The color should be uniform across the entire surface.
| Sign | Description |
|---|---|
| Rind Hardness | Resists fingernail puncture |
| Color | Deep, solid, and uniform |
| Stem Condition | Dry and woody |
| Vine Signals | Leaves begin to die back |
The stem condition is often overlooked but crucial. A ready pumpkin will have a dry, woody stem that’s hard to the touch. If the stem is still green and flexible, the pumpkin isn’t ready yet.
Watch for vine signals too. When the leaves start dying back and the vine begins to wither, it’s nature’s way of saying the pumpkin has finished growing. This typically happens in late summer or early fall.
I recommend doing the fingernail test on a small area of the rind. If your fingernail leaves no mark, the pumpkin is likely ready. This simple test prevents premature harvesting.
Remember that days to maturity vary by variety. Most pumpkins need 75-100 days from planting to harvest. Check your seed packet for the specific range for your variety.
For giant pumpkin varieties, they may take up to 120 days to mature. These larger types often show readiness through a dull, matte finish on their rind rather than a shiny appearance.
Another pro tip: tap the pumpkin. A ripe one will produce a hollow sound when tapped lightly with your knuckles. This works well in combination with other readiness signs.
Always harvest before the first frost. While pumpkins can tolerate light frost, a hard freeze will damage the fruit and reduce storage life. Aim to pick when temperatures are consistently above 50°F at night. 🌿
Harvesting at the wrong time can ruin months of care. Picking too early means a soft rind that won’t store well, while waiting too long risks splitting or rot from frost damage.
I’ve seen gardeners lose entire crops by misreading the signs. A green stem or shiny skin means your pumpkin needs more time on the vine.☀️
⚠️ Warning: Don’t Harvest Too Soon!
Picking before full maturity leads to poor storage life and soft flesh. Wait until the rind hardens and stem dries completely.
Overripe pumpkins often develop soft spots or attract pests. If you notice the vine dying back completely, it’s time to harvest immediately—even if some pumpkins seem small.
For early picks, try curing in the sun for 7-10 days to harden the skin. This won’t fully replace vine ripening but can extend storage by a few weeks.
Remember that size isn’t everything. A smaller, fully mature pumpkin will outlast a giant one picked too early. Check the stem hardness and rind resistance first.🌱
Finally, always use pruning shears or a sharp knife to harvest. Never carry pumpkins by the stem—this can cause premature rot at the attachment point.
Store your harvest in a cool, dry place with good airflow to maximize shelf life through winter.🎃
Proper post-harvest care starts with curing your pumpkins in the sun for 7-10 days. This hardens the skin and heals minor scratches, extending storage life significantly. I always place mine in a warm, dry spot.
After curing, move pumpkins to a cool, dry location with temperatures between 50-55°F. Avoid damp basements or garages where moisture can cause early rot. Good airflow is essential too.
Never stack pumpkins, as this can create pressure points that lead to spoilage. Instead, arrange them in a single layer with a few inches of space between each one. This prevents moisture buildup and mold growth.
Most pumpkins will store well for 2-3 months under ideal conditions. Heirloom varieties often last even longer. I’ve kept some of my Sugar Pie pumpkins in perfect condition until spring with this method.
Regularly inspect your stored pumpkins and remove any that show signs of softening or mold immediately. One bad pumpkin can quickly affect others in close proximity. ✂️
Press your fingernail into the skin. If it resists puncture and leaves no mark, it’s ready. This simple test works better than guessing based on color alone.
Wait a few more days. A green stem means the pumpkin isn’t fully mature inside. The stem should be dry and woody before harvesting for best storage life.
No, harvest before frost hits. Even light frost can damage the skin and reduce storage time. Aim to pick when night temps stay above 50°F.
This usually happens from harvesting too early or bruising during handling. Always use pruning shears and avoid carrying by the stem to prevent damage.
