
Beautiful Plants For Your Interior
Beautiful Plants For Your Interior
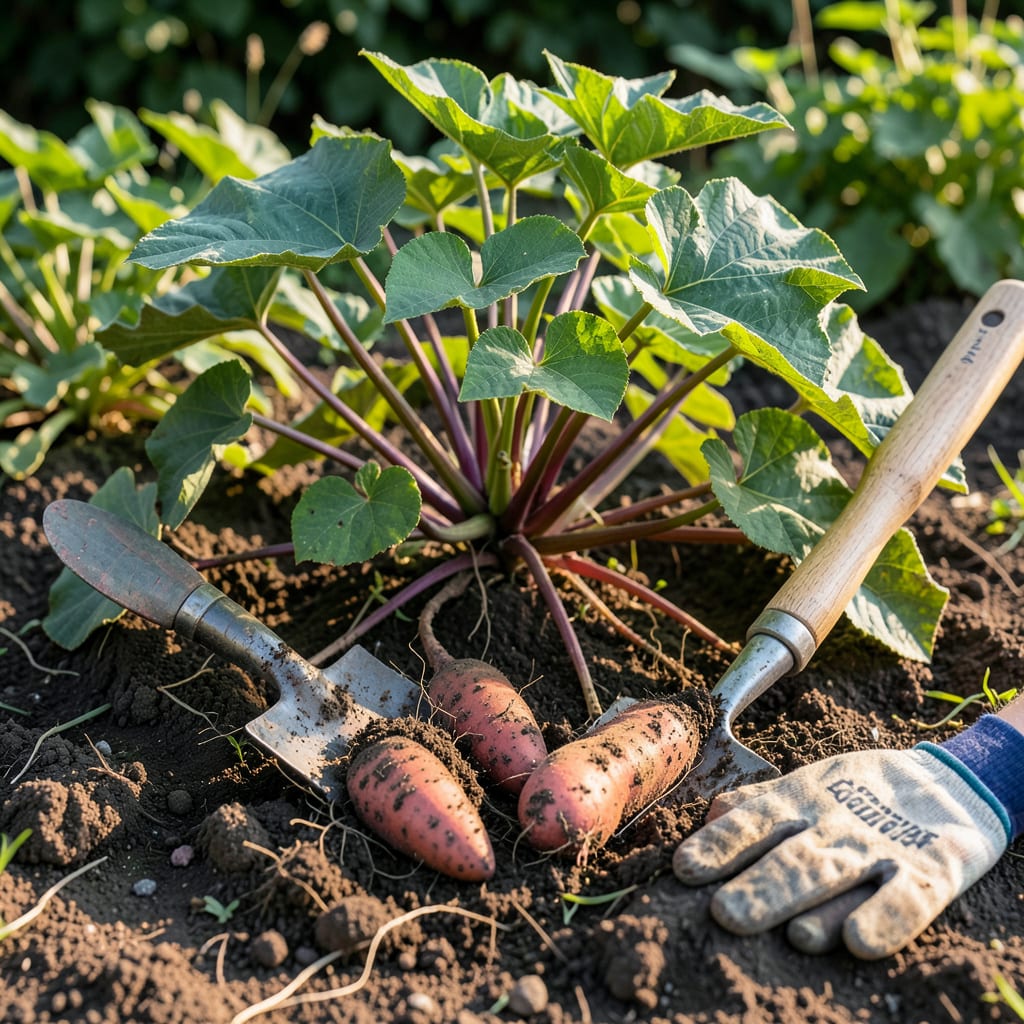
I remember staring at my Sweet Potato 🍠 patch, wondering if those vines were trying to tell me something. Turns out they were – the subtle changes in leaves and tuber size hold the answers.
You don’t need a green thumb to know when they’re ready. I’ll show you the most important signs to look for and when to start checking your crop.


I’ve learned that sweet potatoes send clear signals when they’re ready. The most obvious is vines turning yellow, which often means the tubers below are maturing nicely.
Another sure sign is leaf browning and vine dieback. These changes indicate the plant is shifting energy from growth to tuber development.
🌱 Sweet Potato Harvest Signs
| Sign | Appearance |
|---|---|
| Vines | Yellowing or dying back |
| Leaves | Browning edges or full browning |
| Tubers | 3-5 inches long, firm skin |
| Soil | Cracks near plant base |
I always check for soil cracks near the plant base. These appear as the tubers grow larger and push against the soil, a great visual cue.
Size matters too. Mature sweet potatoes typically measure 3 to 5 inches long with a firm skin that resists scratching.
The skin color is another indicator. When ready, it should be bright and uniform, whether it’s orange, purple, or white depending on the variety.
Don’t wait for a hard frost. I make it a rule to harvest before the first frost hits, as cold can damage the tubers.
If you’re in a cooler climate like mine, you might need to harvest earlier. 90 to 100 days after planting is the sweet spot for most varieties.
I once made the mistake of waiting too long. The tubers became oversized and starchy, which affected their flavor and storage life.
For the best results, I use a garden fork to gently lift the soil, being careful not to pierce the tubers. This prevents bruising and rot.
After harvesting, I let them cure in a warm, humid place for 10 days to improve flavor and storage quality.
I’ve noticed sweet potatoes mature faster in warmer climates with consistent soil temperatures above 75°F. Cooler regions may need extra weeks for tubers to size up properly.
In my experience, drought conditions can stunt growth, while too much rain leads to cracking. Aim for 1-2 inches of water weekly for steady development.
🌱 Climate Impact on Harvest Time
I always check the 10-day forecast as harvest approaches. If night temps drop below 50°F, it’s time to dig, even if vines are still green.
For container-grown sweet potatoes, I find they often mature 10-15 days earlier than in-ground plants due to warmer soil in pots.
Soil type matters too. Sandy loam warms faster in spring, speeding up growth. Heavy clay? It may slow development and require extra patience.
I once had a late start in cool spring. By adding black plastic mulch, I warmed the soil and got a decent harvest despite the delayed planting. ☀️
I’ve seen many gardeners rush to harvest sweet potatoes too early, only to find underdeveloped tubers. Waiting for the right signs is crucial for a good yield.
Another common mistake is harvesting too late. When left in cold soil, sweet potatoes can rot or develop off flavors, ruining your hard work.
⚠️ Avoid These Harvesting Pitfalls
Harvesting too early: Tubers will be small and not fully sweet. Wait for vine yellowing or 100 days from planting.
Using a shovel: Always use a garden fork to avoid piercing tubers, which can cause rot.
Skipping curing: Let tubers cure for 10 days in a warm, humid place to improve flavor and storage life.
I learned the hard way that improper tools can damage tubers. A garden fork lifts the soil gently, reducing the risk of cuts and bruises.
Curing is essential but often overlooked. Skipping this step can lead to poor flavor and shorter storage life. I cure mine in a warm, dark place with good airflow.
Finally, never wash tubers right after harvesting. The moisture can promote rot during curing. Instead, brush off excess soil and let them dry. ✂️
Tubers will be small with soft skin and underdeveloped sweetness. Wait for vines to yellow or at least 90 days after planting for best results.
No, cold temperatures damage tubers. Always harvest before the first frost hits, even if vines are still green.
Check for the same signs: yellowing vines and firm tubers. They often mature 10-15 days earlier than in-ground plants.
This usually happens from uneven watering. Aim for 1-2 inches weekly and maintain consistent moisture to prevent cracking.
