
Beautiful Plants For Your Interior
Beautiful Plants For Your Interior
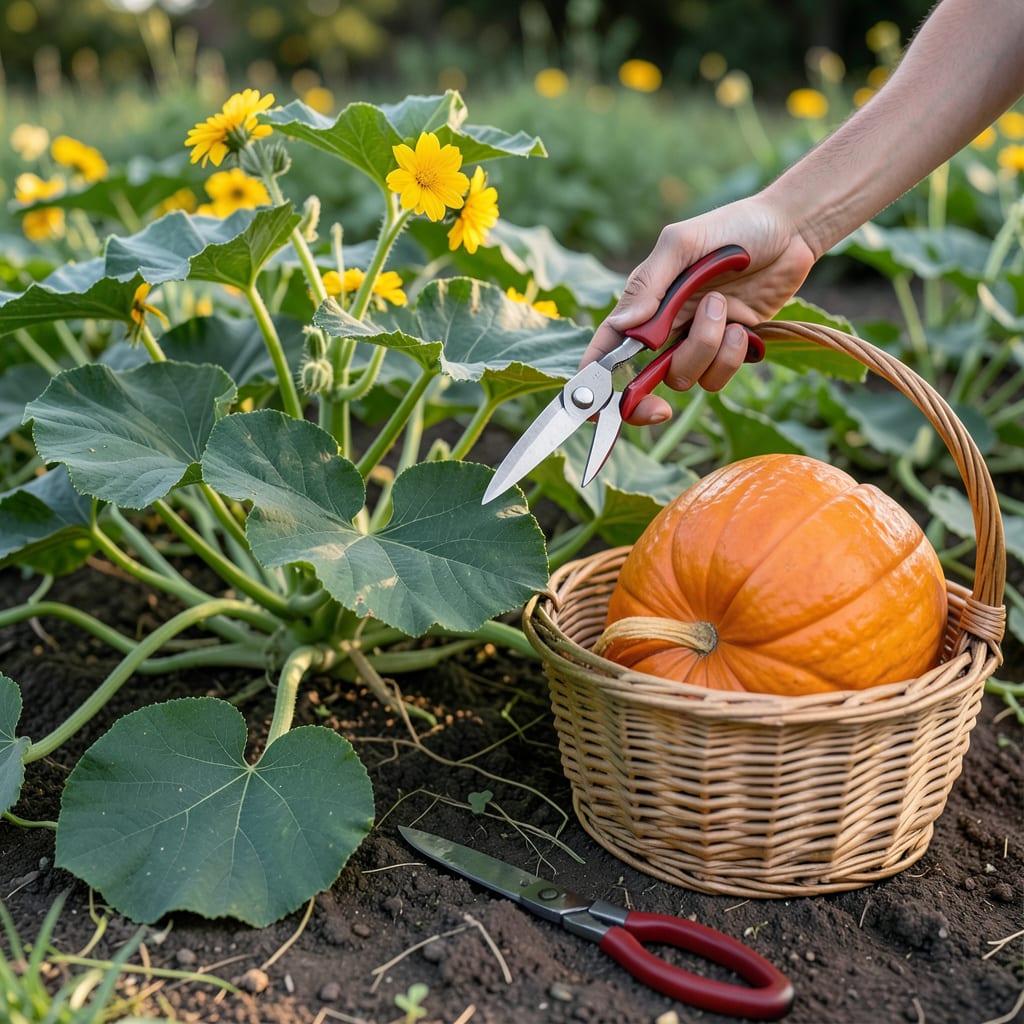
That moment when your 🎃 pumpkin patch transforms from green to vibrant orange is magical, but color alone doesn’t guarantee ripeness. A hard rind and dry stem are the true signs it’s time to harvest.
I’ll show you exactly how to perform these simple tests so you never pick too early or too late. Your perfect pumpkin is closer than you think.


The stem hardening test is my go-to method. A dry, woody stem means the pumpkin has stopped growing and is ready. If it’s still green and pliable, leave it on the vine a bit longer.
For the rind resistance test, press your fingernail into the skin. If it resists puncture and feels hard, it’s ready. This hardness ensures better storage life and flavor.
| Test | What to Look For | Why It Matters |
|---|---|---|
| Stem Hardening | Dry, woody, brown stem | Indicates growth has stopped |
| Rind Resistance | Hard skin, resists fingernail | Ensures long storage life |
| Vine Condition | Leaves yellowing and dying back | Natural maturation signal |
I always check the vine condition too. When the leaves start to yellow and die back, it’s a natural sign that the pumpkin is nearing ripeness.
Remember, these tests work best when combined. A hard rind with a green stem might mean it needs more time. Be patient for the perfect harvest window.
The nail test is especially useful for larger varieties. If your fingernail leaves no mark, the pumpkin is ready. For smaller varieties, the stem test is often sufficient.
I’ve found that morning harvesting works best. The pumpkins are cooler and firmer, which helps prevent bruising during handling and transport.
Always use clean, sharp tools when cutting from the vine. Leave at least 3-4 inches of stem attached to prevent rot and extend storage life.
After harvesting, let your pumpkins cure in the sun for about a week. This hardens the skin further and improves storage potential.
Store them in a cool, dry place with good air circulation. Properly harvested and cured pumpkins can last 2-3 months or more.
🎃While stem and rind tests are most reliable, color deepening is a great secondary indicator. Most pumpkins turn a deep, solid orange when ripe, but some varieties may be white, green, or blue.
I always check the expected mature size for my variety. If your Jack Be Little is the size of a softball or your Atlantic Giant has reached its projected diameter, it’s likely ready.
The surface sheen changes too. Immature pumpkins often have a shiny skin that dulls as they ripen. This is especially noticeable in heirloom varieties.
For white pumpkins like Luminas, look for a creamy white color without green undertones. The same rind hardness test applies to all colors.
Remember that size varies greatly by type. A miniature pumpkin might be ready at 1 pound, while a giant variety could need 100+ pounds to reach maturity.
I’ve found that evening light can make colors appear more vibrant. Check your pumpkins in morning light for the most accurate color assessment.
🎃Harvesting your pumpkins too early is a common mistake that leads to poor storage life. If the rind is still soft, it won’t last long after picking. I always double-check with the nail test before cutting.
Another error is waiting too long. Once the first frost hits, unharvested pumpkins can rot quickly. Aim to harvest before temperatures drop below 50°F at night. ☀️
⚠️ Warning: Never carry pumpkins by the stem. This can cause stem breakage and lead to early rot. Always lift from the bottom with both hands.
Using dull tools to cut the stem can damage the vine and the pumpkin. I recommend a sharp knife or pruning shears for a clean cut. Leave 3-4 inches of stem to prevent moisture loss.
Many gardeners forget to cure their pumpkins after harvest. This step is crucial for long-term storage. Place them in a sunny spot for about a week to harden the skin further.
Finally, avoid stacking pumpkins during storage. This can cause pressure bruises and lead to spoilage. Store them in a single layer with good air circulation.
🎃A ready stem becomes dry, woody, and brown. If it’s still green and flexible, your pumpkin needs more time on the vine.
Not always. While a deep, uniform color is a good sign, always confirm with the rind hardness test. Some varieties stay green even when ripe.
Early harvesting often results in soft rinds that rot quickly. These pumpkins won’t store well and may lack full flavor. Be patient for the best results.
No, harvest before the first frost. Pumpkins can’t tolerate freezing temperatures and will rot within days if left exposed.
