
Beautiful Plants For Your Interior
Beautiful Plants For Your Interior
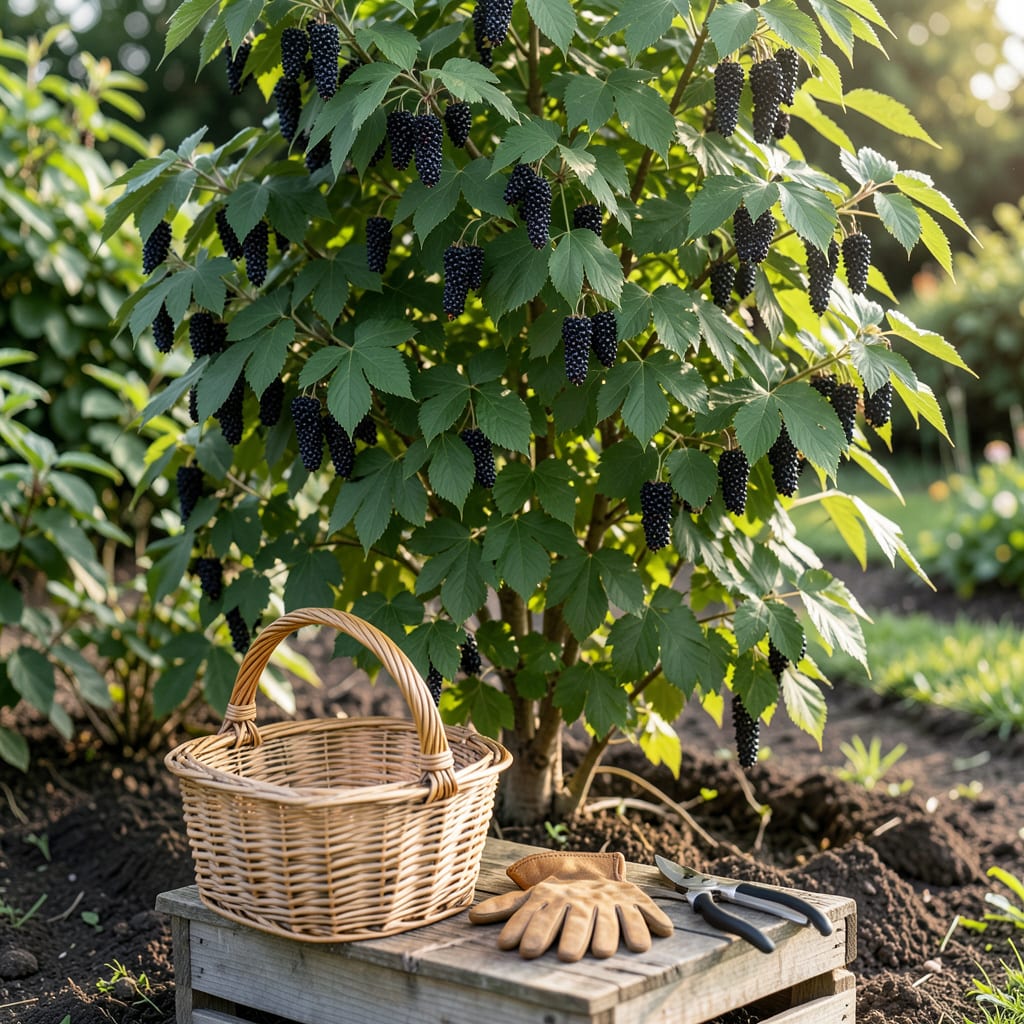
I remember my first attempt at harvesting Elderberry 🫐 ended with a mouthful of bitter disappointment. Timing is everything when it comes to these delicate fruits.
Get it right, and you’ll enjoy sweet, juicy berries perfect for jams and syrups. I’ll show you exactly when and how to pick them at their peak.


I’ve learned that elderberries reveal their readiness through visual cues and physical changes. The most obvious sign is a deep purple-black color that replaces the initial green or red hues.
Another key indicator is the cluster’s weight causing it to droop downward. This shows the berries are plump and juicy, no longer tightly packed on upright stems.
| Ripeness Sign | Description |
|---|---|
| Color | Deep purple-black, not red or green |
| Texture | Slightly soft, not hard or mushy |
| Cluster | Droops with weight, berries separate easily |
| Finish | Dull surface, not shiny or glossy |
I always check for uniform ripeness across the entire berry cluster. If some berries are still green or red, I leave them for another 3-5 days to mature fully.
The squeeze test is another reliable method. Gently press a berry—if it yields slightly but isn’t mushy, it’s ready. Hard berries need more time, while overly soft ones may be overripe.
I’ve noticed that bird activity can signal ripeness. When flocks start gathering near your elderberry bushes, it’s often a sign the berries are at their peak sweetness and ready for harvest.
Avoid picking berries with a shiny surface, as this often indicates immaturity. The dull finish on ripe elderberries is a clear sign they’ve reached their optimal sugar content.
I also look for berries that separate easily from the stem. If they resist when you tug gently, they’re not quite ready. This test prevents damaging the fruit clusters during harvest.
In my experience, early morning harvesting yields the best results. The berries are firmer after the cool night air, making them easier to pick without crushing.
Finally, I always wear gloves and long sleeves when harvesting. Elderberry plants can have thorny stems, and the berries themselves may stain clothing. This keeps the process safe and mess-free.
Elderberries reach their peak at different times depending on where you live. In most of the United States, the prime window falls between late July and early September. I’ve noticed that cooler climates, like the Pacific Northwest, often see ripening a bit later in the season.
In the Midwest and Northeast, elderberries typically ripen from mid-August to early September. Warmer southern states may start seeing ready berries as early as late June.
Climate plays a huge role in elderberry ripening. A hot, dry summer can speed up the process, while cooler, wetter conditions may delay it. I always keep an eye on the weather forecast as harvest time approaches.
Local weather patterns can shift these timelines by a week or two. If you’ve had an unusually warm spring, your elderberries might be ready earlier than usual. Conversely, a cool summer could push harvest time back.
For the most accurate timing, I recommend checking your specific USDA hardiness zone. Elderberries in Zone 4 may ripen later than those in Zone 7, for example. This localized approach helps ensure you don’t miss the perfect picking window.
Remember that microclimates can also affect ripening. A sunny spot in your garden might produce berries a few days earlier than a shadier area. I always scout my plants regularly as the season progresses.
☀️I always use the squeeze test as my first check. Gently press a berry between your fingers—if it yields slightly but isn’t mushy, it’s likely ready. Hard berries need more time on the bush.
The taste test can be tricky with elderberries. I only try this with fully ripe berries I’m certain about, as unripe ones can be toxic. A ripe elderberry should taste sweet with a slight tartness.
Never eat raw unripe elderberries—they contain cyanogenic glycosides which can cause nausea. Always cook before consuming.
I pay attention to bird activity around my elderberry bushes. When flocks start feasting, it’s a sure sign the berries are at their peak. Just be quick—birds can strip a bush bare in hours!
Another reliable method is the stem test. Ripe elderberries separate easily from the stem with a gentle tug. If they resist, they’re not ready. This prevents damaging the fruit cluster during harvest.
I also look for a dull finish on the berries. Shiny elderberries are typically underripe, while the matte appearance indicates full ripeness. This visual cue is especially helpful for first-time harvesters.
☀️Ripe elderberries turn a deep purple-black color. Avoid green or red berries, as these are unripe and can be toxic if consumed raw.
Use the squeeze test: gently press a berry—if it yields slightly but isn’t mushy, it’s ready. Also, ripe berries separate easily from the stem with a gentle tug.
Yes! When birds start gathering near your bushes, it’s a strong sign the berries are ripe. Act fast, as they can strip the bush bare in just a few hours.
A shiny surface means they’re underripe. Ripe elderberries have a dull, matte finish, which signals they’ve reached optimal sugar content.
