
Beautiful Plants For Your Interior
Beautiful Plants For Your Interior
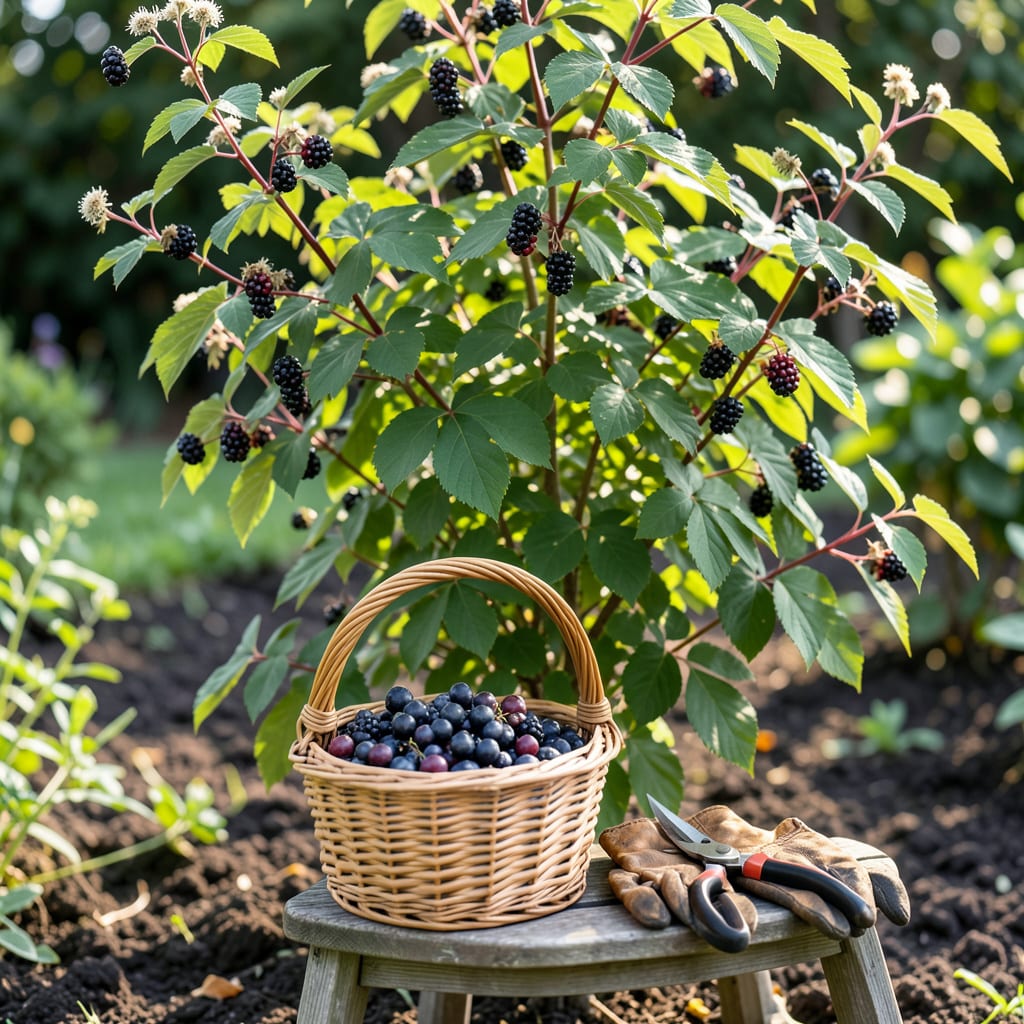
Timing your elderberry harvest can mean the difference between bitter disappointment and sweet success. The 🫐 Elderberry plant gives clear signals when its clusters are ready for picking.
From August to September, watch for deep purple-black berries and drooping clusters. I’ll show you the exact signs that guarantee perfect ripeness every time.


I always look for deep purple-black berries as the first sign elderberries are ready. The color change from green to black means the tannins have broken down, giving you that sweet-tart flavor we love. 🌿
Another clue is the cluster’s position. When ripe, the heavy berries cause the entire cluster to droop downward, making them easier to spot among the foliage.
| Sign | Ready Appearance | Not Ready |
|---|---|---|
| Color | Deep purple-black | Green or red |
| Firmness | Slight give when pressed | Hard and unyielding |
| Cluster | Drooping downward | Upright position |
| Stem | Woody brown | Green and flexible |
The stem color transforms from green to woody brown as the berries mature. I check this by gently bending a stem – if it snaps easily, your elderberries are ready for harvest.
For tactile confirmation, gently press a berry between your fingers. Ripe elderberries will have a slight give, similar to a ripe grape, while unripe ones remain hard as rocks.
I’ve learned the hard way that harvesting too early gives you bitter, astringent berries that can even cause stomach upset. The cyanogenic glycosides in unripe berries are what make them potentially toxic. ☀️
Conversely, waiting too long can lead to overripe berries that are mushy and prone to mold. The sweet spot is when about 75% of the cluster shows these ripe characteristics.
In my experience, early morning is the ideal time to check for ripeness. The cool temperatures make the berries firmer and easier to examine without damaging the fruit.
Remember that elderberry varieties may have slightly different ripening signs. American elderberries typically show these classic symptoms, while European varieties might develop a duller finish when ready.
Finally, I always do a taste test with one berry before harvesting the whole cluster. If it’s sweet with just a hint of tartness, you’ve hit the perfect harvest window. 🌱
I always start my elderberry harvest with the right tools. Sharp pruning shears and a sturdy basket are essential for clean cuts and safe collection. 🌿
Early morning is my preferred time to pick because the cool temperatures keep the berries firm and make them easier to handle without crushing.
I
Be thorough when harvesting – elderberry bushes often hide clusters underneath leaves or in the plant’s interior. I gently part the foliage to find these hidden treasures. ✂️
After harvesting, I immediately transfer the clusters to a cool, dry location. Elderberries can spoil quickly if left in the sun or heat.
Never wash elderberries until you’re ready to use them. The natural bloom on the fruit helps preserve freshness, and moisture can promote mold growth.
With these practices, I consistently get high-quality elderberries perfect for all my gardening projects. 🌱
In my experience, elderberry harvest timing varies significantly by region. Northern gardeners typically see ripe berries in late August, while southern states may start harvesting as early as mid-July. 🌿
The American elderberry (Sambucus canadensis) is the most common variety in US gardens, usually ripening between August and September. European elderberries (Sambucus nigra) often mature 2-3 weeks earlier in comparable climates.
🌱 Regional Harvest Guide
North: Late August – Early September
Midwest: Mid to Late August
South: Mid-July – Early August
Coastal: Late July – Early August
I’ve noticed that coastal areas with milder summers often have an extended harvest window. The York variety, popular in the Northeast, typically ripens in late August regardless of planting location.
Elevation plays a role too – higher altitudes delay ripening by 1-2 weeks. My mountain-grown elderberries are always the last to mature in my collection. ☀️
For first-time growers, I recommend checking your local agricultural extension for precise timing. They often provide variety-specific harvest windows tailored to your exact growing conditions.
Remember that microclimates in your garden can create variations. A sunny south-facing spot might produce ripe berries a week earlier than a shady north side. 🌱
Check for green or red berries and upright clusters. Unripe berries will be hard and the stems stay green and flexible. These contain toxins, so wait until they turn deep purple-black.
Overripe berries become mushy and can develop mold. They may also ferment on the bush. Aim to harvest when 75% of the cluster shows ripe characteristics for the best quality.
Early morning is ideal when temperatures are cool. The berries will be firmer and easier to handle without crushing. Avoid harvesting in the heat of the day.
No, timing varies by type and region. American elderberries typically ripen in August-September, while European varieties may mature 2-3 weeks earlier in similar climates.
