
Beautiful Plants For Your Interior
Beautiful Plants For Your Interior
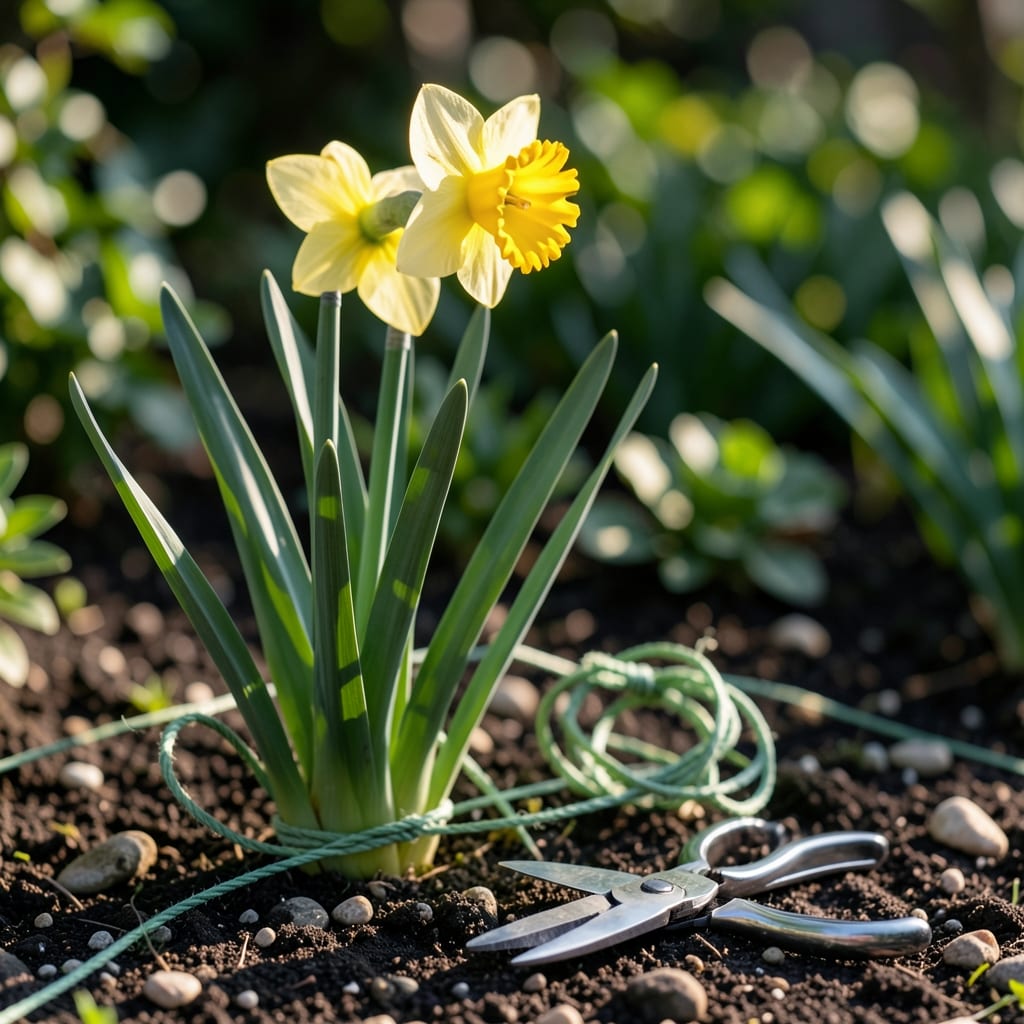
I used to cut back daffodil leaves too soon—big mistake. Those green blades feed next year’s blooms, so tying them up keeps the garden tidy while letting them do their job.
Do it after flowers fade but before leaves yellow. A simple rubber band or soft tie works, just don’t pull too tight. You’ll get bigger, brighter blooms next spring with this one easy step.
📚 In This Guide
This simple technique keeps your garden tidy while ensuring next year’s blooms are even more spectacular.
Don’t touch the leaves until the flowers have completely faded and the stems have collapsed. This usually happens 6-8 weeks after blooming. I’ve learned the hard way that cutting or tying too early starves the bulb of energy it’s storing for next year.
You’ll know it’s time when the leaves turn yellowish but are still mostly green. If you see brown, crispy leaves, you’ve waited too long and the bulb has already finished its photosynthesis work. The sweet spot is that brief window when leaves are still pliable.
Gently collect all the leaves from one plant together in your hand. Daffodil leaves are surprisingly strong, so don’t be afraid to handle them. I find it easiest to work from the base upward, gathering the entire clump of foliage.
If the leaves are very long, you can fold them in half lengthwise before tying. This makes the bundle more compact and less likely to flop over. Just be careful not to crease the leaves sharply, as this can damage their ability to photosynthesize.
Use soft garden twine, old nylon stockings, or rubber bands to tie the leaves together. The key is making the tie loose enough to allow air circulation but tight enough to hold the bundle. I leave about 2-3 inches of slack in my knots.
Place the tie about 4-6 inches from the base of the leaves. This keeps the bundle secure while still allowing the leaves some room to continue their natural processes. Avoid tying too tightly at the base, as this can restrict the flow of nutrients to the bulb.
Arrange the tied bundles so they stand upright or lean slightly to one side. I like to group them in small clusters of 3-4 plants together for a cleaner look. This also makes mowing around them easier if they’re in a lawn area.
If your daffodils are in a high-traffic area, you might need to use small stakes to keep the bundles upright. Just be sure the stakes don’t damage the leaves or block sunlight from reaching them.
Now comes the hardest part: waiting. Leave the tied leaves undisturbed for at least another 4-6 weeks. During this time, the bulb is still pulling nutrients from the foliage, even though it may look like nothing’s happening.
You’ll know it’s safe to remove the ties when the leaves turn completely yellow and begin to pull away from the bundle easily. At this point, you can either cut the leaves off at the base or simply pull the entire bundle away – the bulb will have already stored all the energy it needs.
Mastering this timing ensures your bulbs get the energy they need for next year’s display.
The Timing Sweet Spot: That 6-8 week window after blooming is critical. I’ve ruined bulbs by tying too early—wait until leaves are yellowish but still pliable. If you see brown, crispy leaves, the bulb has already stopped absorbing nutrients.
Tying Technique: In Step 3, leave 2-3 inches of slack in your knot. Tying too tightly at the 4-6 inch mark from the base can choke the leaves. Use old nylon stockings if you don’t have garden twine—they’re gentle and stretchy.
Positioning Matters: For Step 4, group bundles of 3-4 plants together. This not only looks neater but makes mowing around them easier. If in a high-traffic area, use small stakes to prevent flopping, but ensure they don’t block sunlight.
Patience Pays Off: The 4-6 week waiting period in Step 5 is non-negotiable. Even if the bundles look untidy, resist the urge to remove them early. The bulb is still working hard to store energy during this time.
Wait until the leaves turn yellow or brown, usually 6-8 weeks after blooming. This ensures the bulb stores enough energy for next year’s growth.
Soft garden twine, rubber bands, or even old pantyhose work well. Avoid anything too tight or sharp that could damage the foliage.
No, if done gently! Tying prevents flopping and keeps the garden tidy while still allowing photosynthesis. Just don’t pull too tightly.
Early yellowing can signal overwatering, poor drainage, or disease. Check soil conditions and reduce water if the bulb is dormant.