
Beautiful Plants For Your Interior
Beautiful Plants For Your Interior
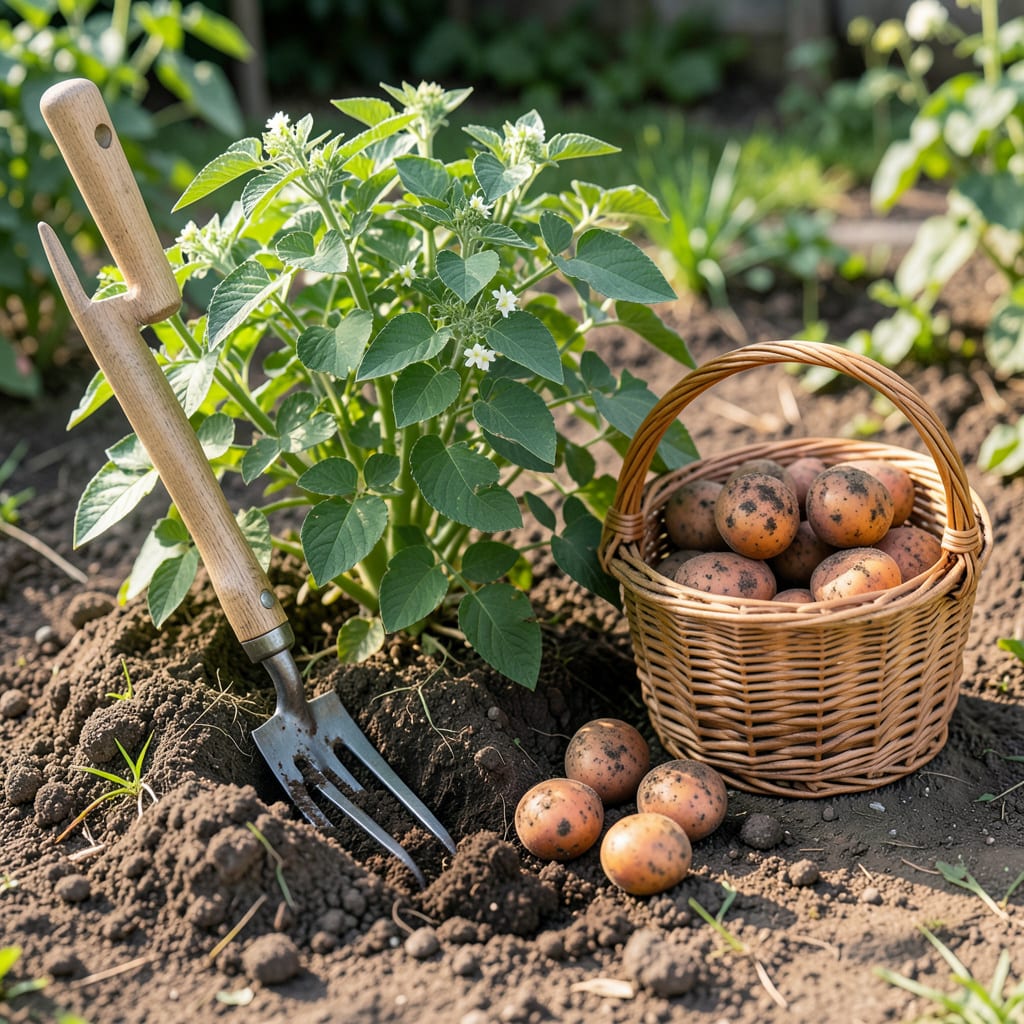
I remember the first time I dug up my 🥔 Potato crop too early – what a disappointment. Timing your russet harvest perfectly makes all the difference between mealy spuds and crisp, flavorful ones.
You’ll want to watch for telltale signs like dying foliage and firm skins. I’ll show you exactly when to grab your fork and start digging for that perfect crop.


I’ve found that the perfect russet potato harvest time comes down to watching your plants closely. The first sign is when the foliage turns yellow and starts to die back naturally.
This die-back typically occurs about 90-120 days after planting, depending on your climate. The plant is telling you it’s finished growing and is ready to be harvested.
🥔 Russet Potato Harvest Signs
| Sign | Description |
|---|---|
| Foliage Die-Back | Turns yellow and wilts completely |
| Skin Firmness | Doesn’t rub off when gently scraped |
| Tuber Size | Reaches 2-5 inches in diameter |
| Eyes | Slightly sunk and firm to touch |
Another key indicator is the skin condition. When potatoes are ready, their skin becomes firm and won’t rub off easily when you gently scrape it with your fingernail.
I always check a few test tubers by carefully digging near the plant’s edge. If they’re still small or the skin comes off easily, I wait another 1-2 weeks before checking again.
The size matters too. Mature russets should be about 2-5 inches in diameter. Anything smaller means they need more time to develop their full flavor and texture.
Don’t rush the process. Harvesting too early results in underdeveloped tubers that won’t store well. I learned this the hard way my first season when I dug up my entire crop too soon.
Weather plays a role as well. I aim to harvest during a dry spell when the soil isn’t waterlogged. Wet conditions can make digging difficult and increase the risk of rot during curing. ☀️
Remember, the soil temperature should be above 50°F when harvesting. Cold soil can damage the tubers and affect their storage life.
Finally, I always use a garden fork to gently lift the potatoes from the soil. This helps prevent bruising, which can lead to spoilage during storage.
With these signs in mind, you’ll know exactly when your russet potatoes are at their peak for harvesting.
Once you’ve confirmed the harvest time is near, I recommend preparing your tools. A garden fork is essential for gently lifting potatoes without piercing them.
I always start harvesting in the early morning when the soil is cooler and the tubers are less likely to bruise. This also gives them time to dry before the heat of the day sets in.
🌱 Harvesting Steps
I’ve learned that curing potatoes is just as important as the harvest itself. After digging, I spread them in a single layer in a dark, well-ventilated area for about 2 weeks.
This curing process helps the skins toughen and minor wounds heal, which significantly extends their storage life. I check them daily and remove any that show signs of rot.
For the best storage, I keep my cured russets in a cool, dark place with temperatures between 45-50°F. A basement or root cellar works perfectly for this.
Once you’ve confirmed your russet potatoes are ready, it’s time to dig them up carefully. I always start by watering the soil lightly the day before to soften the ground.
This makes the harvesting process much easier and helps prevent damage to the tubers. Early morning is my preferred time to harvest, as the soil is cooler and the potatoes are less likely to bruise.
🌱 Harvesting Steps
I recommend using a garden fork rather than a shovel to minimize the risk of cutting through the potatoes. Insert the fork about 6-8 inches away from the plant and lift gently.
The potatoes will come up with the soil, so I sift through it carefully with my hands to find all the tubers. Even the small ones are worth saving if they’re mature enough. 🌱
After digging, I let the potatoes sit in a shady, well-ventilated area for a few hours to dry. This initial drying helps toughen the skin, which is crucial for long-term storage.
Never wash potatoes immediately after harvest. The moisture can promote rot during curing. Instead, brush off the excess soil gently and let them dry naturally before moving to the curing stage. ☀️
Watch for yellowing foliage that dies back completely. The skin should resist rubbing when gently scraped, and tubers reach 2-5 inches in size.
Yes, but they’ll be “new potatoes” with thinner skins. For full maturity and storage potential, wait until foliage dies back and skins toughen.
Harvest in the early morning when soil is cool and tubers are less likely to bruise. Avoid hot afternoons or wet conditions.
Once mature, they can stay in soil for 2-3 weeks if conditions are dry. But don’t wait too long after foliage dies or they may rot.
