
Beautiful Plants For Your Interior
Beautiful Plants For Your Interior
That brown, crispy leaf isn’t just an eyesore—it’s draining your plant’s energy. I’ve seen damaged foliage turn a thriving houseplant into a struggling one in weeks, but here’s the good news: proper removal can actually stimulate new growth. The key is knowing which leaves to cut and how to do it without stressing the plant […]
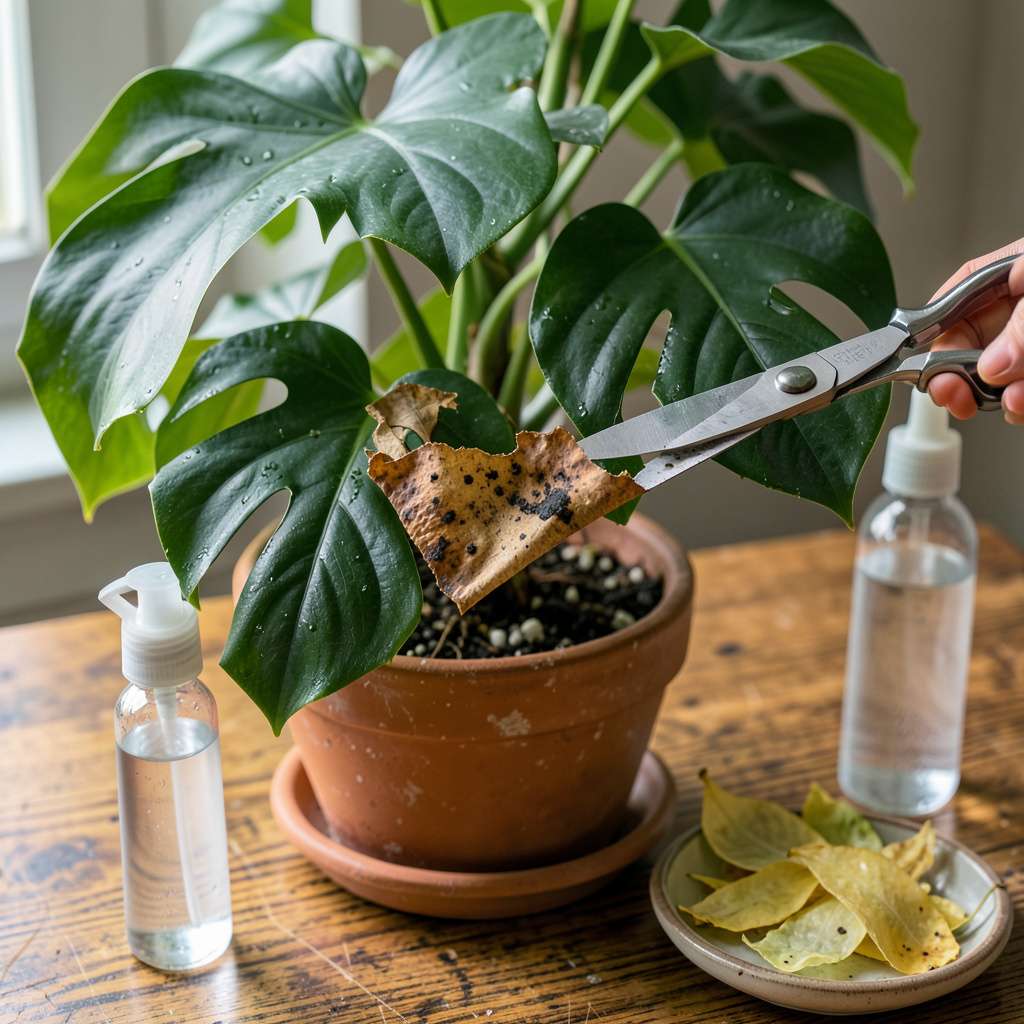
That brown, crispy leaf isn’t just an eyesore—it’s draining your plant’s energy. I’ve seen damaged foliage turn a thriving houseplant into a struggling one in weeks, but here’s the good news: proper removal can actually stimulate new growth. The key is knowing which leaves to cut and how to do it without stressing the plant further.
You don’t need fancy tools—just clean, sharp scissors or pruning shears (I keep mine in a drawer with rubbing alcohol wipes). The technique matters more than the tool: always cut at the base where the leaf meets the stem, never halfway down. This prevents jagged edges that invite disease while allowing the plant to heal cleanly.
What happens next might surprise you. Within 7-10 days, you’ll often see fresh growth emerging exactly where you made your cuts. The plant redirects energy from maintaining damaged tissue to producing healthy new leaves. I’ve revived dozens of plants this way, from leggy ivy to sunburned succulents.
Fair warning: if you’re seeing yellowing spread or black spots appear after removal, there’s likely an underlying issue. We’ll cover how to diagnose whether it’s pests, overwatering, or something else—but first, let’s get those damaged leaves off the right way.
📚 In This Guide
This simple process helps your plant redirect energy to healthy growth while preventing disease spread.
Start by examining your plant carefully. Look for leaves that are completely brown, yellowed beyond 50%, or showing black spots that indicate fungal issues. I always check the undersides too—sometimes damage starts there with spider mites or scale insects.
Don’t remove leaves that are only partially damaged unless the affected area is spreading rapidly. A leaf with just a few brown tips might recover with better care, but anything crispy to the touch or slimy when pressed needs to go immediately.
Before making any cuts, clean your pruning shears or scissors with rubbing alcohol or a 10% bleach solution. This prevents transferring pathogens between plants. I keep a small spray bottle of alcohol nearby to re-clean between cuts if I’m working with multiple plants.
For small houseplants, you can actually use your fingernails if they’re clean and sharp—just pinch the stem right at the leaf base. But for anything thicker than a pencil, always use sterilized tools to make clean cuts that heal properly.
Position your tool where the leaf stem (petiole) meets the main branch. Cut at a 45-degree angle about 1/4 inch above the junction point. This angle helps water run off instead of pooling at the cut site, which could invite rot.
Never leave stubs—they die back and become entry points for disease. If you’re removing multiple leaves, work from the bottom up so you don’t accidentally damage healthy foliage while reaching for lower leaves. You’ll feel the plant’s structure become more open as you go.
After pruning, check the cut sites daily for the first week. They should form a dry callus within 3-5 days. If you see any oozing or blackening at the cut, you may have left too much stub or used dirty tools.
Your plant will likely need less water immediately after pruning since it has fewer leaves to support. I usually reduce watering by about 30% for the first two weeks, then adjust based on how quickly the soil dries. New growth should appear within 2-3 weeks if conditions are right.
Never leave pruned leaves on the soil surface—they can harbor pests or diseases. I collect them in a sealed bag, especially if they showed signs of fungal issues. For healthy-looking leaves, you can compost them, but anything diseased should go in the trash.
After finishing, wipe down your tools again and store them dry. This habit prevents rust and keeps them ready for next time. You’ll notice your plant perks up within days as it focuses energy on the remaining healthy foliage rather than struggling with damaged leaves.
Pruning damaged leaves is simpler than you think, but these key insights will help you avoid common pitfalls.
Assessment Tip: In Step 1, don’t rush the inspection process. I’ve found that damaged leaves often look worse on the underside, where pests like spider mites hide. Use a magnifying glass if needed—what looks like minor browning might actually be early-stage infestation. Also, test leaf texture: if it feels crispy or slimy as mentioned, removal is definitely needed.
Tool Technique: For Step 3, the 45-degree angle cut isn’t just about aesthetics—it’s functional. I learned this after struggling with stem rot: that slight angle prevents water from collecting at the cut site. When working with thicker stems, make the cut in one confident motion rather than sawing, which can create jagged edges that heal poorly.
Aftercare Insight: The 30% water reduction mentioned in Step 4 is crucial but often overlooked. I track soil moisture by inserting my finger about an inch deep—if it feels slightly damp, wait another day. This adjustment period gives your plant time to balance its reduced leaf surface with its root system’s water uptake.
Monitoring Strategy: During the 3-5 day healing window in Step 4, check cuts at the same time each day with consistent lighting. I use my phone’s flashlight to spot early signs of blackening. If you notice oozing, don’t panic—just trim back to healthy tissue immediately with freshly sterilized tools.
Yes! If less than 50% of the leaf is damaged, you can trim just the brown or dead portions with clean scissors, leaving the healthy part intact. This helps the plant retain some photosynthesis ability while preventing further decay. For leaves more than 50% damaged, full removal is best to redirect energy to new growth.
Early morning or late afternoon is ideal! Avoid pruning during peak sunlight hours (10 AM–4 PM), as fresh cuts can stress the plant under strong UV rays. Cooler, shaded times reduce moisture loss and shock, giving your plant the best chance to recover smoothly.
In a pinch, yes—but disinfect them first with rubbing alcohol! Household scissors can crush stems if dull, so opt for sharp, clean blades. For thick or woody stems, pruning shears are safer to avoid tearing. Always wipe tools between cuts to prevent spreading disease.
Check for underlying issues like pests, overwatering, or nutrient deficiencies. If brown spots or wilting persist, inspect the soil, roots, and nearby leaves. Adjust care routines (e.g., reduce water, add fertilizer) and monitor for 1–2 weeks. Persistent problems may need fungicide or repotting.
Is it okay to remove all damaged leaves at once?
No—never remove more than 20–30% of foliage in one session! Over-pruning shocks the plant and limits its ability to photosynthesize. Space out removal over 2–3 weeks for severe damage, prioritizing the worst leaves first. Healthy growth will replace them over time.
Removing a damaged leaf isn’t just about aesthetics—it’s a key step in helping your plant thrive! 🌱 By pruning with care, you prevent disease, redirect energy to healthy growth, and keep your green friend looking its best. Remember: clean cuts, sharp tools, and patience make all the difference.
Now that you’ve mastered the basics, why not inspect your other plants for signs of stress? A little proactive pruning today can save you bigger headaches—and sadder plants—tomorrow! Happy gardening! 🌿
