
Beautiful Plants For Your Interior
Beautiful Plants For Your Interior
I’ll be real with you: garden orchids aren’t your typical backyard plants. These exotic beauties demand attention to detail, but the payoff—months of jaw-dropping blooms—makes every effort worthwhile. My first attempt ended with wilted leaves and zero flowers, which taught me more than any guide ever could about what these plants truly need. Here’s the […]
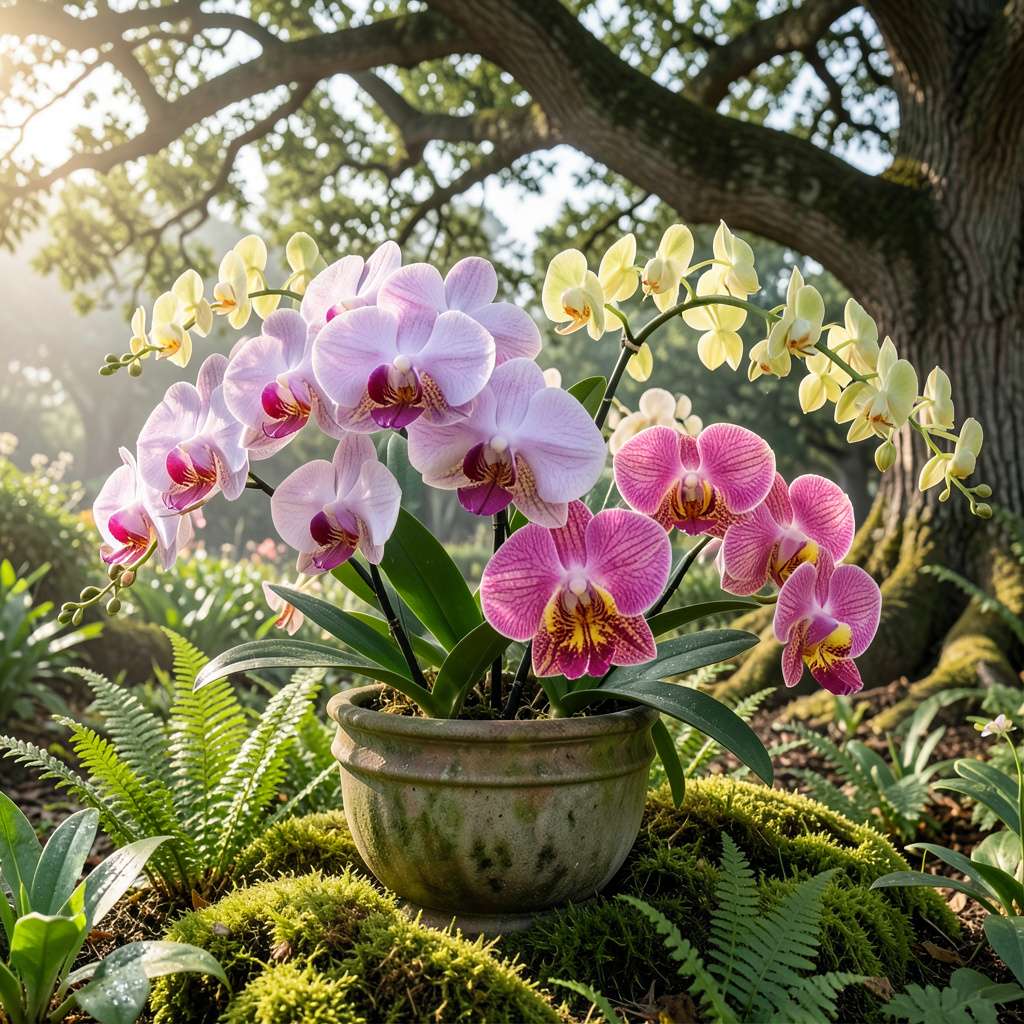
I’ll be real with you: garden orchids aren’t your typical backyard plants. These exotic beauties demand attention to detail, but the payoff—months of jaw-dropping blooms—makes every effort worthwhile. My first attempt ended with wilted leaves and zero flowers, which taught me more than any guide ever could about what these plants truly need.
Here’s the thing—orchids thrive in gardens when you mimic their natural habitat. That means well-draining soil (never regular garden dirt), dappled sunlight that protects delicate petals, and a watering routine that keeps roots happy but never soggy. The right setup turns finicky plants into reliable showstoppers that return year after year with bigger, bolder blooms.
You’ll know you’ve nailed it when you see that first flower spike emerge. The moment those buds begin to swell and color up? Pure garden magic. Unlike container orchids, garden-planted varieties develop stronger root systems and often produce twice as many flowers when given proper care and seasonal protection.
Fair warning: this isn’t a set-it-and-forget-it project. But for those willing to learn the rhythms of orchid care—when to feed, when to prune, how to winterize—the rewards are neighbor-jealousy levels of beauty. Let’s break down exactly how to make it happen in your space.
📚 In This Guide
With the right approach, you can enjoy stunning orchid blooms outdoors—here’s how to make it happen.
Orchids thrive in dappled shade where they receive morning sunlight but are protected from harsh afternoon rays. I look for spots under deciduous trees or on the east side of structures where light filters through gently. Avoid deep shade—your plants won’t bloom without adequate light.
Check the area’s air circulation too. Orchids hate stagnant, humid air but can’t tolerate strong winds. A location with gentle breezes prevents fungal issues while keeping leaves dry. You’ll know you’ve found the right spot when leaves appear olive green rather than dark green (too shady) or yellowish (too sunny).
Garden soil is too dense for orchids—you’ll need to create a special planting mix. I blend 50% coarse fir bark with 30% perlite and 20% sphagnum moss for ideal drainage and aeration. This mimics their natural epiphytic growing conditions.
For in-ground planting, dig a hole twice as wide as the root ball but no deeper. Mix your orchid blend with the native soil at a 50/50 ratio in the planting hole. This creates a transition zone that prevents water from pooling around the roots while still anchoring the plant securely.
Remove your orchid from its container and gently loosen the root ball. Healthy roots should be plump and silvery-green. Trim any dead or mushy roots with sterilized scissors. Position the plant so the base of the leaves sits just above the soil line—burying the crown leads to rot.
Spread the roots outward in the planting hole rather than circling them. Backfill with your prepared mix, gently firming it around the roots. Water immediately after planting until moisture runs freely from the drainage area. The plant may look slightly wilted for a day or two—this is normal transplant shock.
Water orchids in the morning so leaves dry before evening. I use the “soak and dry” method: thoroughly saturate the planting area until water drains away, then wait until the top 1-2 inches of mix feels dry before watering again. This typically means watering every 5-7 days in warm weather.
Check moisture by sticking your finger into the mix. If it feels damp, wait another day. Overwatering is the fastest way to kill garden orchids. During rainy periods, you may need to cover plants temporarily with clear plastic to prevent root suffocation while still allowing light through.
Fertilize every 2-3 weeks during active growth with a balanced 20-20-20 orchid fertilizer diluted to half strength. I alternate between foliar spraying and root feeding for best results. Reduce feeding to monthly during winter dormancy when growth slows.
Remove spent flower spikes by cutting them back to the base after blooms fade. This directs energy to root and leaf development for next season’s flowers. Watch for pests like scale or mealybugs—treat immediately with horticultural oil if you spot any white cottony masses or sticky residue on leaves.
After years of trial and error with garden orchids, I’ve learned these key insights that make all the difference between struggling plants and spectacular blooms.
Light Assessment: In Step 1, don’t just guess about your light conditions—test them. Place a white card where you plan to plant and check it every hour. If it casts a sharp shadow at noon, it’s too bright; no shadow means too dark. The perfect dappled shade should create soft, fuzzy-edged shadows during midday. I’ve found east-facing spots under tree canopies work best in most climates.
Root Health Check: When following Step 3, pay special attention to root condition. Healthy orchid roots should feel firm like cooked spaghetti, not mushy like overcooked noodles. If more than 30% of roots are brown or hollow, soak the remaining healthy roots in diluted hydrogen peroxide (1 part peroxide to 10 parts water) for 10 minutes before planting to prevent rot from spreading.
Watering Wisdom: The “soak and dry” method in Step 4 is crucial, but here’s what nobody tells you—orchids absorb most water through their root velamen (the silvery coating) in the first 15 minutes after watering. That’s why thorough saturation matters more than frequency. I use a moisture meter set to the 2-inch depth mark to take the guesswork out of the “1-2 inches dry” rule.
Fertilizer Technique: For Step 5’s feeding schedule, alternate between foliar spraying (misting leaves until runoff) and root drenching each application. This ensures nutrients reach both the plant’s food production (leaves) and storage systems (roots). Always apply fertilizer to damp roots first thing in the morning to prevent leaf burn from concentrated solutions.
Garden orchids typically need watering once a week during warm months, but this depends on your climate. Check the soil—if the top inch feels dry, it’s time to water. Overwatering can rot roots, so ensure good drainage. In rainy seasons, reduce watering to prevent soggy soil.
Most orchids (like Phalaenopsis or Cattleya) can’t handle frost! If temps drop below 50°F (10°C), move potted orchids indoors or to a greenhouse. Hardier types (e.g., Bletilla striata) may survive mild winters with mulch protection—check your orchid’s specific needs.
For in-ground orchids, mimic their natural habitat with a fast-draining mix: combine bark chips, perlite, and coconut coir (50/30/20 ratio). Avoid heavy garden soil—it suffocates roots. Raised beds with this mix improve airflow and prevent rot.
Lack of blooms often stems from insufficient light (they need bright, indirect sun), poor fertilization, or temperature stress. Try a balanced orchid fertilizer (20-20-20) monthly in growing season. Also, some orchids need a 10–15°F (5–8°C) drop at night to trigger blooming!
Yellow leaves usually signal overwatering, sunburn, or nutrient deficiency. Cut back on water if roots look mushy, or provide shade if leaves feel crispy. Flush the soil with water to remove salt buildup from fertilizers. Trim dead leaves with sterilized shears to prevent disease.
Growing orchids in your garden is a rewarding journey that turns patience and care into stunning, long-lasting blooms. 🌸 With the right light, moisture, and a little TLC, even beginners can coax these elegant plants to thrive. Remember: consistency is key—whether you’re nurturing a single pot or a vibrant orchid bed.
Ready to take the next step? Start small with a hardy variety like Phalaenopsis or Cattleya, then expand as your confidence grows. Happy gardening—your future self (and your visitors!) will thank you for the breathtaking results. 🌿✨
