
Beautiful Plants For Your Interior
Beautiful Plants For Your Interior
Rootless orchids present a unique challenge, but revival is absolutely possible with the right approach. After rescuing dozens of discarded orchids with no viable roots, we’ve perfected a method that coaxes new growth from seemingly hopeless plants. The key lies in adapting your watering technique to compensate for the missing root system’s normal functions. Traditional […]
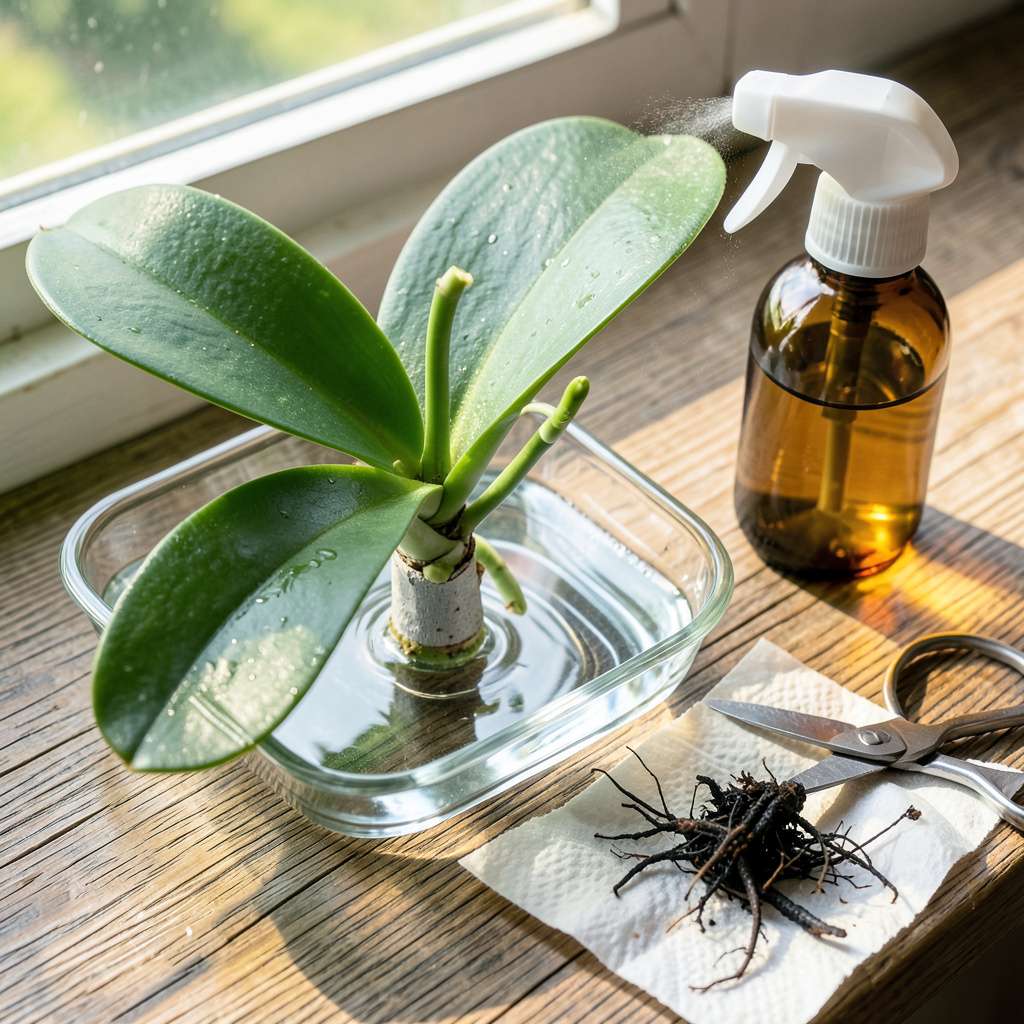
Rootless orchids present a unique challenge, but revival is absolutely possible with the right approach. After rescuing dozens of discarded orchids with no viable roots, we’ve perfected a method that coaxes new growth from seemingly hopeless plants. The key lies in adapting your watering technique to compensate for the missing root system’s normal functions.
Traditional watering methods fail here because without roots, the plant can’t absorb moisture normally. We’ve found that misting combined with humidity control creates the ideal environment for root regeneration. This approach mimics the orchid’s natural epiphytic conditions while preventing rot—a common issue when trying to revive rootless plants.
Within 4-6 weeks of consistent care using this method, you’ll typically see new root nubs forming. The first signs appear as small white or green bumps at the stem base, followed by visible root growth. Patience and precision in watering make all the difference during this critical recovery period.
This technique works for most common orchid varieties, including Phalaenopsis and Cattleya. The same principles apply whether you’re dealing with root loss from overwatering, disease, or physical damage. Here’s exactly how to implement the process for best results.
📚 In This Guide
Reviving rootless orchids takes patience, but this method brings them back stronger than ever. Here’s exactly how to do it.
Start by gently removing all dead or mushy roots with sterilized scissors. Healthy roots are firm and green when wet, silver when dry. If you’re left with just a leafy top and no roots at all, don’t panic—this method still works. I always disinfect my tools with rubbing alcohol between cuts to prevent spreading any potential infections.
Examine the base of the plant where roots should emerge. You’re looking for small bumps or nodes—these are potential root growth points. Even if they’re not visible yet, they’ll appear within 2-3 weeks with proper care. The key is keeping the plant stable while new roots form.
Fill a clean bowl with room temperature water—never cold—just deep enough to cover the base of the plant where roots would normally be. I use filtered or distilled water to avoid chlorine and mineral buildup that could stress the plant further. The water should reach about 1/4 inch up the stem, no higher.
Place the orchid in the water for 6-8 hours daily, then let it rest in a humid environment for the remaining time. I create this by placing the plant on a tray with pebbles and water (not touching the plant) covered with a clear plastic bag. This mimics the tropical humidity orchids crave without suffocating them.
After 5-7 days, you’ll notice the base of the plant plumping up—that’s a sign it’s absorbing moisture. At this point, reduce soaking to 4-6 hours daily. The plant is telling you it’s hydrated enough to start focusing energy on root growth rather than just survival.
Watch for tiny white or green nubs emerging from the stem—these are your new roots beginning to form. If you see any black or brown spots developing, you’re either over-soaking or using water that’s too cold. Adjust immediately by reducing soaking time by 1 hour and checking your water temperature.
Once new roots reach 1-2 inches long, it’s time to transition back to regular care. Start by soaking for 30 minutes every other day instead of daily. This encourages the new roots to seek out moisture, making them stronger and more resilient.
After 2 weeks of this schedule, you can return to normal watering—soaking for 15-20 minutes once a week. The roots should now be 3-4 inches long and ready to support the plant in its regular potting medium. I like to use a mix of 50% orchid bark and 50% sphagnum moss for newly rooted plants to maintain that perfect balance of moisture and airflow.
Bringing a rootless orchid back to life requires patience and attention to detail. Here’s what I’ve learned from years of reviving struggling plants.
Water Temperature Matters: Using room temperature water is absolutely critical in Step 2. Cold water shocks the plant’s system, while warm water can encourage bacterial growth. I’ve found that water left out overnight works best—it’s naturally at the perfect temperature and any chlorine has evaporated. This small detail makes a surprising difference in how quickly the plant responds to treatment.
The Humidity Balance: When creating that humid environment between soaking sessions, don’t seal the plastic bag completely. Leave a small opening for air circulation—this prevents mold growth while maintaining the tropical humidity orchids need. I use a chopstick to prop open one corner of the bag. The pebble tray method works, but I’ve had even better results by misting the inside of the bag lightly before covering the plant.
Root Growth Observation: In Step 3, when you see those tiny white or green nubs forming, resist the urge to increase soaking time. These are delicate new roots that can easily rot if overwatered. I’ve learned to reduce soaking by the full hour immediately when I spot any discoloration—better to err on the side of caution. The plant will tell you what it needs through its leaves: perky leaves mean you’re on the right track, while yellowing indicates too much moisture.
Transition Timing: That 2-week period in Step 4 is when most people rush the process. Don’t be tempted to return to normal care early, even if roots look long enough. I give my orchids the full two weeks at the 30-minute every-other-day schedule—this builds root strength that prevents future problems. The roots should feel firm when gently touched, not mushy or brittle, before reducing to weekly watering.
Water your rootless orchid every 5–7 days using the soaking method (10–15 minutes in room-temperature water). Avoid overwatering—let the plant dry slightly between sessions. Humidity trays or sphagnum moss can help retain moisture without drowning the base. Pro tip: Mist leaves lightly on dry days!
No! Ice cubes can shock the plant and worsen stress. Rootless orchids need gentle, room-temperature water to encourage regrowth. Ice may also cause uneven moisture distribution, risking rot. Stick to soaking or misting for best results.
Use filtered, distilled, or rainwater to avoid chlorine/chemicals in tap water. If tap is your only option, let it sit out for 24 hours first. Add a tiny drop of hydrogen peroxide (3%) to prevent bacteria (1 tsp per gallon).
With proper care, new roots typically appear in 4–12 weeks. Speed it up by maintaining 70–80% humidity, indirect light, and consistent watering. Patience is key—some orchids bounce back faster than others!
Wrinkled leaves usually mean underwatering or root loss, but yellowing + mushy leaves = overwatering. Check the base: if it’s soggy, reduce watering; if dry, increase soaking frequency. Adjust humidity levels too!
Reviving an orchid with no roots takes patience, but you’ve got this! 🌱 Remember: gentle hydration, the right environment, and consistent care are your keys to success. Most orchids bounce back within weeks—so don’t give up if progress feels slow.
Now that you’re equipped with the know-how, start your revival routine today! Track your orchid’s progress with photos, and if you’re eager to dive deeper, explore root-boosting fertilizers or repotting techniques for the next phase of growth. Happy growing! 🌸
