
Beautiful Plants For Your Interior
Beautiful Plants For Your Interior
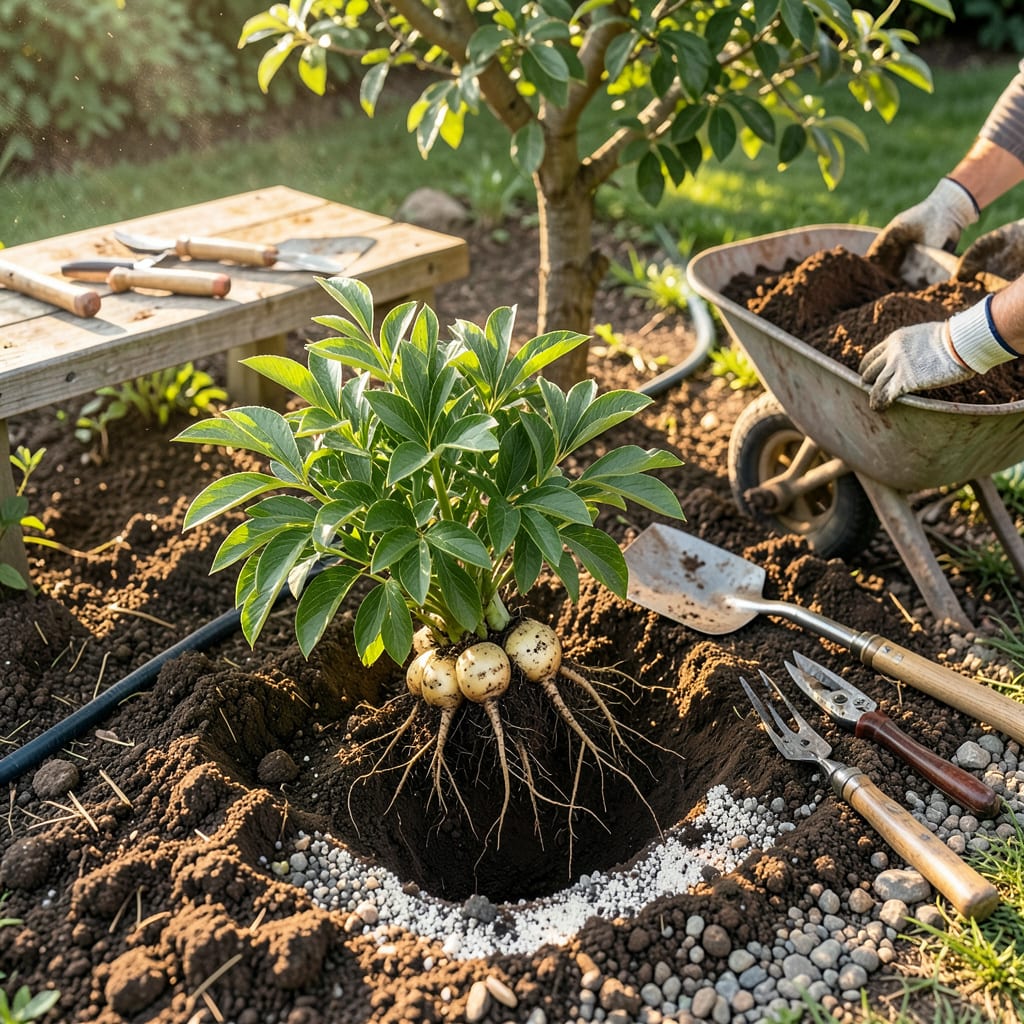
September is the secret window for moving peonies—cooler air, warm soil, and just enough time for roots to settle before winter. I’ve relocated dozens over the years, and the ones transplanted this month always bounce back stronger than spring-moved plants. The key? Timing it right, before the ground freezes but after summer’s heat fades.
You’ll need just a few tools: a sharp spade, compost for the new hole, and maybe a bucket of water. The real magic happens in how you handle those fleshy roots and where you place the plant—too deep, and you’ll get leaves but no blooms next year. Get this right, and you’re rewarded with bigger flowers and healthier plants for seasons to come.
📚 In This Guide
Timing and technique make all the difference—here’s how I move peonies without stressing the plants.
Choose a location with full sun (at least 6-8 hours daily) and well-draining soil. Peonies thrive in slightly acidic to neutral soil (pH 6.5-7.0). Dig a hole 12-18 inches wide and 12 inches deep—this gives roots plenty of room to establish before winter.
Mix a shovelful of compost into the soil you removed from the hole. This enriches the soil without overwhelming the plant. Avoid fresh manure or high-nitrogen fertilizers, which can burn tender new roots. Water the hole thoroughly and let it drain before transplanting.
Use a sharp spade to dig around the peony’s drip line, about 12-18 inches from the stems. Work the spade underneath the root ball, lifting gently but firmly. Peony roots are surprisingly deep, so expect to dig 8-12 inches down to avoid severing major roots.
Once lifted, shake off excess soil to expose the roots. Use a clean knife to divide the clump into sections, ensuring each division has 3-5 healthy eyes (the pinkish buds at the crown). Discard any sections with soft or rotten roots—these won’t establish well.
Place the division in the prepared hole so the eyes sit 1-2 inches below the soil surface. This is critical—planting too deep delays blooming, while planting too shallow exposes roots to winter damage. Backfill with the amended soil, gently firming it around the roots to eliminate air pockets.
Water deeply immediately after planting, ensuring the soil settles around the roots. The goal is moist (not soggy) soil that encourages root growth before winter dormancy. If the soil settles significantly, add more to maintain the proper planting depth.
Apply a 2-3 inch layer of mulch (straw or shredded bark) around the plant, keeping it 3 inches away from the stems to prevent rot. Mulch insulates roots during temperature swings and retains moisture as the plant establishes.
Water the transplanted peony once a week for the first month unless rain provides 1 inch of water weekly. Reduce watering as the plant enters dormancy, but don’t let the soil dry out completely before the ground freezes. This balance encourages root growth without promoting late-season foliage.
After years of moving peonies at every possible time of year, I’ve learned September offers the perfect window—if you know these key details.
Timing Secret: The 6-8 hours of daily sunlight mentioned in Step 1 isn’t just a suggestion—it’s critical for next year’s blooms. I use a sunlight calculator app to verify my chosen spot actually gets full sun during peak hours (10am-4pm). Morning sun with afternoon shade works, but avoid north-facing locations that stay too cool.
Depth Discipline: In Step 3, that 1-2 inch planting depth for the eyes makes or breaks your success. Here’s my foolproof method: lay a ruler across the hole’s rim to measure as you backfill. Too deep and you’ll wait years for flowers; too shallow and winter heaving can damage roots. I err on the side of 1.5 inches for perfect results.
Root Handling: When dividing in Step 2, resist the urge to wash roots clean—some soil helps protect them during the move. I use a hose on gentle spray to remove only enough soil to see the eyes clearly. Also, those 3-5 eyes per division aren’t arbitrary: fewer means weak growth, more creates competition that reduces bloom size.
Watering Wisdom: The “1 inch of water weekly” in Step 4 is easier to measure than you think. Place a tuna can in your garden—when it’s full, you’ve hit your target. I water newly transplanted peonies with a soaker hose on low for 30 minutes to ensure deep penetration without runoff. Stop watering when the top inch of soil feels moist but not muddy.
No—transplanting blooming peonies stresses the plant and wastes next year’s flowers. Wait until after the first frost (late September to October) when foliage yellows. If they’re blooming now, mark the spot and revisit post-season. Cutting back stems to 3–4 inches post-transplant helps redirect energy to roots.
Aim for the “eyes” (pink buds on the root crown) no deeper than 1–2 inches below soil. Too deep = no blooms! In cold climates (Zones 3–5), plant shallower (1 inch); warmer zones (6–8) can go slightly deeper. Mound soil lightly over the eyes to prevent winter heaving.
October is ideal (cooler soil, less shock). Spring transplanting is risky—peonies resent disturbance during growth. If you must move them in spring, do it early (before shoots exceed 6 inches) and expect skipped blooms that year. Fall is always best!
Common causes:
Only if the clump is over 10+ years old or crowded. For younger plants (3–5 years), move the entire root ball. To divide: use a clean knife to split into 3–5 eye sections, discarding woody centers. Dust cuts with fungicide to prevent rot. Smaller divisions may take 2–3 years to rebloom.
