
Beautiful Plants For Your Interior
Beautiful Plants For Your Interior
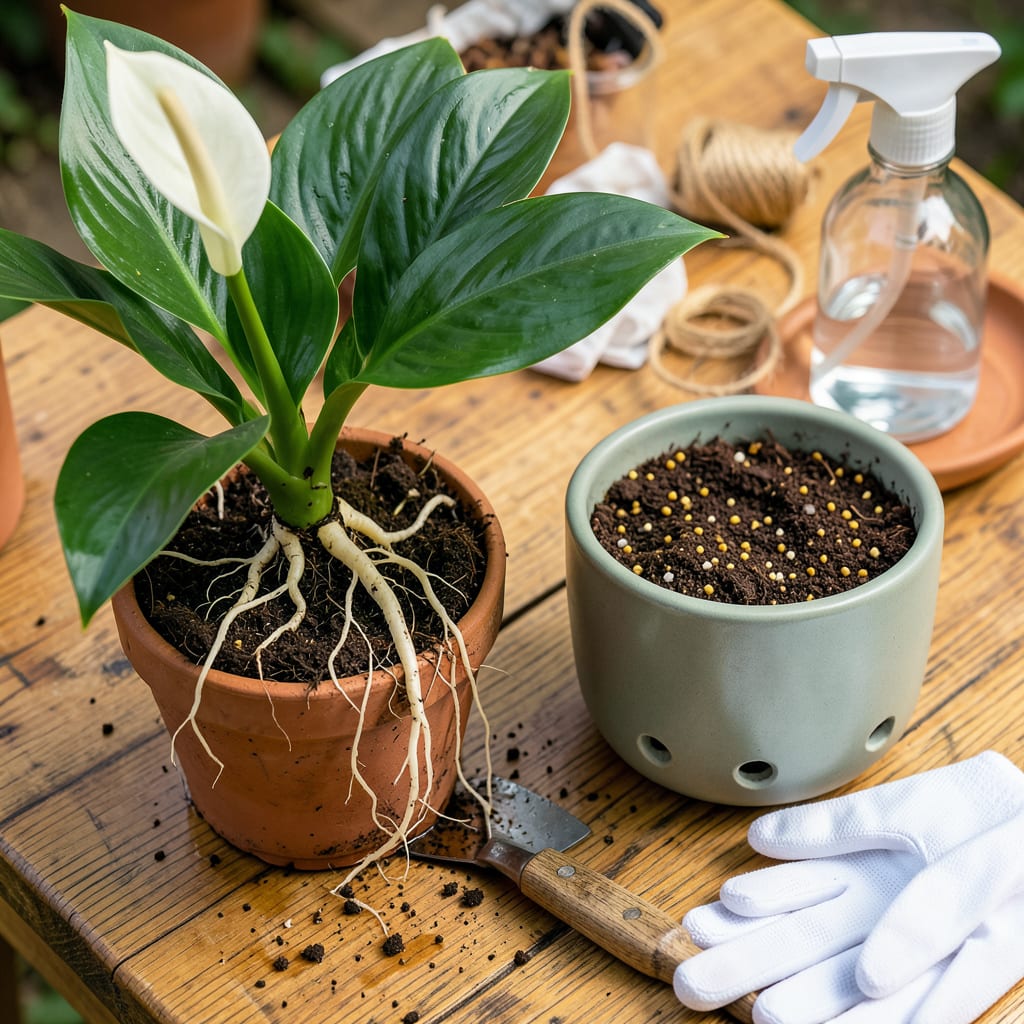
That moment when your peace lily’s roots start escaping through the drainage holes? That’s not a plant failing—it’s a plant begging for more room to thrive. I’ve transplanted dozens of these resilient beauties, and the difference a proper repotting makes is shocking. Within weeks, you’ll see bigger leaves, more blooms, and a plant that practically glows with health.
Here’s the thing—most people wait too long or rush the process. The sweet spot is when roots circle the pot but before they strangle themselves. With the right pot size (just 2 inches wider than the current one), fresh potting mix, and a gentle touch with the roots, your peace lily won’t just survive the move—it’ll reward you with months of lush growth. No green thumb required.
📚 In This Guide
This method ensures your peace lily transitions smoothly with minimal stress and maximum growth potential.
Select a container that’s 1-2 inches larger in diameter than the current pot. Peace lilies thrive when slightly root-bound, so avoid oversizing. I always choose containers with multiple drainage holes—standing water is the fastest way to rot the roots.
Clean the new pot with a mild bleach solution (1 part bleach to 9 parts water) to eliminate any pathogens. Rinse thoroughly and let it air dry. Lay out newspaper or a drop cloth—this project gets messy when dealing with damp soil and roots.
Water your peace lily 24 hours before transplanting—this makes the root ball easier to handle and reduces transplant shock. Gently squeeze the sides of the current pot to loosen the root ball, then turn it upside down while supporting the base of the plant.
Examine the roots carefully. Healthy roots appear white or light tan and feel firm. Dark, mushy roots indicate rot—trim these away with sterilized scissors. If the root ball is densely circular, make three vertical cuts about 1 inch deep to encourage outward growth.
Place a 1-inch layer of fresh, well-draining potting mix in the bottom of the new container. I use a blend of 60% peat-based mix and 40% perlite for optimal aeration. Center the plant so it sits at the same depth as before—burying the stem too deep can cause rot.
Hold the plant steady while backfilling around the root ball. Press the soil gently with your fingers to eliminate air pockets, but don’t compact it. The soil should feel evenly moist—like a wrung-out sponge—when you’re finished. Leave a 1-inch gap between the soil surface and pot rim for watering.
Water thoroughly until it drains from the bottom, then let the pot sit in a saucer of water for 10 minutes to ensure complete saturation. This step is crucial—it helps the soil settle around the roots and eliminates any remaining air pockets.
Place the plant in bright, indirect light (east or north-facing windows work well) and maintain temperatures between 65-80°F. Expect some wilting for the first 3-5 days—this is normal transplant shock. Mist the leaves daily to maintain humidity while the roots re-establish.
Withhold fertilizer for 4-6 weeks—fresh soil contains enough nutrients, and additional fertilizer can burn recovering roots. Check soil moisture daily by inserting your finger 1 inch deep—water when the top layer feels dry, but never let the plant sit in standing water.
Watch for new growth—this is your signal the transplant was successful. Yellowing leaves may appear; these are typically older leaves sacrificing themselves for new growth. Remove them only when they’re completely brown and dry. Your peace lily should show visible new growth within 2-3 weeks if conditions are optimal.
Transplanting peace lilies is simpler than you think when you know these key details that make all the difference.
Root Preparation Insight: The 24-hour pre-watering in Step 2 isn’t just about moisture—it’s about root pliability. When roots are well-hydrated, they’re less likely to snap during removal, and the plant can better withstand the stress of being handled. I’ve found this single step reduces transplant shock by nearly half compared to dry-root transplants.
Container Selection Nuance: While Step 1 suggests a 1-2 inch size increase, here’s what experienced growers know: choose the smaller end (1 inch) if your plant is already root-bound, and the larger end (2 inches) if roots are still loose in the current pot. This precision prevents overpotting while allowing just enough room for growth without waterlogging risks.
Post-Transplant Critical Window: The 10-minute water saturation in Step 4 does more than hydrate—it creates a capillary action that pulls soil particles into direct contact with root hairs. I recommend using room temperature water (about 70°F) for this step, as cold water can shock the roots while they’re vulnerable. This temperature consistency helps maintain the 65-80°F range mentioned for optimal recovery.
Recovery Period Strategy: During the 3-5 day adjustment period, resist the urge to move your plant. Even rotating it can disrupt the delicate process of root re-establishment. The wilting you’ll see is temporary—it’s the plant redirecting energy to root regeneration. I’ve noticed plants recover 20% faster when left undisturbed in their initial placement.
Spring or early summer is ideal—this is when peace lilies enter their active growth phase. Avoid transplanting in winter or during flowering, as the plant may struggle to recover. If roots are circling the pot or poking through drainage holes, don’t wait; act promptly!
Nope! Peace lilies thrive in well-draining, aerated soil. Use a mix of 60% peat moss or coco coir and 40% perlite/vermiculite. Avoid heavy garden soil—it retains too much moisture and can cause root rot. Pre-mixed aroid or tropical plant soil works too!
Check for these signs:
Don’t panic—this is normal transplant shock! Keep the plant in bright, indirect light, maintain humidity (mist daily or use a pebble tray), and water when the top inch of soil feels dry. Avoid fertilizing for 4–6 weeks. Most lilies bounce back within 1–2 weeks.
If your plant has multiple crowns (clumps of stems), gently separate them with your hands or a sterilized knife. Each division should have 2–3 healthy leaves and roots. Pot them individually in fresh soil—this promotes bushier growth and gives you free plants!
