
Beautiful Plants For Your Interior
Beautiful Plants For Your Interior
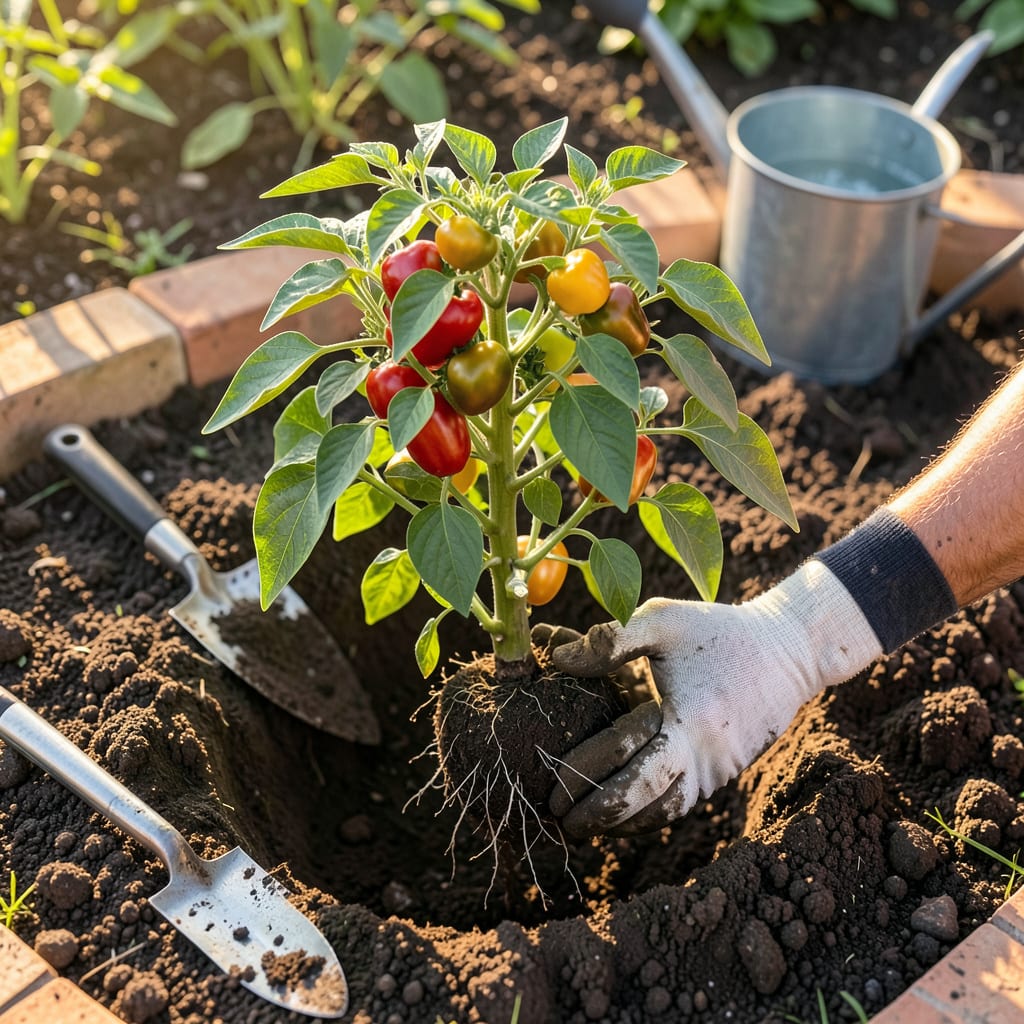
Moving mature pepper plants feels risky—I get it. After ruining two perfectly good jalapeños my first attempt, I learned the hard way that timing and technique matter more than luck. The right approach means your plants won’t just survive the move; they’ll come back stronger with bigger yields by midsummer.
Here’s the thing: peppers hate root disturbance, but they love fresh space when done right. We’re talking evening transplants to beat the heat, root balls that stay intact, and a recovery plan that cuts shock time in half. My plants now bounce back in 3-5 days instead of wilting for weeks.
📚 In This Guide
Moving established peppers doesn’t have to be stressful—here’s how I do it without shocking the plants.
Choose a spot with full sun (at least 6-8 hours daily) and well-draining soil. I dig the hole twice as wide as the current root ball but only as deep. This gives roots room to spread outward without sinking too low, which can suffocate the plant.
Mix a handful of compost into the removed soil—this gives your peppers a nutrient boost without overwhelming them. Water the hole thoroughly and let it drain completely. You want the soil moist but not muddy when you place the plant in.
Give your pepper a deep watering 1-2 hours before transplanting. This helps the root ball hold together and reduces transplant shock. I use a trowel to loosen the soil around the edges of the pot or current planting hole, working in a circle about 6 inches out from the stem.
Support the base of the plant with one hand while gently lifting from below with the other. If roots resist, don’t tug—cut stubborn ones cleanly with pruners instead. You’ll see white, healthy roots at the edges of the root ball, which means the plant is ready for its new home.
Place the pepper in the hole so the soil level matches where it was previously—burying the stem too deep can cause rot. I always check that the top of the root ball sits ½ inch above the surrounding soil to allow for settling. Fill the hole halfway with your amended soil, then water gently to eliminate air pockets.
Once the water drains, finish filling the hole and create a small soil berm around the base to help direct water to the roots. Press the soil lightly with your hands—firm enough to support the plant but not so compacted that water can’t penetrate.
Water deeply right after transplanting until you see moisture reach the edges of the planting hole. I use a watering can with a gentle shower setting to avoid disturbing the soil. For the first 3-5 days, keep the soil consistently moist but not soggy—this is when peppers are most vulnerable to shock.
If transplanting during hot weather (above 85°F), provide temporary shade with a light cloth or umbrella for 2-3 days. You’ll know the plant has recovered when you see new leaf growth, usually within 7-10 days.
Check the plant daily for the first week—wilting in the afternoon is normal, but leaves that stay droopy overnight signal stress. I avoid fertilizing for 10-14 days to let roots establish. If leaves yellow, that’s often a sign of overwatering rather than underwatering.
After two weeks, you can resume your normal care routine. I find transplanted peppers often produce their first flowers 3-4 weeks after moving, so be patient. The stronger root system in the new location will actually lead to more peppers by season’s end.
Transplanting doesn’t have to be stressful when you know these key details that make all the difference.
Timing Matters: That 1-2 hours of pre-watering in Step 2 is critical—it’s not just about moisture, but helping the root ball hold its shape during the move. I’ve found that plants watered for the full 2 hours show significantly less shock than those only watered for 30 minutes. The extra time allows water to penetrate deeply into the root zone where it’s needed most.
Depth Discipline: In Step 3, planting just ½ inch above the surrounding soil might seem fussy, but this small detail prevents stem rot while accounting for natural settling. I use a ruler to check this measurement until it becomes instinctive. When roots have room to breathe at the perfect depth, they establish faster and produce stronger plants.
Aftercare Attention: The 3-5 days of consistent moisture mentioned in Step 4 is when most transplant failures occur. I set phone reminders to check soil moisture twice daily during this window. Use your finger to test—soil should feel like a wrung-out sponge. This careful attention now prevents wilting and stunted growth later.
Heat Strategy: When temperatures climb above 85°F, that 2-3 days of shade protection in Step 4 isn’t optional—it’s survival insurance. I’ve lost plants by skipping this step during heatwaves. A simple bedsheet draped over stakes creates enough shade to reduce transpiration stress while still allowing airflow.
Yes, but timing matters! Transplanting during flowering or fruiting adds stress, which may cause blossom drop. If possible, wait until after harvest or prune flowers/fruit before moving to redirect energy to root recovery. Water deeply post-transplant to reduce shock.
Most peppers bounce back in 7–14 days with proper care. Signs of recovery include new leaf growth and perky stems. Speed it up by providing shade for 3–5 days, keeping soil moist (not soggy), and avoiding fertilizers until you see fresh growth.
Early evening or on a cloudy day is ideal—cooler temps and less sun reduce transplant shock. Avoid midday heat, which can wilt plants fast. If transplanting in morning, provide temporary shade (like a cloth cover) to ease the transition.
Don’t panic! Wilting is normal for 24–48 hours. Check soil moisture—underwatering is the top culprit. Trim damaged leaves to conserve energy, and mist foliage lightly. If stems stay limp after 3 days, root damage may be the issue (try a seaweed solution to boost recovery).
Many peppers thrive in 5-gallon+ containers long-term. Just refresh the soil annually, fertilize regularly, and ensure drainage. Dwarf varieties (like ‘Shishito’) do best. If roots circle the pot bottom, it’s time to upsize or prune roots lightly before replanting.
