
Beautiful Plants For Your Interior
Beautiful Plants For Your Interior
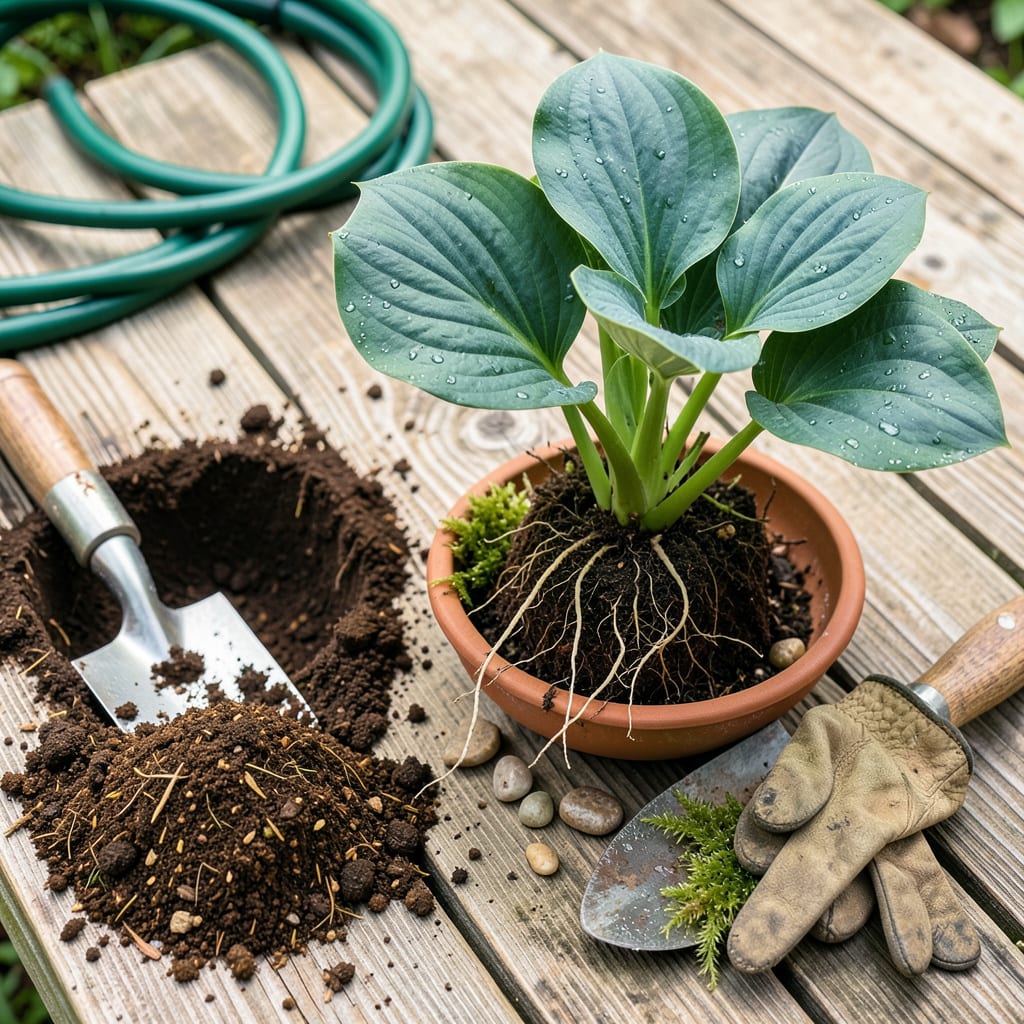
Moving hostas doesn’t have to be stressful—when you do it right, they bounce back stronger than ever. I’ve relocated dozens over the years, and the plants that looked sad for a week always reward me with bigger leaves and more vibrant colors the next season. Timing is everything: early spring or early fall gives roots time to settle before extreme weather hits.
The secret isn’t fancy tools—just a sharp spade, some compost, and knowing how to handle those roots. I ruined my first few by tugging too hard and breaking the crown. Now I dig wide, keep the root ball intact, and water immediately after replanting. Your hostas will tell you they’re happy with new growth in 2-3 weeks if you get this right.
📚 In This Guide
Moving hostas is simpler than you think—follow these steps and your plants will thrive in their new location.
Early spring or early fall works best for transplanting hostas. I aim for 4-6 weeks before the first frost in autumn or just as new shoots emerge in spring. This timing gives roots a chance to establish before summer heat or winter dormancy.
Select a location with partial to full shade—hostas prefer morning sun and afternoon shade. Dig the new hole twice as wide as the root ball and just as deep. Mix a shovelful of compost into the native soil to give your hostas a nutrient boost without overwhelming them.
Use a sharp spade to dig in a circle around the plant, starting 6-8 inches away from the base. Hostas have shallow roots, so go deep enough to get under the entire root system—usually about 8-10 inches down.
Once you’ve loosened the soil all around, gently lift the plant from below. You’ll feel the root ball release when it’s ready. If the plant is large, you might need to divide it first by cutting through the crown with a clean knife—just make sure each division has at least 3-4 shoots and plenty of roots.
Place the hosta in the new hole at the same depth it was growing before—the crown should sit just above soil level. Backfill with your soil-compost mix, gently firming it around the roots to eliminate air pockets. Don’t tamp it down too hard; you want the soil to stay loose enough for roots to spread easily.
Water immediately after planting until the soil is saturated and you see moisture pooling at the surface. I like to create a small soil berm around the edge of the planting hole to help direct water right to the roots. Keep the soil consistently moist (but not soggy) for the first 2-3 weeks while the plant establishes.
Apply a 2-3 inch layer of organic mulch like shredded bark or leaf mold around the base of the plant, keeping it 1 inch away from the stems. This helps retain moisture and protects the shallow roots from temperature fluctuations.
Watch for signs of transplant shock—wilting leaves or yellowing edges are normal for the first few days. If you notice this, provide temporary shade with a light fabric cover until the plant recovers. Avoid fertilizing for at least 4-6 weeks; you want the plant to focus on root growth, not leaf production.
Transplanting hostas successfully comes down to timing and technique—here’s what I’ve learned from years of moving these shade-loving plants.
Timing is Everything: That 4-6 week window before first frost mentioned in Step 1 isn’t arbitrary. I’ve found that transplanting exactly 5 weeks before your average first frost date gives roots the perfect balance of warm soil to establish without stressing the plant. In spring, wait until you see the first leaf tips emerging—this is nature’s signal that the plant is actively growing and will recover quickly from the move.
Root Ball Protection: When digging in Step 2, I always keep a tarp or large piece of cardboard nearby to immediately place the hosta on after lifting it. This prevents the roots from drying out in the sun or wind while you prepare the new hole. For large plants, I actually wrap the root ball in damp burlap during the transition—this extra step makes a noticeable difference in reducing transplant shock.
Watering Wisdom: The 2-3 weeks of consistent moisture mentioned in Step 3 is critical, but here’s what most guides don’t tell you: water in the morning so the plant can absorb moisture before the heat of the day. I use a soaker hose on a gentle setting for 15-20 minutes daily during this period, which mimics natural rainfall better than overhead watering. The soil berm technique works beautifully here—just be sure to dismantle it after the first week to prevent water from pooling against the stem.
Division Strategy: If you’re dividing plants as mentioned in Step 2, I recommend using a serrated knife rather than a straight blade—it cuts through the crown more cleanly with less damage to the roots. Each division should have at least 3-4 healthy shoots, but I aim for 5-6 when possible for more vigorous regrowth. Soak the divided sections in a bucket of water with a drop of hydrogen peroxide (1 teaspoon per gallon) for 10 minutes before replanting to reduce stress and prevent rot.
Got questions about moving your hostas? You’re not alone! Here are the most common concerns—and quick answers—to help your plants thrive in their new home.
Early spring (as shoots emerge) or early fall (4–6 weeks before frost) are ideal. Avoid summer heat, which stresses plants. If you must move them in summer, water deeply before/after and provide shade for a week.
Absolutely! Spring is perfect for dividing overgrown clumps. Use a sharp spade or knife to split the root ball into sections with 2–3 shoots each. Replant divisions immediately and water well to reduce shock.
Transplant shock is normal for 1–2 weeks. Keep soil moist (not soggy) and avoid fertilizer until new growth appears. If wilting persists, check for root damage or poor drainage. Mulch helps retain moisture!
They thrive in well-draining, humus-rich soil. Amend heavy clay or sandy soil with compost (2–3 inches mixed in). Aim for a pH of 6.0–7.5. No fancy mix needed—hostas are adaptable but hate soggy roots!
Keep roots moist and shaded! Wrap the root ball in damp burlap or place the plant in a pot with soil. Store in a cool, shaded spot (like a garage) for up to a week. Avoid direct sun or letting roots dry out.
