
Beautiful Plants For Your Interior
Beautiful Plants For Your Interior
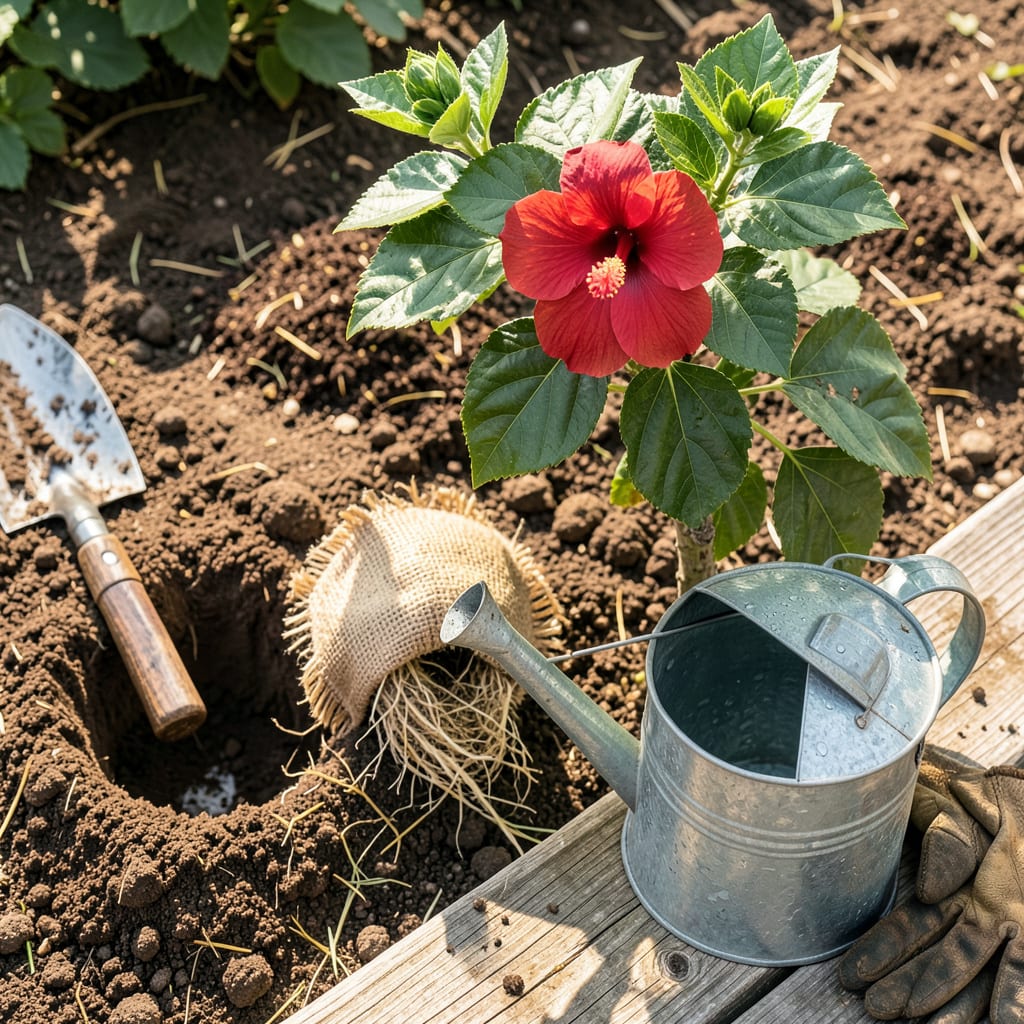
Moving a hibiscus doesn’t have to be a nail-biter. I’ve relocated dozens over the years, and the plants that thrive always follow this simple truth: timing and technique matter more than luck. Transplant when the plant’s semi-dormant—early spring or fall—and you’ll avoid the summer stress that kills most relocated hibiscus before they establish.
The difference between a struggling transplant and one that explodes with blooms next season comes down to three things: keeping the root ball intact, watering immediately after moving, and giving it partial shade for the first week. My biggest mistake? Rushing the process. Now I know—prepare the new hole first, so the roots spend zero time exposed to air.
📚 In This Guide
Moving your hibiscus doesn’t have to be stressful—follow this method for vibrant blooms in their new home.
Transplant hibiscus in early spring just as new growth emerges, or in early fall at least 6 weeks before first frost. This timing allows roots to establish before temperature extremes. Select a location with full sun to partial shade (6+ hours of direct sunlight) and protection from strong winds that can tear large leaves.
Dig the new hole twice as wide as the root ball but no deeper. I test the depth by placing the container in the hole—it should sit 1-2 inches above the surrounding soil to prevent water pooling. Amend the native soil with 20% compost to improve drainage while maintaining structure. Water the hole thoroughly and let it drain before planting.
Water your hibiscus deeply 24 hours before transplanting to hydrate the entire root system. This reduces stress and helps the root ball hold together. On transplant day, prune the plant by one-third—this seems drastic but balances root loss with top growth. Use clean bypass pruners to make cuts just above leaf nodes at a 45-degree angle.
Gently remove the plant from its container by squeezing the sides and tipping it onto your hand. If root-bound, make three vertical cuts down the root ball with a clean knife to encourage outward growth. Never pull the plant out by the stem—this damages the cambium layer and can kill the plant.
Place the hibiscus in the hole at the same depth it grew previously—the soil line on the stem should remain visible. Backfill with your amended soil, gently firming as you go to eliminate air pockets. Create a 3-inch-high water ring around the perimeter to direct moisture to the roots. Water immediately with 2-3 gallons until the soil is saturated and water pools briefly.
Apply a 2-inch layer of mulch (wood chips or pine straw) around the base, keeping it 3 inches away from the stem to prevent rot. The mulch should extend 12 inches beyond the plant’s drip line to protect feeder roots. Stake only if necessary using soft ties that won’t girdle the stem as it grows.
Water deeply every 2-3 days for the first 2 weeks, then taper to weekly deep watering. The goal is 1 inch of moisture per week including rainfall. Check soil moisture by inserting your finger 2 inches deep—it should feel cool and slightly damp, never soggy. Morning watering allows foliage to dry before evening, preventing fungal issues.
Withhold fertilizer for 4-6 weeks to avoid burning new roots. Watch for new leaf growth—this signals successful establishment. If leaves yellow and drop within a week, the plant is adjusting (normal). If wilting persists beyond 3 days, suspect root damage or insufficient water. Apply a balanced 10-10-10 fertilizer at half strength after the recovery period to encourage blooming.
Transplanting hibiscus becomes much easier when you understand these key details that most gardeners overlook.
Timing Precision: The 6 weeks before first frost window in early fall isn’t arbitrary—this exact period allows roots to establish while soil remains warm enough for growth but cool enough to prevent stress. I’ve found that transplanting exactly when nighttime temperatures consistently stay above 50°F gives the best results. In early spring, wait until you see the first tiny leaf buds swelling but before they fully open.
Root Preparation Secret: Those three vertical cuts on root-bound plants aren’t just for show—they serve a critical purpose. Make each cut about 1/4-inch deep and space them evenly around the root ball. This specific technique encourages new root growth in exactly three directions, creating a more stable root system. I use a serrated knife for cleaner cuts that heal faster than torn roots.
Watering Technique: When applying those 2-3 gallons immediately after planting, here’s what matters most: water should penetrate slowly enough to saturate the entire root zone without running off. I place my hose on a gentle trickle at the base of the plant and count to 60 between each gallon. This method prevents soil compaction that can occur with heavy water pressure. The brief pooling you’ll see is normal—it confirms you’ve reached field capacity.
Post-Transplant Monitoring: During that critical 2-week period of watering every 2-3 days, develop this habit: each morning before watering, press your palm against the soil surface. If it feels cooler than the surrounding air, you can safely wait another day. This tactile check is more reliable than visual inspection alone. I’ve saved numerous plants from root rot by using this simple temperature comparison method.
Early spring or fall is ideal—when temps are mild (60–75°F) and plants are dormant or semi-dormant. Avoid extreme heat or frost, which stress roots. Tropical hibiscus can be transplanted year-round in warm climates if watered well.
Water deeply 1–2 days before moving, and trim back ⅓ of foliage to reduce moisture loss. Use root stimulator (like Hormex) and keep soil consistently moist for 2–3 weeks post-transplant. Shade cloth helps if temps spike!
It’s risky but possible in emergencies. Choose a cloudy day, work in early morning, and prune heavily to compensate for root stress. Mulch heavily and water daily for 2 weeks. Avoid if temps exceed 90°F.
Potted: Gently loosen roots if root-bound; plant at the same depth. In-ground: Dig a wide berry (2x root ball), amend soil with compost, and water deeply to settle roots. Both need immediate shade after moving.
Common causes: underwatering, root damage, or sun scorch. Check soil moisture (should be damp 2” down), trim dead leaves, and provide temporary shade. If wilting persists after 3 days, inspect roots for rot or pests.
