
Beautiful Plants For Your Interior
Beautiful Plants For Your Interior
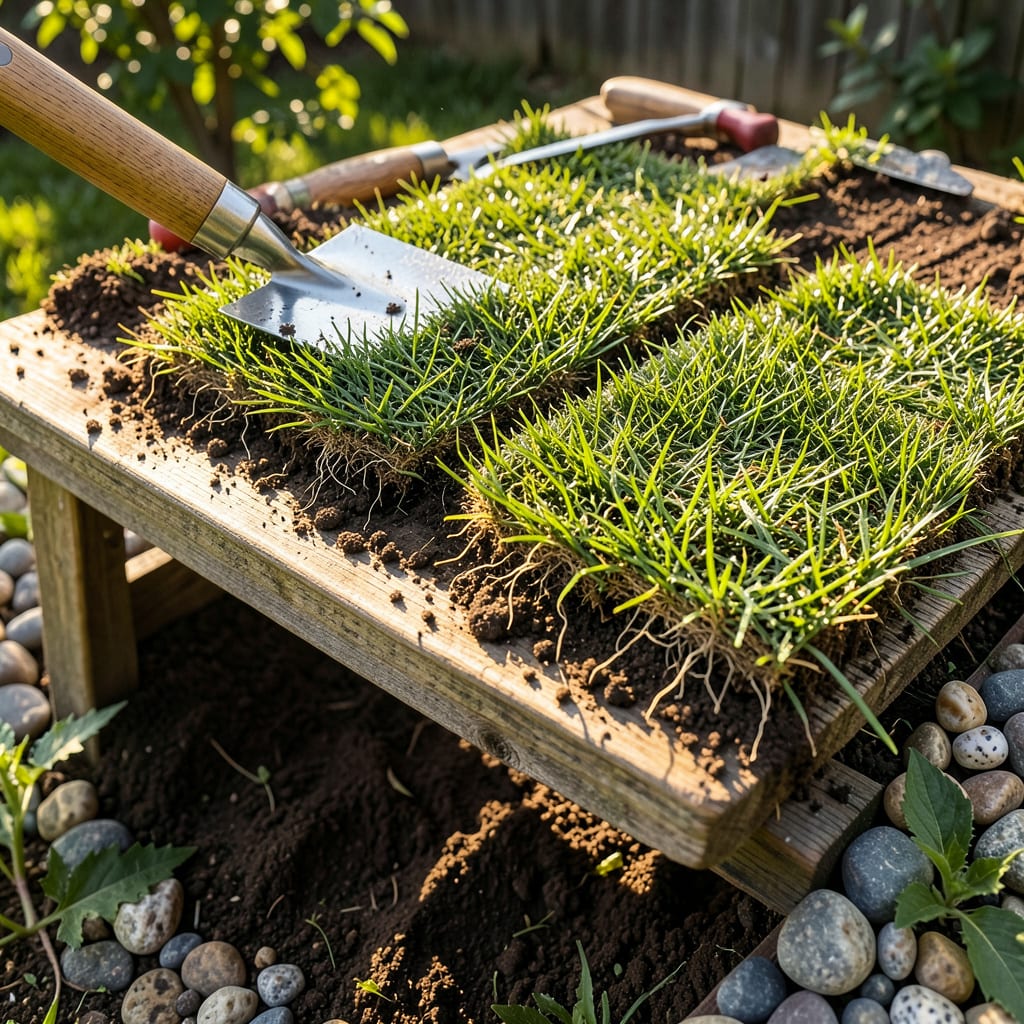
That patchy lawn doesn’t have to stay that way. I’ve moved grass more times than I can count—filling bare spots, relocating sod, even rescuing good patches before a renovation. The difference between success and failure comes down to timing and technique, not luck. Early spring or fall gives roots the perfect conditions to establish before summer heat or winter dormancy hits.
You’ll need just a few basic tools: a sharp spade, watering can, and maybe some compost. The real secret? Keeping the root ball intact and getting the depth right—too shallow and it dries out, too deep and it suffocates. Within 2-3 weeks, those transplanted sections will blend seamlessly into your lawn if you follow these steps.
📚 In This Guide
This method ensures your grass establishes quickly with minimal shock—perfect for patching bare spots or moving sod.
Start by clearing the area of all debris, rocks, and weeds. I use a garden rake to loosen the top 2-3 inches of soil, breaking up any compacted areas. This helps the grass roots penetrate easily and establish contact with the soil right away.
Water the prepared area thoroughly until the soil feels moist 4-6 inches deep. You want damp conditions waiting for the grass—this prevents roots from drying out during the critical first hours after transplanting.
Using a sharp spade or sod cutter, cut the grass into manageable sections about 12 inches square. Slide the spade under each section at a 45-degree angle to lift with as much root system intact as possible. Thicker sections (about 1-1.5 inches deep) survive transplanting better than thin slices.
Work quickly to minimize root exposure. If you can’t replant immediately, keep the sections shaded and mist them lightly with water. I lay them on a tarp to prevent soil from falling away from the roots during transport.
Place each grass section in its new location immediately, pressing down gently so the surface sits level with surrounding soil. Don’t bury the grass—this smothers the crown where new growth emerges. Leave no gaps between sections for uniform coverage.
Stagger the sections like brickwork for better root interlocking as they grow. You’ll see the pattern helps prevent erosion and creates a seamless lawn faster. Water immediately after planting until the soil feels saturated 3 inches down.
Keep the transplanted area consistently moist for the first 10-14 days. Water lightly twice daily—early morning and late afternoon—until the soil stays damp but never soggy. You’ll know it’s working when the grass shows no signs of wilting by midday.
After two weeks, gradually reduce watering to every other day, then to your normal lawn schedule. Avoid heavy foot traffic for 3-4 weeks while roots establish. I mark the area with small flags as a reminder to stay off.
Watch for signs of stress like yellowing or slow growth. If sections appear dry despite watering, they may need better soil contact—gently lift and press them down again. Fertilize lightly after 3 weeks with a balanced lawn food to encourage root development.
Mow only when the grass reaches 3-4 inches tall, never removing more than one-third of the blade height at once. This prevents shock to the newly established plants. You’ll see full recovery and active growth within 4-6 weeks under proper care.
Getting grass to thrive after transplanting comes down to a few key details—here’s what I’ve learned from years of trial and error.
Preparation is Everything: In Step 1, when you’re loosening the top 2-3 inches of soil, don’t rush this step. I use a garden fork to break up any compacted areas thoroughly, then rake the surface completely level. This ensures the grass sections will make full contact with soil rather than sitting on uneven lumps. The extra 10 minutes here prevents weeks of patchy growth later.
Root Protection During Transport: Between Steps 2 and 3, if you must transport grass sections, lay them on a damp tarp and cover with another damp tarp. This creates a humid microclimate that keeps roots from drying out. I once lost an entire section because I left it exposed to sun for just 20 minutes—the roots became brittle and wouldn’t take when replanted.
Watering Technique Matters: During the critical 10-14 day period in Step 4, use a fine mist nozzle rather than a heavy stream. The gentle spray prevents soil erosion around new roots while ensuring even moisture distribution. I water in two passes—first to wet the surface, second to penetrate deeper—this mimics natural rainfall patterns that grass responds to best.
The First Mow is Critical: When you reach the 3-4 inch height in Step 5, use a sharp blade and mow when the grass is completely dry. Wet grass tears rather than cuts cleanly, creating entry points for disease. I set my mower to its highest setting for the first cut, removing just the top third as specified—this maintains enough leaf surface for photosynthesis while encouraging thicker growth.
Summer heat stresses grass, making survival harder. For warm-season grasses (like Bermuda or Zoysia), early summer may work if you water deeply 2x daily for 2 weeks. Cool-season grasses (Kentucky Bluegrass, Fescue) should only be moved in spring/fall. Avoid mid-summer transplants—wait for milder temps!
Expect 2–4 weeks for roots to anchor, but full establishment takes 4–8 weeks depending on grass type, weather, and care. Warm-season grasses often root faster than cool-season varieties. Keep soil moist (not soggy) and avoid heavy foot traffic during this period.
If transplanting seems tough, try:
Common culprits:
Yes! This is called “sod cutting” or “plugging.” Use a sharp spade to cut 2–4″ deep patches (include roots). Water both the donor and recipient areas before/after moving. Best done in early spring or fall for minimal shock. Avoid taking more than 20% of grass from one area to prevent bare spots.
