
Beautiful Plants For Your Interior
Beautiful Plants For Your Interior
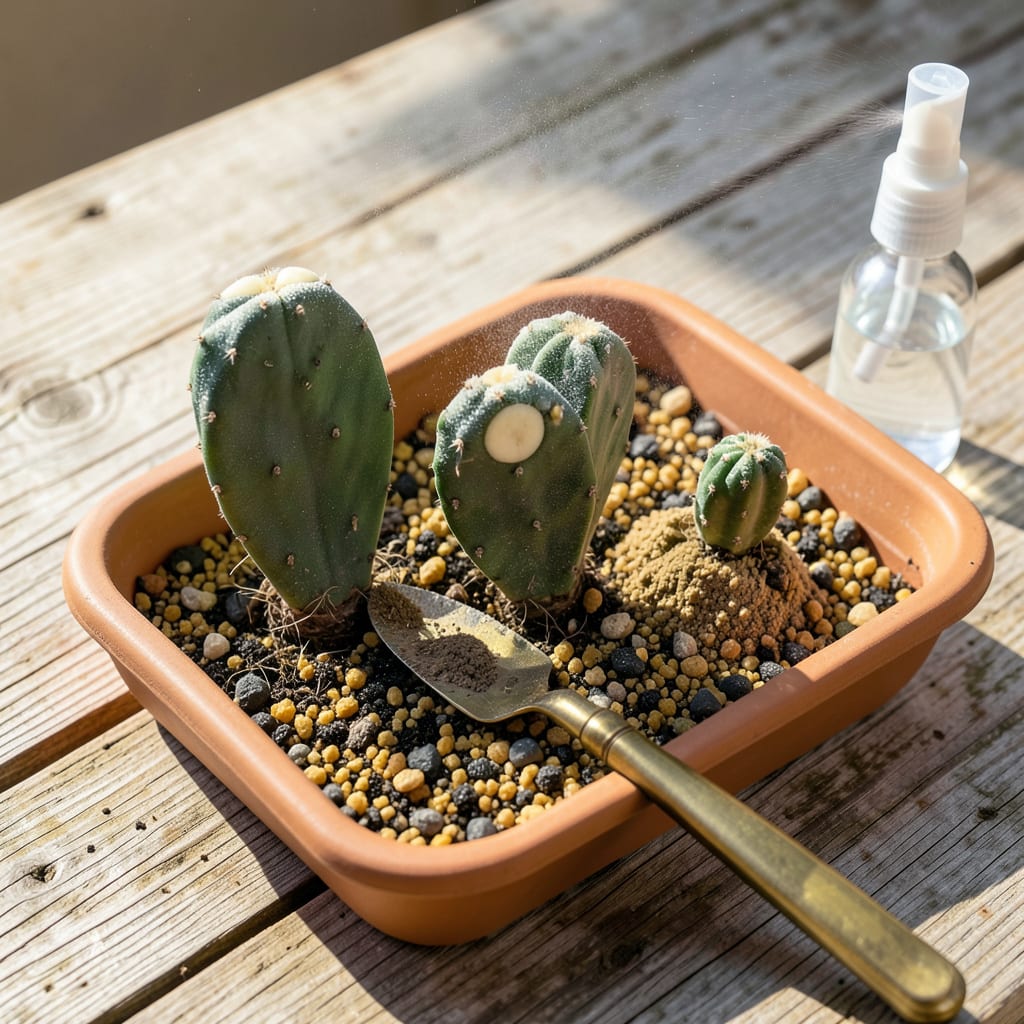
I used to lose half my cactus cuttings to rot before I figured out the right way to transplant them. The difference between a thriving new plant and a mushy failure comes down to two things: patience during callusing and the perfect soil mix. No fancy tools required—just a sharp knife, some gritty soil, and knowing when (and when not) to water.
What you end up with is a cactus that establishes roots fast, avoids the dreaded stem rot, and starts growing like it’s been in that pot for years. The process takes less than 20 minutes of active work, but the callusing step—where most people rush—is what guarantees success. Trust me, waiting a few extra days now saves you from heartbreak later.
📚 In This Guide
This method ensures your cuttings develop strong roots without rot—perfect for even the most delicate cactus varieties.
Start with cuttings that have already callused over—this usually takes 3-7 days in a dry, shaded spot. The callus should feel firm and dry to the touch, like a thin layer of wax paper over the cut surface. If it still looks moist or sticky, wait another day or two.
I always check by gently pressing the base—if it gives slightly or feels damp, it needs more time. Rushing this step invites rot, and once that starts, there’s no saving the cutting. Use clean, sharp scissors to trim any jagged edges if needed, but avoid creating fresh wounds.
Use a well-draining cactus mix—either commercial or a homemade blend of 50% potting soil and 50% perlite or coarse sand. The texture should feel gritty when rubbed between your fingers, not dense or clumpy. Fill your container to about 1 inch from the top.
Moisten the mix lightly with water until it just holds together when squeezed, but no water should pool on the surface. Overly wet soil suffocates cactus roots, so err on the side of too dry rather than too wet. Tap the container to settle the mix, but don’t compact it—roots need air pockets to breathe.
Create a small hole in the soil with your finger or a pencil, just deep enough to hold the cutting upright. For most cacti, this means burying about 1/4 to 1/2 inch of the base—enough to anchor it without covering the callused area. Gently press the soil around the base to secure it.
If the cutting wobbles, add a small stake or surround it with pebbles for support. Avoid watering immediately—wait 5-7 days to let any minor root damage from planting heal. You’ll know it’s working when the cutting feels firm in the soil and doesn’t topple over.
Place the newly planted cuttings in bright, indirect light—an east-facing window or under a grow light works well. Direct sun at this stage can scorch the delicate new roots. Maintain temperatures between 65-80°F; cooler conditions slow root development, while extreme heat stresses the plant.
Resist the urge to check for roots by tugging the cutting. Instead, watch for new growth at the top—tiny spines or buds forming means roots are establishing below. This typically takes 2-4 weeks, though some species may take longer. Patience here ensures a strong foundation.
Once roots are established (you’ll see noticeable new growth), begin introducing the cactus to direct sunlight. Start with 1-2 hours of morning sun per day, gradually increasing over 7-10 days. This prevents sunburn, which appears as bleached or brown patches on the skin.
Water lightly every 10-14 days, allowing the soil to dry completely between waterings. The top 1-2 inches should feel bone-dry before you water again. Overwatering is the most common mistake—remember, these plants thrive on neglect, not attention.
Transplanting cactus cuttings successfully comes down to patience and precision—here’s what I’ve learned from years of trial and error.
The Callusing Process: Those 3-7 days mentioned in Step 1 are absolutely critical. I’ve ruined cuttings by rushing this step, thinking they looked “dry enough.” The callus should feel like a thin layer of wax paper—firm and completely dry. If you’re unsure, wait another day. This barrier protects against rot when planted, and once rot starts, there’s no saving the cutting. Trust me, it’s worth the extra time to get this right.
Soil Preparation: In Step 2, when mixing your 50% potting soil and 50% perlite or coarse sand, don’t just eyeball it. I measure by volume for consistency. The mix should feel gritty, almost like coarse beach sand. If it clumps when squeezed, add more perlite. Remember, cactus roots need air more than they need water, so err on the side of too dry rather than too moist when preparing your medium.
Planting Depth: The 1/4 to 1/2 inch depth in Step 3 might seem shallow, but it’s perfect. Burying too deep covers the callused area, which can lead to rot. If your cutting is top-heavy and wobbles, use small pebbles or a thin stake for support rather than planting deeper. I’ve found that surrounding the base with a few small rocks works better than stakes for most cacti, as it provides stability without piercing the plant.
Watering Discipline: The 5-7 days wait before first watering in Step 3 is non-negotiable. I know it’s tempting to water immediately to “help” the cutting settle, but this is when most people kill their cacti. The waiting period allows any micro-tears from planting to heal. When you do water, use just enough to moisten the top inch of soil—think of it as a light misting rather than a thorough watering.
Rooting time varies by species, but most cacti take 2–6 weeks to develop roots. Faster-rooting types (like Opuntia or Echeveria) may sprout in 10–14 days, while slower growers (like Saguaro) can take months. Keep soil lightly moist (not soggy) and provide bright, indirect light to speed up the process.
Skip the water! Cacti hate soggy conditions—water rooting often leads to rot. Instead, plant cuttings directly in well-draining soil (like a cactus/succulent mix with perlite). Callusing the cut end for 1–3 days before planting reduces rot risk and improves success rates.
Yellowing or mushiness = overwatering or poor drainage. Stop watering immediately, check for root rot (black, slimy roots), and repot in fresh, dry soil. If the cutting is salvageable, let it callus again before replanting. Ensure your pot has drainage holes!
Aim for spring or early summer—when cacti are actively growing. Avoid winter (dormancy slows rooting) or extreme heat (stresses cuttings). If transplanting indoors, maintain temps around 70–80°F for optimal root development.
Not required, but it can help! Rooting hormone (powder or gel) speeds up root growth, especially for stubborn species. Dip the callused end lightly before planting. Skip it for easy-rooting cacti like Jade Plant or Christmas Cactus to avoid overcomplicating the process.
