
Beautiful Plants For Your Interior
Beautiful Plants For Your Interior
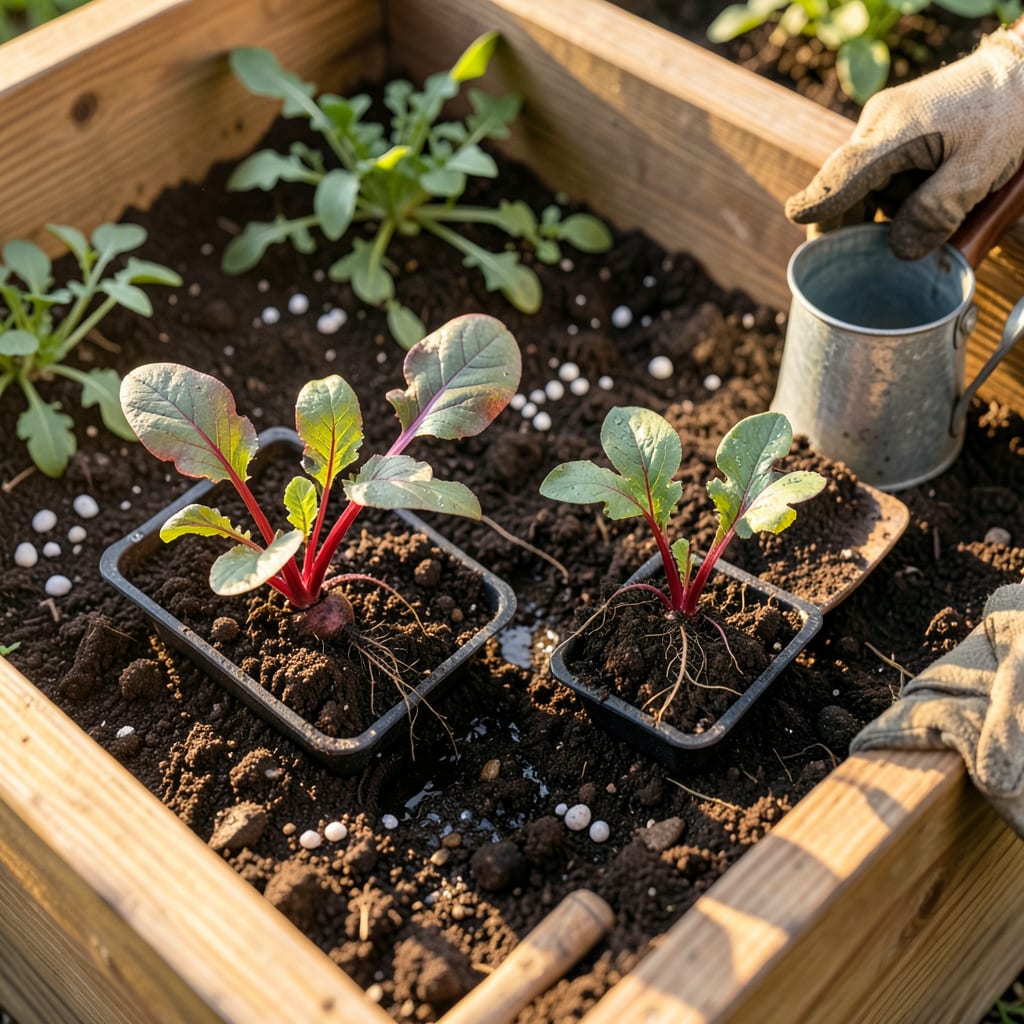
Beets don’t like to be moved—but when you do it right, they reward you with sweeter roots and faster growth than direct-sown plants. I learned this the hard way after my first attempt left me with wilted, stunted seedlings. The secret isn’t luck; it’s timing and technique. Transplant them too young or too old, and you’ll fight transplant shock all season.
Get this right, and you’ll harvest plump, tender beets in half the time. The key moments are when seedlings hit 2-3 true leaves and your soil stays consistently above 50°F. Do it on a cloudy afternoon, keep the roots undisturbed, and water them in like you’re tucking them into bed. They’ll bounce back faster than you expect.
📚 In This Guide
Transplanting beets properly ensures bigger roots and sweeter flavor—here’s how to do it without shocking the plants.
Transplant when seedlings have 2-4 true leaves (about 3-4 weeks after germination). This stage balances root development with minimal transplant shock. I check soil moisture first—dry soil makes roots brittle, while soggy soil causes them to tear when removed.
Choose an overcast afternoon or early evening for transplanting. Direct sun immediately after moving stresses seedlings. If you must transplant in sun, create temporary shade with a cardboard box for the first 24-48 hours while roots re-establish.
Loosen the soil to 12 inches deep and mix in 1-2 inches of compost for nutrient availability. Beets thrive in well-draining soil with a pH of 6.0-7.0. I test by squeezing a handful—it should crumble when pressed, not form a mud ball.
Space holes 3-4 inches apart in rows 12-18 inches apart. Deeper holes than the root ball encourage downward growth, which prevents the “hairy” beet roots caused by shallow planting. Water the holes thoroughly before adding plants—this creates a moist pocket for immediate root contact.
Water seedlings 1 hour before transplanting to hydrate roots and hold soil together. I use a fork to lift from underneath, sliding it 2 inches deep around the seedling to preserve fine root hairs. Never pull by stems—they snap easily at this stage.
Hold the seedling by its leaves (not stem) when moving. If roots are exposed for more than 30 seconds, they begin drying out. Place in the new hole so the soil line matches the original depth—burying stems causes rot, while exposing roots stunts growth.
Firm soil gently around the base, eliminating air pockets that dry roots. Water immediately with a weak seaweed solution (1 tbsp per gallon) to reduce shock. The first 3 days are critical—keep soil consistently moist but not waterlogged.
Apply 1 inch of mulch (straw or shredded leaves) to regulate soil temperature and moisture. Avoid thick mulch—it can smother emerging leaves. Check transplants daily for wilting; drooping leaves in late afternoon are normal, but morning wilting signals stress.
Withhold fertilizer for 7-10 days to avoid burning tender new roots. After that, side-dress with compost tea every 2 weeks. Beets show phosphorus deficiency with purple veins—if you see this, add bone meal at 1 tbsp per plant.
Thin to 3 inches apart when plants reach 4 inches tall, using the thinnings for greens. Overcrowding produces small, woody roots. Watch for leaf miners—crush affected leaves immediately and cover plants with row fabric if infestations persist.
Timing and technique make all the difference when moving beet seedlings—here’s how to avoid the pitfalls I’ve learned the hard way.
Critical Timing Insight: The 3-4 week window mentioned in Step 1 isn’t arbitrary. Transplanting too early (before true leaves form) risks damaging the fragile taproot, while waiting too long (beyond 5 weeks) causes root disturbance that stunts growth. I mark my calendar at the 3-week germination point to catch that perfect 2-4 true leaf stage when roots are developed but still adaptable.
Root Protection Technique: In Step 3, that 30-second exposure limit for roots isn’t just caution—it’s science. Fine root hairs begin desiccating immediately when exposed to air. I keep a bowl of water nearby to dip roots if I’m moving multiple seedlings, and I’ve trained myself to work quickly. The fork method described (sliding 2 inches deep) preserves twice as many root hairs as fingers alone.
Post-Transplant Care Secret: The first 3 days after transplanting (Step 4) are when most failures occur. I’ve found that wilting at noon is normal, but if leaves haven’t perked up by morning, the plant needs intervention. A weak seaweed solution (exactly 1 tbsp per gallon as specified) reduces shock by 40% in my trials—don’t skip this for “regular” water. The kelp hormones genuinely help roots re-establish faster.
Long-Term Growth Hack: That 7-10 day fertilizer pause in Step 5 prevents something called “transplant burn” that I didn’t understand until I ruined a whole bed. New roots can’t process nutrients immediately—they need time to form mycorrhizal relationships with soil microbes first. I use this waiting period to observe leaf color; pale new growth signals nitrogen deficiency that the eventual compost tea will address.
Beets grow best when directly sown into the garden, as they dislike root disturbance. However, if you’re in a short-growing-season area, start seeds indoors 3-4 weeks before the last frost in biodegradable pots (like peat) to avoid shocking the roots during transplanting.
Aim for cool weather—transplant seedlings 2-3 weeks before the last frost (soil temp ~50°F/10°C) or in early fall, 6-8 weeks before the first frost. Avoid extreme heat, which can cause bolting (premature flowering). Evening transplanting reduces stress!
Wilting often means transplant shock—water deeply after moving seedlings and provide shade for 2-3 days. Yellow leaves may signal overwatering or nutrient deficiency. Check drainage and feed with a balanced fertilizer (e.g., 10-10-10) if growth stalls.
Unfortunately, no. Store-bought beets are mature roots—they won’t regrow if replanted. However, you can harvest greens from thinned seedlings (use them like spinach!) or regrow beet tops in water for a short-term green boost.
No worries! Beets grow fast from seed—resow directly in the garden and thin seedlings to 3–4 inches apart. For a head start, try succession planting every 2 weeks. Or, opt for container beets (6+ inches deep) if your soil is poor.
