
Beautiful Plants For Your Interior
Beautiful Plants For Your Interior
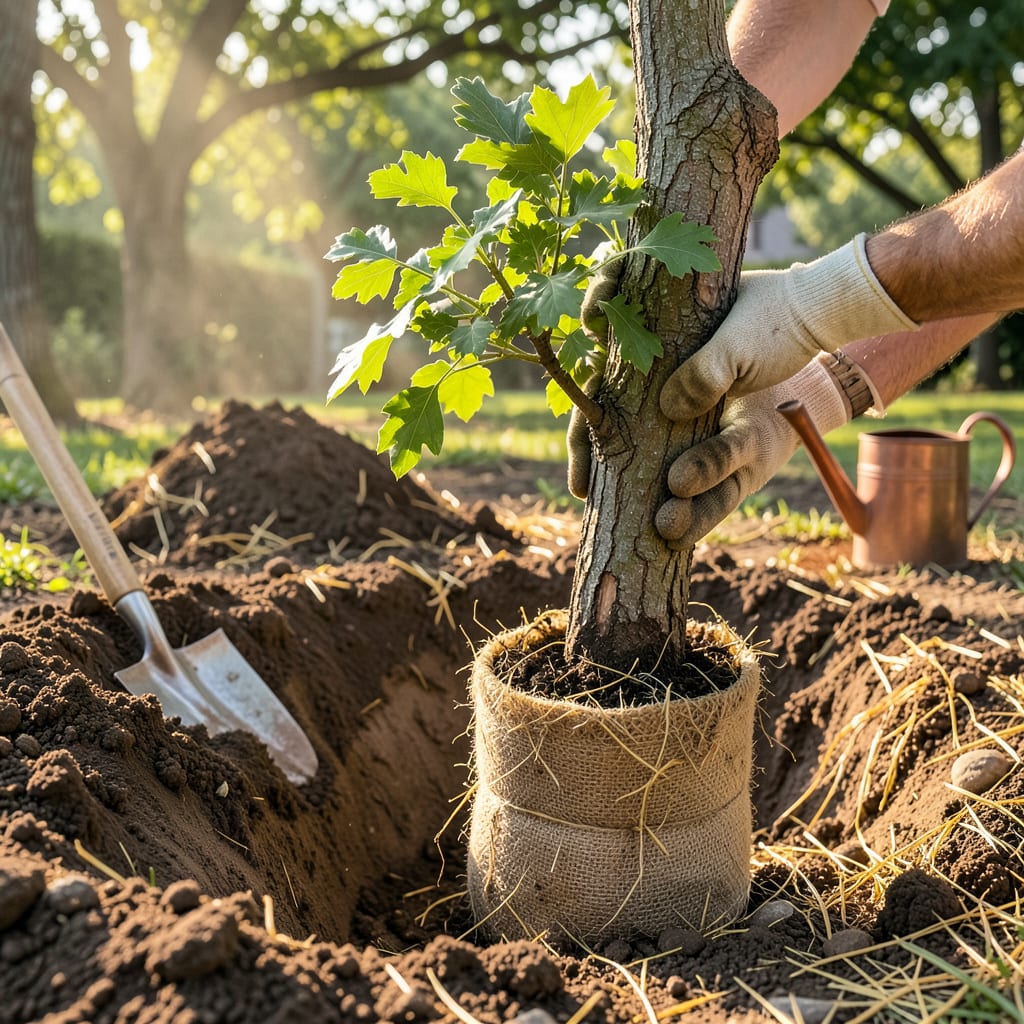
Moving an oak tree isn’t just about digging and replanting—it’s about giving a living legacy a second chance. I’ve relocated dozens of trees over the years, and the difference between a thriving transplant and a struggling one comes down to timing and technique. Late winter or early spring, when the tree is still dormant but the ground isn’t frozen, is your golden window for this project.
You’ll need patience and the right approach: a sharp spade, burlap to protect the roots, and a plan for keeping that root ball intact. The goal isn’t just to move a tree—it’s to ensure it establishes new roots and grows stronger in its new home. Get this right, and you’ll have a healthy, flourishing oak that outlives us all.
📚 In This Guide
Moving an established oak takes patience and precision, but this method ensures your tree thrives in its new home.
Dig a hole at the new location that’s twice as wide as the tree’s root ball but no deeper than the current root depth. I use a shovel to create sloped sides so roots can spread naturally. Test the hole size by placing the root ball inside—you should have 3-4 inches of clearance on all sides.
Mix the excavated soil with 20% compost to improve drainage and nutrient availability. Oak roots establish better in loose, well-aerated soil. Remove any rocks or debris that could obstruct root growth. Water the hole thoroughly before planting to create a moist environment for the roots.
Start digging 12-18 inches away from the trunk for every inch of trunk diameter. For a 2-inch diameter tree, that means a 2-3 foot wide root ball. Use a sharp spade to cut cleanly through roots—this encourages new growth at the cut ends.
Wrap the root ball in burlap as you dig to keep it intact. For trees over 4 feet tall, you’ll need help lifting—oak root balls weigh hundreds of pounds. Keep the root ball moist by spraying with water every 15-20 minutes during the process. Never let roots dry out.
Move the tree immediately to its new hole using a tarp or wheelbarrow. Position it so the trunk flare (where roots meet trunk) sits 1-2 inches above ground level. This prevents water from pooling at the base. Have someone check from multiple angles to ensure it’s straight.
Backfill with your soil-compost mix in 3-inch layers, gently tamping each layer to eliminate air pockets. Water thoroughly after each layer—this settles soil naturally. Stop filling when you reach the original soil line marked on the trunk. Create a 3-inch high water ring around the perimeter to direct moisture to roots.
Install three sturdy stakes at equal distances around the tree, about 18 inches from the trunk. Use wide, flexible tree ties that allow some movement—this strengthens the trunk. Check ties monthly and loosen if they cut into bark as the tree grows.
Apply 3-4 inches of organic mulch (wood chips or shredded bark) over the root zone, keeping it 2 inches away from the trunk. Mulch conserves moisture and regulates soil temperature. Water deeply immediately after planting, then maintain 1 inch of water per week for the first growing season.
Check soil moisture weekly by digging 2 inches deep—it should feel moist but not soggy. New transplants need consistent moisture but hate waterlogged roots. Watch for wilting leaves in afternoon heat, which signals the tree needs water.
Remove any dead or damaged branches immediately using clean pruners. Don’t fertilize until the second growing season—new roots need to establish first. You’ll know the tree is recovering when you see new leaf growth and the trunk feels firm when gently pushed. Most oaks take 1 year per inch of trunk diameter to fully establish.
Transplanting an oak tree successfully comes down to protecting the roots and giving the tree the best possible start in its new location. Here’s what I’ve learned from years of experience that makes all the difference.
Root Ball Protection: In Step 2, when excavating the root ball, keep it wrapped in burlap the entire time—even during transport. I’ve found that exposing roots to air for even a few minutes can cause damage. The 15-20 minute moisture spraying interval is critical; set a timer so you don’t accidentally let the roots dry out. For trees taller than 4 feet, use a tarp to drag the root ball rather than lifting—this prevents the burlap from tearing and soil from falling away.
The Watering Technique That Changed Everything: During the backfilling process in Step 3, don’t just water at the end—water thoroughly after each 3-inch layer of soil. This eliminates air pockets more effectively than tamping alone. I use a gentle shower setting on my hose to avoid disturbing the soil. The 3-inch water ring you create at the end should hold water for at least 10 minutes after watering; if it drains too quickly, the ring needs to be higher or more compacted.
Staking Strategy: When installing the three stakes in Step 4, position them at a 120-degree angle from each other for maximum stability. I’ve seen many people place stakes too close to the trunk—the 18-inch distance is important because it allows the root ball to settle naturally without restriction. Use soft, wide tree ties (at least 1-inch wide) and check them monthly; I’ve had ties cut into bark when left unchecked during rapid spring growth.
First Year Monitoring: The instruction to check soil moisture 2 inches deep in Step 5 is more important than most realize. Oak roots are surprisingly shallow, and that 2-inch depth is where most of the active roots will be during the first year. I use a simple soil probe or even a long screwdriver—if it comes out with soil sticking to it, the moisture is right. The “1 inch of water per week” guideline translates to about 5 gallons for a 2-inch diameter tree; adjust proportionally for larger trees.
The best time is late fall to early spring when the tree is dormant. Avoid extreme heat or cold—aim for mild weather to reduce stress on the roots. Summer transplanting risks shock due to high water demand.
Trees under 2–3 inches in trunk diameter (or ~10 ft tall) transplant most successfully. Larger oaks (4+ inches) require professional equipment and expertise—roots become too extensive for DIY moves without risking damage.
Deep watering (1–2x weekly for 1–2 years) and mulching (3–4 inches of wood chips) are key. Avoid fertilizing the first year—focus on root recovery. Stake only if unstable, and prune broken branches post-transplant.
Container-grown oaks adapt faster (intact root ball). Bare-root trees (cheaper) need immediate planting and extra care to prevent drying. For large moves, ball-and-burlap (B&B) is ideal but heavier to handle.
This is transplant shock—common in the first few weeks. Check for underwatering (dry soil) or overwatering (soggy roots). Trim dead foliage, shade young trees, and avoid heavy pruning until the tree stabilizes.
