
Beautiful Plants For Your Interior
Beautiful Plants For Your Interior
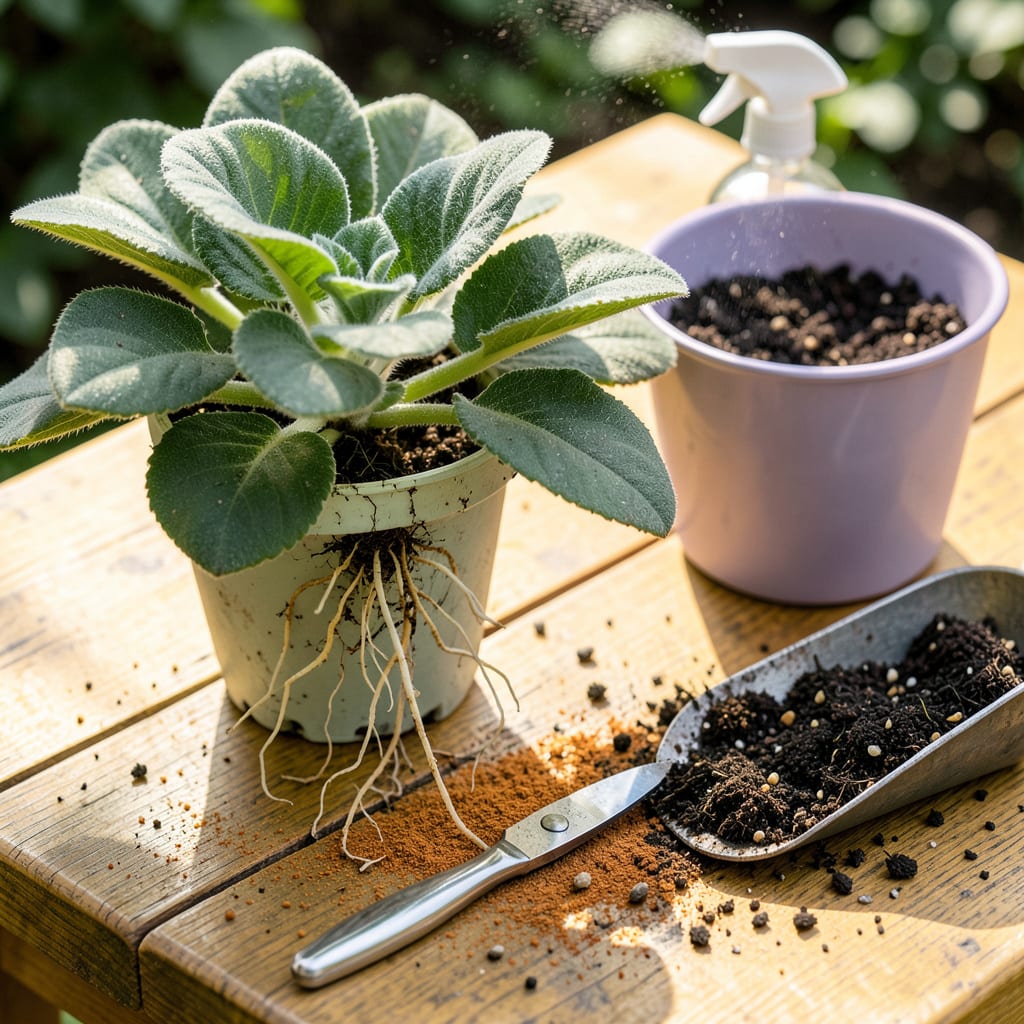
That moment when your African violet looks sadder than usual? It might be begging for a new home. I’ve rescued dozens of these delicate plants by learning when and how to transplant them properly—before they get root-bound or their soil turns to dust.
The process is simpler than you think. With the right pot size, fresh soil mix, and gentle handling, your violet will reward you with bigger leaves and more blooms within weeks. No green thumb required—just follow these steps to give your plant the fresh start it deserves.
📚 In This Guide
Here’s the gentle method I use to move these delicate plants without shocking their roots or losing blooms.
Choose a pot that’s only 1-2 inches larger in diameter than the current one—African violets bloom best when slightly root-bound. I always use plastic or glazed ceramic pots because unglazed terra cotta wicks away too much moisture from these moisture-loving plants.
Fill the new container one-third full with fresh African violet potting mix. Don’t use regular potting soil—it’s too dense and retains excessive moisture. The right mix feels light and fluffy, almost like sifted compost. Moisten it slightly with warm water until it just holds together when squeezed.
Water your African violet lightly 1 hour before transplanting to help the root ball hold together. Turn the pot sideways and tap the rim against a table edge while supporting the plant’s base between your fingers. The root ball should slide out intact when you tilt the pot downward.
If the plant resists, run a butter knife around the inside edge of the pot to loosen the roots. Never pull on the leaves—they break easily, and damaged foliage invites rot. Healthy roots appear white with some brown strands; black or mushy roots indicate overwatering issues you’ll need to address.
Place the root ball in the new pot so the plant sits at the same depth as before—the crown (where leaves meet roots) should rest just above the soil line. Burying the crown causes stem rot. I use a chopstick to position the plant perfectly while keeping my fingers clean.
Fill around the root ball with fresh mix, tapping the pot gently to settle the soil. Leave ½ inch of space at the top for watering. Don’t press the soil down firmly—African violet roots need air pockets. The finished plant should feel secure when you lift it gently by the leaves.
Water from the bottom by placing the pot in 1 inch of lukewarm water for 20 minutes. This encourages roots to grow downward while preventing water from touching the leaves, which causes ugly brown spots. After 20 minutes, remove the pot and let excess water drain completely.
Place the plant in bright, indirect light (east or north windows work well) and avoid fertilizing for 4-6 weeks. You’ll see new growth within 2-3 weeks—that’s your sign the transplant was successful. Keep the soil consistently moist but never soggy during this adjustment period.
Check the plant daily for the first week. Wilting leaves indicate either underwatering or overwatering—stick your finger 1 inch deep into the soil to determine which. Yellowing lower leaves are normal as the plant redirects energy to new growth.
Rotate the pot quarter-turn weekly so the plant grows evenly. You’ll notice the first new leaves appear in the center—these will be smaller and lighter green than mature leaves. Once you see flower buds forming (typically 6-8 weeks after transplanting), you can resume your normal fertilizing schedule.
Here’s what I’ve learned from years of transplanting these delicate beauties—small details that make a big difference in your plant’s recovery.
Pot Selection Secret: In Step 1, that 1-2 inch size increase is crucial. I ruined several violets by using pots that were too large, thinking they’d have “room to grow.” The truth is, these plants bloom best when slightly root-bound. A pot that’s too big leads to excessive moisture retention and poor flowering. Plastic or glazed ceramic pots work best because they maintain consistent moisture levels—terra cotta dries out too quickly for these moisture-loving plants.
Root Handling Technique: When removing the plant in Step 2, here’s what nobody tells you: the one hour of pre-watering isn’t just about keeping the root ball intact. It actually reduces transplant shock by ensuring the roots are hydrated before disturbance. If your plant resists coming out, don’t force it. Instead, gently squeeze the sides of the plastic pot (if using one) to loosen the root ball—this often works better than tapping. And remember, those white roots with some brown strands are healthy—don’t panic if they’re not pure white.
Positioning Precision: Step 3’s instruction about keeping the crown above soil level isn’t just suggestion—it’s critical. I learned this the hard way after losing two plants to stem rot. Use that chopstick trick mentioned in the instructions; it gives you precise control without disturbing the roots. Here’s my addition: after positioning, gently rotate the pot while looking at the plant from all angles to ensure it’s perfectly centered. An off-center plant will grow unevenly and may topple as it matures.
Watering Wisdom: The 20-minute bottom watering in Step 4 serves two purposes: it encourages roots to grow downward (which stabilizes the plant) and prevents water spots on leaves. But here’s my pro tip: use room temperature water, not cold. Cold water can shock the roots after transplanting. Also, after the 20 minutes, let the pot drain for at least 15 minutes—soggy bottoms are the number one cause of transplant failure. I place my violets on a rack during this draining period to ensure proper airflow.
African violets thrive when repotted every 6–12 months to refresh soil and prevent root crowding. Look for signs like roots circling the pot or soil drying out too quickly. Spring or early summer is ideal for transplanting, as the plant is in its active growth phase.
No! Regular soil is too dense and retains excess moisture, leading to root rot. Always use a well-draining, lightweight African violet mix (or make your own with peat moss, perlite, and vermiculite). This mimics their natural airy, slightly acidic growing conditions.
Wilting is often due to overwatering or root damage. Let the soil dry slightly before watering again, and avoid compacting the roots. Keep the plant in bright, indirect light (no direct sun!) for a week to reduce stress. Trim any mushy roots if rot is suspected.
Gently separate healthy offsets (baby plants) from the mother plant and pot them individually. You can also propagate from leaf cuttings—just snip a healthy leaf with a stem, dip in rooting hormone, and place in moist soil or water.
Water lightly immediately after repotting to settle the soil, but avoid soaking it. Wait until the top inch of soil feels dry before watering again (usually 5–7 days). Use room-temperature water to prevent shocking the roots.
