
Beautiful Plants For Your Interior
Beautiful Plants For Your Interior
I lost three orchids to root rot before realizing the water was the problem. Tap water carries invisible threats—chlorine, minerals, and microbes that slowly damage those delicate roots. After switching to sterilized water, my plants developed thicker roots and produced more blooms than ever. The fix isn’t complicated: three simple methods that take minutes but […]
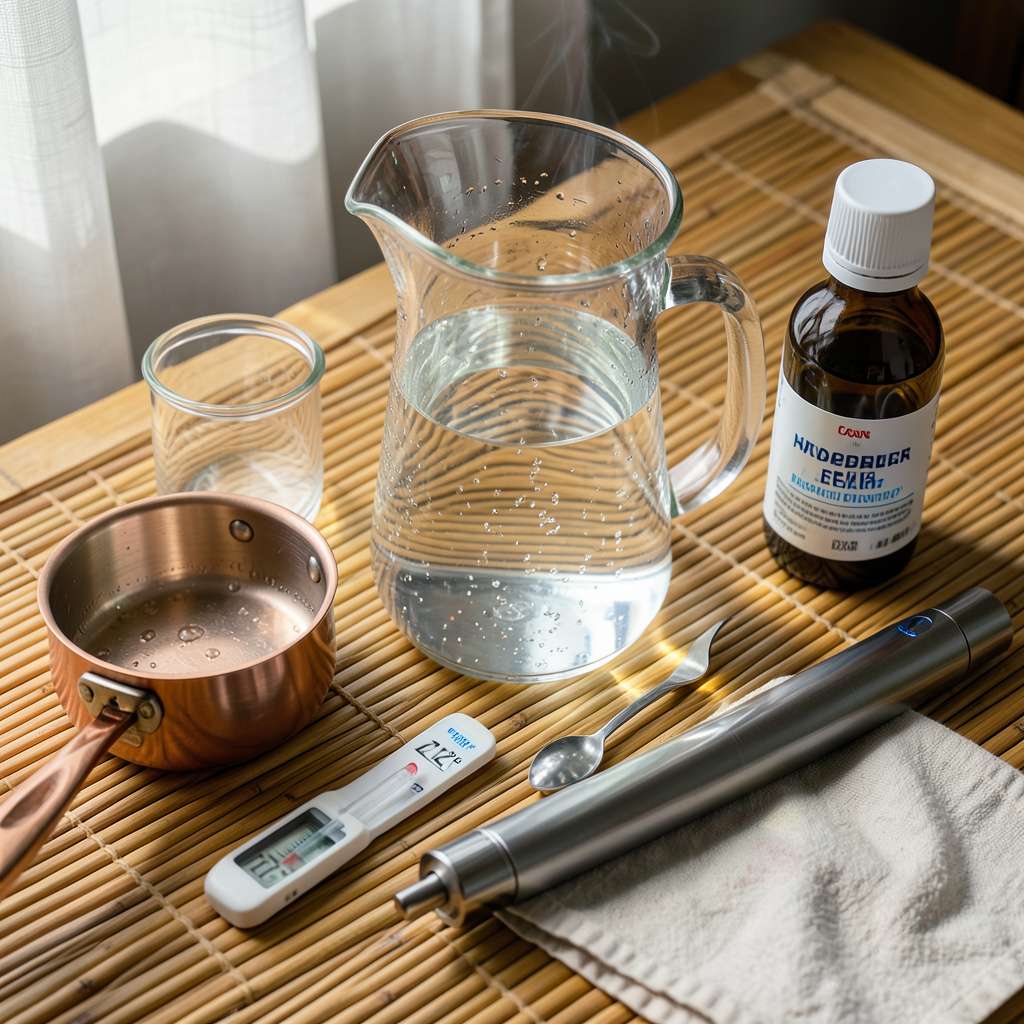
I lost three orchids to root rot before realizing the water was the problem. Tap water carries invisible threats—chlorine, minerals, and microbes that slowly damage those delicate roots. After switching to sterilized water, my plants developed thicker roots and produced more blooms than ever.
The fix isn’t complicated: three simple methods that take minutes but make all the difference. Boiling works in a pinch, filtration removes most contaminants, and chemical treatments (when used correctly) eliminate everything harmful. My orchids responded within 2 weeks—firm leaves, white root tips, and no more mushy stems.
You’ll notice the change immediately. Sterile water means no more salt buildup on pots, no more mysterious leaf spots, and roots that actually grow instead of rotting. The plants absorb nutrients better, recover faster from stress, and bloom more reliably every season.
Works for any orchid type—phalaenopsis, cattleyas, or dendrobiums. Here’s how to pick the right method for your setup and keep those roots happy for years.
📚 In This Guide
Stovetop pot (stainless steel or glass, non-reactive) – 2+ quart capacity.
Household bleach (unscented, 5.25–6% sodium hypochlorite) – ¼ tsp per gallon.
UV water sterilizer (portable or countertop, 11W+ power).
Clean glass or BPA-free plastic containers (with lids).
These proven methods ensure your orchids receive pure, pathogen-free water every time—no guesswork required.
Choose between boiling, chemical treatment, or UV sterilization based on your setup. Boiling works for small batches (under 1 gallon), while UV sterilizers handle larger volumes efficiently. For chemical methods, ensure you’re using food-grade hydrogen peroxide (3%) or potassium permanganate—never bleach, which leaves harmful residues.
I prefer boiling for most home growers because it’s foolproof and requires no special equipment. You’ll need a clean, non-reactive pot (stainless steel or glass) and a lid to prevent recontamination. If using chemicals, have a dedicated measuring spoon—precision matters with orchid water quality.
Start with filtered or distilled water to remove existing contaminants. Municipal tap water often contains chlorine and minerals that stress orchid roots. Fill your container, leaving 1 inch of headspace to prevent spills during handling. For boiling, use a pot large enough to accommodate expansion when water reaches 212°F.
If using chemical sterilization, warm the water to 70-80°F first—this accelerates the reaction. You’ll see the solution change color slightly when properly mixed. For UV systems, ensure the water is clear (turbidity blocks UV penetration). Cloudy water requires pre-filtration through a coffee filter or fine mesh.
For boiling: Bring water to a rolling boil for at least 5 minutes. You’ll notice the surface becoming more active as impurities break down. Cover and let cool to room temperature (65-75°F) before using—hot water damages orchid roots instantly. Chemical methods require 30 minutes of contact time; you’ll see bubbles forming as oxygen releases.
UV sterilizers need 10-15 seconds of exposure per quart. The water should pass through the chamber at the manufacturer’s recommended flow rate—too fast and pathogens slip through. I always test a small amount on a paper towel first; properly sterilized water won’t leave mineral deposits when dried.
Transfer to clean, opaque containers (light degrades water quality) and use within 48 hours for maximum effectiveness. Label containers with the sterilization date—orchids are sensitive to bacterial regrowth. When watering, pour gently at the base, avoiding leaf crowns where moisture can pool and cause rot.
Watch for these signs of proper sterilization: roots should appear firm and silver-green after watering, with no black tips or mushy sections. If you notice an off smell from stored water, restart the process—contamination likely occurred during handling or storage.
These practical insights will help you avoid common pitfalls and ensure your orchids thrive with properly sterilized water.
Temperature Precision: When boiling water to 212°F in Step 3, use a thermometer to confirm you’ve reached a full rolling boil. The 5-minute boil time is non-negotiable—this duration ensures all potential pathogens are eliminated. I’ve found that using a clear glass lid allows you to monitor the boil while preventing contamination from airborne particles.
Chemical Reaction Timing: For chemical sterilization methods, the 30-minute contact time specified in Step 3 isn’t arbitrary. This duration allows the hydrogen peroxide or potassium permanganate to fully react with contaminants. You’ll notice the solution becomes slightly effervescent during this period—that’s oxygen being released as the chemicals work. Don’t rush this step; incomplete reactions can leave harmful byproducts.
Storage Strategy: The 48-hour window for using sterilized water mentioned in Step 4 exists because bacterial regrowth begins after this period. I recommend dividing your batch into smaller opaque containers—this minimizes exposure to light and air each time you open the main container. Always label with the sterilization date; it’s easy to lose track when caring for multiple orchids.
Application Technique: When watering your orchids with the sterilized water, pour slowly at the base as directed in Step 4. The goal is to saturate the root zone without wetting the leaves. I use a narrow-spout watering can to direct the flow precisely. Watch for water pooling in the leaf crowns—this is the most common cause of rot in otherwise healthy orchids.
Yes! Boiling tap water for 5-10 minutes kills most bacteria, fungi, and chlorine. Let it cool to room temperature before watering to avoid shocking your orchid’s roots. Note: If your tap water is very hard (high in minerals), consider filtering it first for best results.
Sterilize water every 1-2 weeks if you store it, or before each use if your orchids are prone to root rot. Freshly sterilized water reduces risk of bacterial buildup. For healthy plants in clean environments, monthly sterilization may suffice. Pro tip: Label your water container with the sterilization date!
Use hydrogen peroxide (3%)—add 1 tsp per gallon of water, let sit for 10 minutes. Alternatively, a UV sterilizer (like those for aquariums) zaps pathogens in seconds. Both methods are chemical-free and orchid-safe when used correctly.
Distilled or RO water is naturally sterile and free of minerals/harmful microbes, making it a great low-effort alternative. Just add a balanced orchid fertilizer (diluted) to replenish nutrients, as pure water lacks essential minerals.
A musty or sour smell means bacteria or algae regrew—likely from contamination after sterilization. Fix it: Store water in a clean, airtight container in a cool, dark place. Replace unused water after 3-5 days to keep it fresh.
Sterilizing water for your orchids doesn’t have to be complicated! By using boiling, chemical treatments, or UV purification, you can eliminate harmful pathogens and give your plants the cleanest hydration possible. 🌸 Healthy roots start with clean water—so pick the method that fits your routine and watch your orchids thrive.
Ready to take the next step? Test a small batch of sterilized water on one plant first, then expand to your whole collection. Your orchids will thank you with stronger growth and stunning blooms! 💐
