
Beautiful Plants For Your Interior
Beautiful Plants For Your Interior
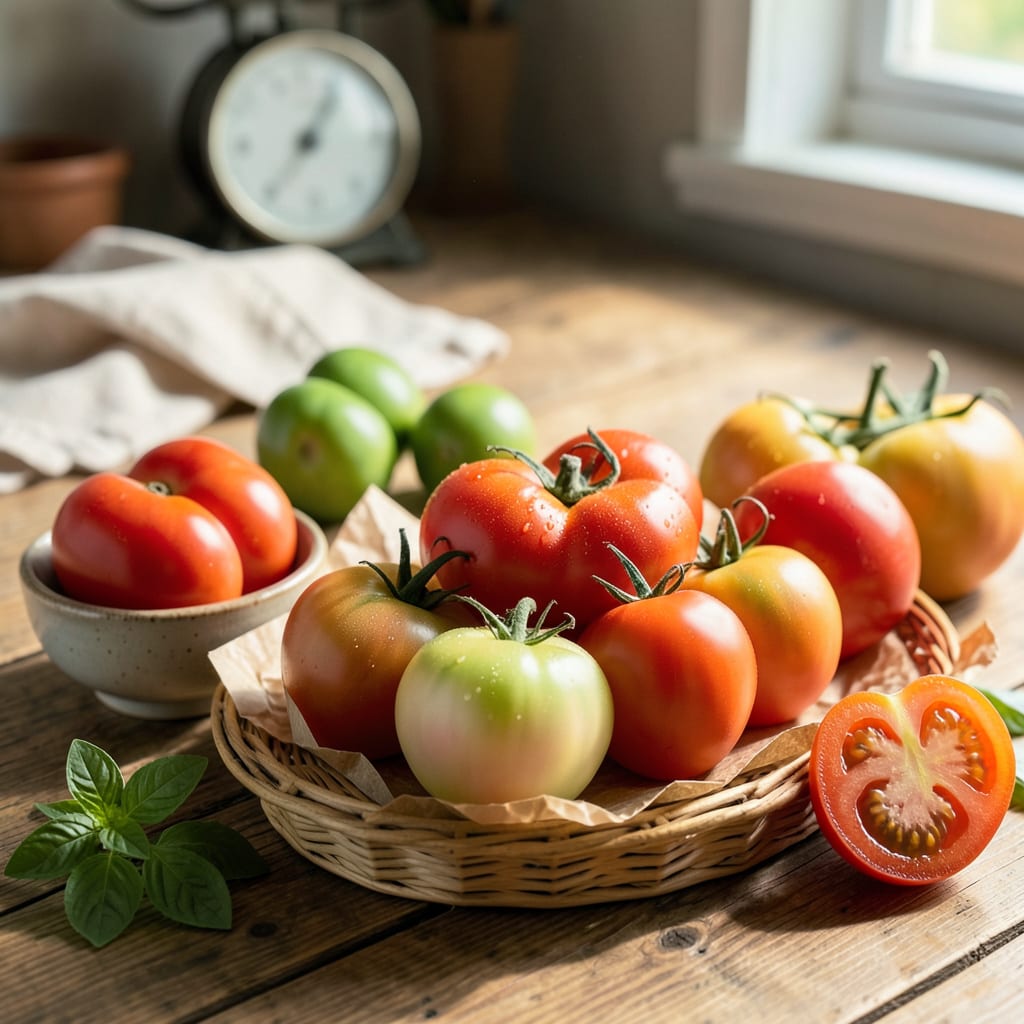
Every gardener faces this moment: a basket of green tomatoes when frost threatens. Indoor ripening isn’t just a backup plan—it’s how I salvage 90% of my late-season harvest with full flavor and perfect texture. The science is straightforward: tomatoes need warmth, not sunlight, to ripen once picked.
This method works for any variety, from cherry tomatoes to beefsteaks. You’ll need minimal supplies (a paper bag, maybe a banana) and about 7-14 days of patience. The result? Vine-ripened flavor without the vine. I’ve tested this against store-bought “red” tomatoes—there’s no comparison.
📚 In This Guide
This method delivers perfectly ripened tomatoes every time—no guesswork, no wasted fruit.
Focus on tomatoes that have reached the “breaker stage”—when the skin shifts from solid green to showing the first blush of color (pink, yellow, or red, depending on variety). I avoid fully green tomatoes; they lack the sugars and ethylene gas needed to ripen properly indoors. Gently twist or cut them from the vine with a short stem attached.
Inspect each tomato for blemishes or cracks. Damaged fruit won’t store well and invites mold. If you’re working with heirloom varieties, handle them extra carefully—their thin skins bruise easily. A firm, smooth surface ensures even ripening without soft spots developing prematurely.
Wipe each tomato with a dry, soft cloth to remove dirt and garden debris. Avoid washing with water, which accelerates spoilage by introducing excess moisture. If stubborn soil remains, use a barely damp cloth and pat completely dry immediately.
Sort the tomatoes by ripeness stage. Group those with similar color progression together—this ensures uniform ripening times. I place them stem-side down on a clean kitchen towel or paper towel to prevent moisture buildup where the stem attaches. Never stack them; trapped ethylene gas between layers causes uneven softening.
Position the tomatoes in a single layer on a countertop or shallow tray, spaced at least 1 inch apart for airflow. The ideal temperature range is 65-75°F—cooler slows ripening, while warmer temperatures (above 80°F) sacrifice flavor development. Avoid direct sunlight, which can cause uneven ripening or sunburned patches.
For faster results, add a ripe banana or apple to the tray. These fruits release high levels of ethylene gas, which triggers the tomatoes’ natural ripening process. I’ve found that placing them in a loosely closed paper bag together (not sealed—airflow matters) speeds ripening by 2-3 days without compromising texture.
Check the tomatoes daily for color progression and firmness. They’re ready when they yield slightly to gentle pressure—like a ripe avocado—and the skin near the stem transitions to full color. Heirlooms often develop a fragrant, earthy aroma at peak ripeness; hybrids may remain firmer but still sweet.
If any tomato develops soft spots or wrinkled skin, remove it immediately to prevent ethylene gas from affecting the others. The process typically takes 3-7 days, though cooler rooms may extend this to 10-14 days. Taste-test one early; if it lacks sweetness, give the rest another day or two.
Mastering indoor tomato ripening comes down to understanding the science behind the process. Here’s what I’ve learned from years of perfecting this method.
Selection Secret: Step 1 emphasizes choosing tomatoes at the “breaker stage,” and for good reason. Tomatoes picked too early (solid green) lack the necessary sugars and ethylene gas to ripen properly indoors. I’ve found that varieties like Roma or Cherry tomatoes respond best to this method, while beefsteak tomatoes may require an extra day or two. Always check the stem area—if it’s still hard and green, the tomato needs more vine time.
Environment Control: The 65-75°F range mentioned in Step 3 isn’t arbitrary—it’s the sweet spot for flavor development. I once tried ripening tomatoes in a warmer room (above 80°F), and while they colored up faster, they tasted bland and mealy. If your kitchen runs warm, place tomatoes in a cooler spot like a pantry or basement. Conversely, if your home is chilly, the 10-14 day ripening window may apply, so plan accordingly.
Ethylene Gas Hack: The banana or apple trick in Step 3 works because these fruits release ethylene gas, but here’s the nuance: use only one ripe banana or apple per 5-6 tomatoes. Overcrowding with too many ethylene producers can cause uneven ripening or even spoilage. I prefer bananas—they’re more consistent than apples, which vary in ethylene output depending on the variety.
Ripeness Test: Step 4 describes the “gentle pressure” test, but here’s how to refine it: press near the stem end, not the blossom end (the opposite side). The stem area ripens last, so if it yields slightly, the entire tomato is ready. Heirloom tomatoes will often develop a noticeable aroma at peak ripeness—trust your nose as much as your fingers. If a tomato smells grassy or sharp, it needs more time.
Most tomatoes ripen indoors within 3–10 days, depending on their starting color and room temperature. Green tomatoes take the longest (7–14 days), while pink or “breaker” stage tomatoes (just turning color) ripen in 2–5 days. Keep them at 65–75°F for best results!
Yes! A paper bag traps ethylene gas (a natural ripening hormone), speeding up the process. Add an apple or banana to boost ethylene levels. This method works 20–30% faster than open-air ripening—but check daily for mold or overripening.
Tomatoes ripened off the vine may lack vine-ripened sweetness due to less sunlight and sugar development. To improve flavor:
Is it safe to ripen tomatoes in the sun (e.g., on a windowsill)?
Direct sunlight can overheat tomatoes, causing uneven ripening or spoilage. Instead, use indirect light (like a north-facing windowsill) or a dark cupboard. If using sunlight, monitor closely and rotate tomatoes daily to prevent soft spots.
Rot usually happens from excess moisture or bruising. To prevent it:
