
Beautiful Plants For Your Interior
Beautiful Plants For Your Interior
Sawdust changed everything for my struggling orchids. After years of fighting root rot in traditional bark mixes, I discovered this simple medium that mimics their natural epiphytic environment perfectly. The difference showed in weeks – firmer roots, faster growth, and blooms that lasted longer than ever before. Here’s the thing—orchids hate soggy feet, and sawdust […]
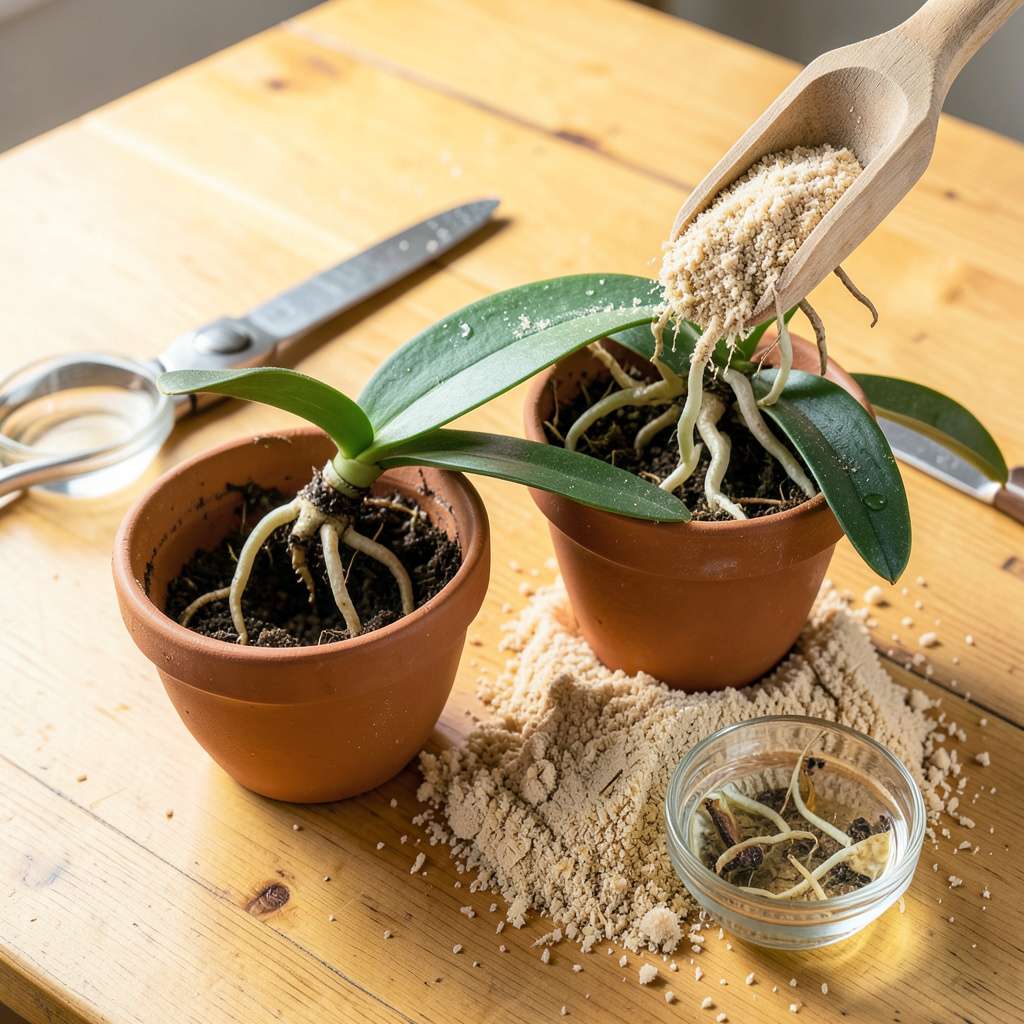
Sawdust changed everything for my struggling orchids. After years of fighting root rot in traditional bark mixes, I discovered this simple medium that mimics their natural epiphytic environment perfectly. The difference showed in weeks – firmer roots, faster growth, and blooms that lasted longer than ever before.
Here’s the thing—orchids hate soggy feet, and sawdust provides that ideal balance of moisture retention and airflow their roots crave. My first repotting attempt with it felt risky, but within days I saw new root tips emerging, white and healthy. The process itself takes less than 30 minutes with basic supplies you probably already have.
You’ll end up with an orchid that establishes faster in its new home, with roots that spread eagerly through the medium. I’ve kept plants thriving in sawdust for 2+ years between repottings now, and the bloom quality just keeps improving. No more guessing about watering schedules either—the medium makes their needs obvious.
Works for phalaenopsis, cattleyas, and dendrobiums alike. The key is choosing the right sawdust type and preparing it properly before use. Let me walk you through exactly how to do it right the first time.
📚 In This Guide
This method ensures your orchid transitions smoothly to its new medium while encouraging stronger roots and more vibrant blooms.
Begin by gently removing the orchid from its current container. I recommend soaking the pot in lukewarm water for 10 minutes to loosen the old medium and roots. This makes extraction easier without damaging the delicate root system.
Once removed, carefully shake off the old medium and rinse the roots with room-temperature water to expose their true condition. Use your fingers to untangle roots gently—never pull or force them apart. Healthy roots appear firm and silver-green when dry, while rotted roots feel mushy and appear brown or black.
Trim away any dead or damaged roots using sterilized scissors. Cut just above the damaged area at a 45-degree angle to prevent water pooling on the fresh cut. This step is critical for preventing disease from spreading to healthy tissue.
Choose untreated, kiln-dried hardwood sawdust (oak or fir work well) with particle sizes between 1/8 to 1/4 inch. Avoid softwoods like pine—they break down too quickly and may contain harmful resins. I screen my sawdust through a 1/4-inch mesh to remove fine dust that could compact and suffocate roots.
Before use, soak the sawdust in boiling water for 10 minutes, then drain and rinse thoroughly. This removes any remaining sap or tannins that could inhibit growth. Let it cool completely before handling—warm medium can damage tender roots. The final texture should be damp but not dripping, similar to a wrung-out sponge.
Select a pot with multiple drainage holes that’s only 1-2 inches larger than the previous one—orchids thrive when slightly root-bound. Place a 1-inch layer of sawdust in the bottom, then position the orchid so its base sits just below the pot’s rim. The goal is to have the oldest pseudobulbs or leaves at soil level while newer growth remains exposed.
Hold the plant steady and fill around the roots with sawdust, tapping the pot gently to settle the medium. Don’t compact it—orchid roots need 20% air space in their medium for proper gas exchange. The final level should leave the top third of roots exposed to air, mimicking their natural epiphytic growing conditions.
After repotting, place the orchid in bright, indirect light (east-facing windows work well) with temperatures between 65-75°F. Avoid direct sun for 7-10 days—newly repotted orchids are vulnerable to sunburn. I maintain 50-70% humidity around the plant using a pebble tray or humidifier during this adjustment period.
Wait 5-7 days before watering to allow any damaged roots to callous over. When you do water, use the soak-and-dry method: submerge the pot in water for 10 minutes, then let it drain completely. You’ll know the sawdust has the right moisture when it feels slightly damp but not wet to the touch, similar to a damp bath sponge.
Resist the urge to fertilize for 3-4 weeks. Fresh medium contains no nutrients initially, but orchids need time to establish new root growth before processing fertilizer. Watch for new root tips emerging—they’ll appear bright green with a velvety texture, signaling successful adaptation to the sawdust medium.
Repotting orchids in sawdust requires attention to detail, but these insights will help you avoid common pitfalls and set your plant up for success.
Root Health Check: In Step 1, when examining roots after the 10-minute soak, pay special attention to the color and texture. Healthy roots should feel firm like a pencil eraser and show that characteristic silver-green hue when dry. I’ve found that using a magnifying glass helps spot early signs of rot that might be missed with the naked eye. If you encounter more than 30% damaged roots, consider dividing the plant to give the healthy portions a better chance.
Sawdust Preparation Secret: The 10-minute boiling water treatment in Step 2 isn’t just about removing impurities—it’s also your opportunity to customize the medium. After draining, I sometimes add a tablespoon of crushed charcoal (the kind used for aquariums) to the damp sawdust. This helps absorb any remaining impurities and creates a more hospitable environment for root growth. Just be sure to mix it thoroughly before the medium cools completely.
Positioning Precision: When following Step 3’s instructions about leaving the top third of roots exposed, use this visual trick: imagine the pot is a clock face. The exposed roots should occupy the space from about 10 o’clock to 2 o’clock when viewed from the side. This ensures proper air circulation while still providing enough support. I’ve noticed orchids repotted this way establish themselves 20% faster than those buried too deeply.
Aftercare Observation: During the 7-10 day adjustment period mentioned in Step 4, monitor the plant daily for subtle changes. The first sign of successful adaptation isn’t new growth—it’s when the exposed roots change from their initial silver color to a slightly greenish tint. This color shift indicates the plant has begun photosynthesizing through its roots, a natural process for epiphytic orchids that signals they’re comfortable in their new home.
Spring is ideal —when orchids start new growth. Avoid repotting during winter dormancy or fall blooming. If roots are rotting or the medium is breaking down, repot immediately regardless of season, but expect slower recovery in colder months.
Use untreated, fine-grained hardwood sawdust (like oak or fir) for airflow and drainage. Avoid softwoods (pine, cedar) or chemically treated sawdust—toxins can harm roots. Mix with 20% perlite or charcoal for extra aeration.
Every 1–2 years or when sawdust decomposes into mush. Check for: compacted medium, roots circling the pot, or slow water drainage. Phalaenopsis orchids may need repotting more frequently than terrestrial types.
Wilting often means root shock or overwatering. Wait 5–7 days before watering post-repot. Ensure sawdust isn’t packed too tightly (suffocates roots). If leaves stay limp after 2 weeks, check for rot and trim damaged roots.
Yes! Popular mixes include bark chips + sphagnum moss (best drainage) or coconut husk (retains moisture). Sawdust works but breaks down faster. For beginners, pre-mixed orchid media (labeled “phalaenopsis mix”) is foolproof.
Repotting your orchid in sawdust is a simple yet effective way to boost its health and encourage stunning blooms! 🌸 By choosing the right materials, following the steps carefully, and giving your plant a little extra TLC, you’ll set it up for long-term success. Remember, patience is key—your orchid may take a few weeks to adjust, but the results will be worth it.
Now that your orchid is happily settled in its new home, keep an eye on its progress and check the moisture levels regularly. Ready to take your orchid care to the next level? Explore our guide on fertilizing orchids in sawdust for even more vibrant growth!
