
Beautiful Plants For Your Interior
Beautiful Plants For Your Interior
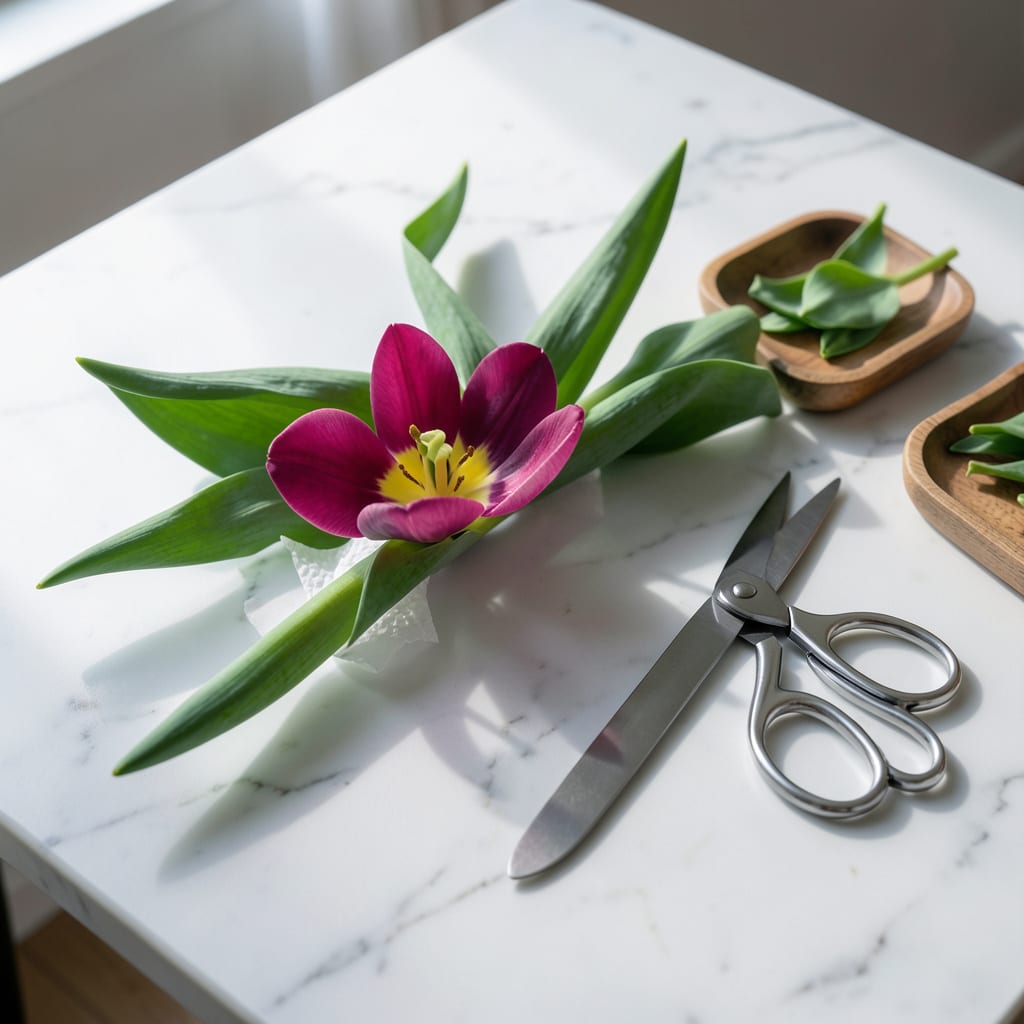
I learned the hard way that yanking tulip leaves too soon starves the bulb. The key is waiting until they turn yellow and mushy, which takes about 6 weeks after blooming.
This timing lets the leaves photosynthesize and store energy for next year’s flowers. Use clean scissors to snip at the base, then remove the debris to prevent disease. Your bulbs will thank you with stronger growth next spring.
📚 In This Guide
Here’s the method I use to keep bulbs strong and ready for next year’s bloom.
Never remove tulip leaves immediately after the flowers fade. The foliage continues photosynthesis for 4-6 weeks post-bloom, feeding the bulb for next season. You’ll know it’s time when the leaves turn yellow or brown and feel dry to the touch.
I mark my calendar when the last flower wilts and count 6 full weeks before even considering removal. This waiting period is non-negotiable for healthy bulbs. If leaves are still green, the bulb is still storing energy.
Once the foliage has completely died back, use clean, sharp shears or scissors to cut the leaves down to 1-2 inches above soil level. This prevents leaving stubs that can collect water and rot.
Don’t pull the leaves off by hand—this can accidentally uproot the bulb or damage its base. I always sanitize my tools with rubbing alcohol between cuts to prevent disease spread between plants.
After removing the foliage, leave the bulb undisturbed in the soil throughout summer. It needs this period of dormancy to rest and prepare for next spring’s growth cycle.
I resist the urge to dig up bulbs or plant something else in that spot. The bulb is still alive below ground, and disturbing it now can prevent next year’s blooms.
If your tulip patch is more than 3-4 years old, the bulbs may be overcrowded. In this case, I lift the bulbs after foliage removal, separate the offsets, and replant the healthiest ones in fresh soil.
This step isn’t necessary every year, but it keeps your display vigorous. Store lifted bulbs in a dry, dark place until fall planting time if you’re not replanting immediately.
These few adjustments will ensure your bulbs stay healthy and bloom beautifully next season.
Patience is Key: That 4-6 week waiting period in Step 1 isn’t just a suggestion—it’s when the bulb absorbs nutrients from the dying foliage. I learned this the hard way after removing leaves too early and getting weak blooms the following year. Trust me, the wait is worth it.
Precision Cutting: In Step 2, cutting the leaves down to exactly 1-2 inches above soil level prevents water collection that can rot the bulb. Any higher, and you risk trapping moisture; any lower, and you might damage the bulb itself. Sharp shears make this easier and cleaner.
Resist the Urge: Step 3 mentions leaving bulbs undisturbed, and I can’t stress this enough. It’s tempting to tidy up the garden or plant new flowers in that spot, but the bulb needs that summer dormancy to recharge. Disturbing it now means fewer or no blooms next spring.
Overcrowding Check: If your tulips are more than 3-4 years old, as mentioned in Step 4, take the time to lift and separate the bulbs. This prevents competition for nutrients and ensures each bulb has enough space to thrive. Store any extras in a dry, dark place until fall planting.
Wait until the leaves turn yellow or brown, typically 6-8 weeks after blooming. This allows the bulb to store energy for next year’s growth.
No, removing leaves too early can weaken the bulb. Let them photosynthesize until they naturally wither to ensure healthy regrowth.
Use clean, sharp pruners or scissors to snip leaves at the base. Avoid tearing, as this can invite disease or pests.
Yes, trim damaged or yellowing leaves immediately to prevent the spread of disease. Dispose of them in the trash, not compost.
No worries! The leaves will eventually die back naturally. Just clean them up afterward to keep your garden tidy.
