
Beautiful Plants For Your Interior
Beautiful Plants For Your Interior
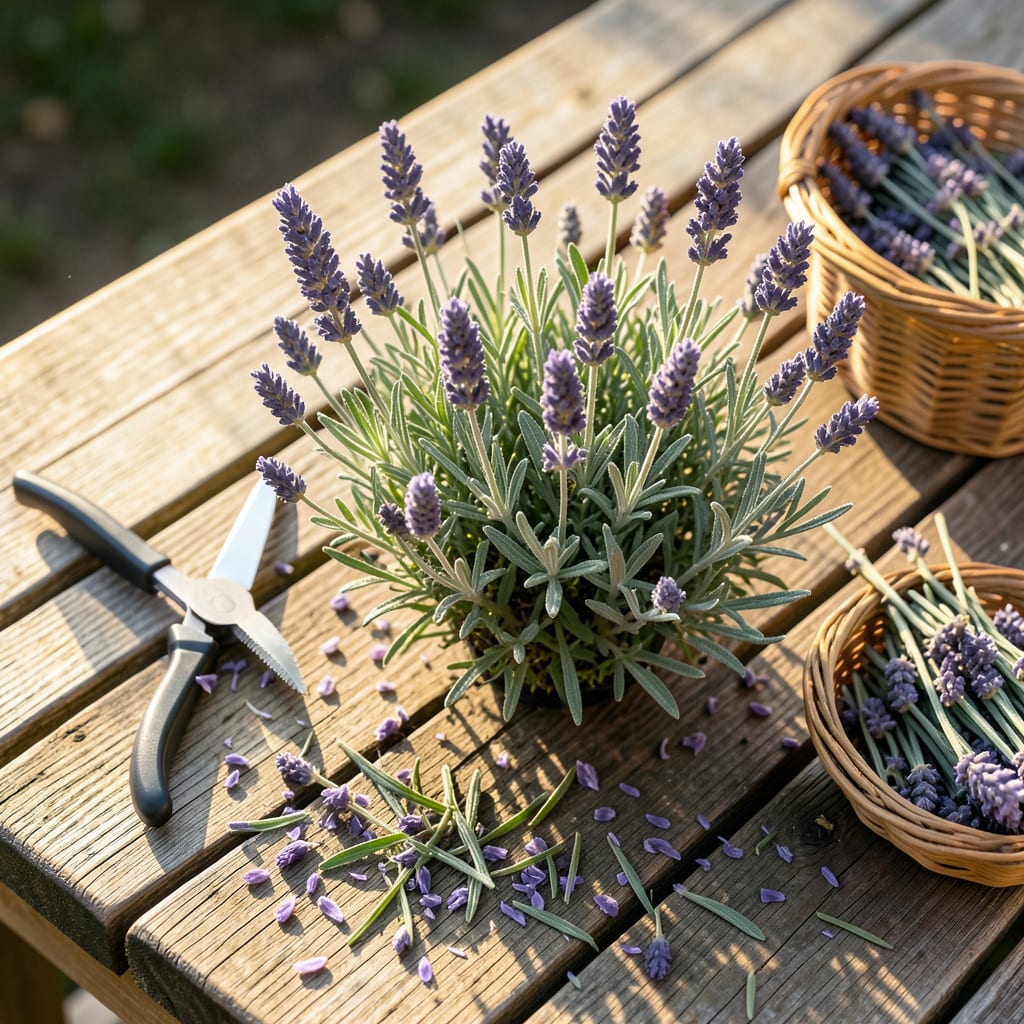
I used to think pruning lavender was optional—until I saw what happened when I skipped it. My plants turned woody, blooms shrank, and the once-lush bushes looked like sad twigs. Turns out, a few simple cuts each year keep lavender thriving for a decade or more.
Timing matters more than technique here. Prune too late, and you risk winter damage. Do it right, and you’ll get bigger blooms, bushier growth, and plants that outlive most perennials. The best part? It takes less than 10 minutes per plant with the right approach.
📚 In This Guide
This straightforward method keeps your lavender compact, healthy, and blooming abundantly—no complicated techniques required.
Timing is everything with lavender. I always prune in early spring just as new green growth appears at the base, or right after the first bloom cycle in summer. Never cut back in fall—this stimulates tender new growth that winter will kill.
You’ll see the difference between old wood (woody, brown stems) and new growth (flexible, green shoots). Focus on cutting just above where you spot those fresh green leaves emerging. This timing ensures you won’t accidentally remove next year’s flower buds.
Start by snipping off last year’s flower stems down to the first set of leaves. These spent blooms look papery and gray—easy to spot against the silver-green foliage. Use sharp bypass pruners (not anvil type) to make clean cuts that won’t crush the stems.
Don’t pull the stems off by hand. That tears the plant tissue and creates entry points for disease. I like to work my way around the plant systematically, removing all old blooms before moving to shaping. This gives you a clear view of the plant’s natural form.
Now shape the plant into a gentle mound by trimming back about one-third of the current year’s growth. Never cut into the bare, woody base—that part won’t regrow. Look for where the stems are still flexible and have green leaves.
I visualize the plant as a dome and make small cuts to maintain that rounded shape. Step back frequently to check your progress. You want to open up the center slightly to improve air circulation, which prevents rot. Avoid shearing flat across the top—that leads to a “woody donut” with no foliage at the base.
Reach into the center of the plant and remove about one-quarter of the oldest stems right at ground level. These are the thickest, most woody stems that have lost their flexibility. Thinning opens up the plant’s interior to sunlight and air.
This might feel drastic, but I promise it rejuvenates the plant. You’ll see new shoots emerge from the base within weeks. Focus on removing stems that cross over others or grow inward toward the center. The goal is a balanced, open framework.
Rake up all the cuttings from around the base—these can harbor pests or disease if left in place. I like to add a thin layer of gravel or sand around the plant after pruning to improve drainage and reflect heat back up to the stems.
Water lightly after pruning, just enough to settle any disturbed soil. Then let the plant dry out completely before watering again. You’ll see fresh growth within 2-3 weeks, and your lavender will reward you with bushier growth and more flowers than ever.
Pruning lavender doesn’t have to be intimidating—these practical insights will help you avoid common pitfalls while keeping your plants thriving.
The Timing Factor: I can’t stress enough how crucial the timing in Step 1 is. Pruning in early spring when you see those first green shoots or immediately after summer blooms gives your lavender the best chance to recover. I learned the hard way that fall pruning leads to winter damage—those tender new shoots just can’t handle the cold.
Tool Selection Matters: Step 2 mentions using bypass pruners, and there’s a good reason. Anvil pruners crush stems instead of making clean cuts, which invites disease. I keep a small bottle of rubbing alcohol nearby to wipe my pruners between plants—this prevents spreading any potential issues.
Visualizing the Shape: When shaping in Step 3, think of your lavender as a gentle dome rather than a flat-topped hedge. I make small, angled cuts following the plant’s natural shape. This isn’t just about aesthetics—proper shaping improves airflow through the center, which is key for preventing rot and encouraging new growth.
Thinning Technique: The one-quarter stem removal in Step 4 might seem aggressive, but trust me—it’s what keeps older plants productive. I focus on removing the thickest, woodiest stems first, especially those growing inward. This opens up the center to sunlight, which is exactly what those new basal shoots need to emerge.
Avoid heavy fall pruning—it can encourage tender new growth that winter frost may damage. Lightly trim dead flower stems after blooming, but save major shaping for early spring (just as new growth appears). In mild climates, a late-fall light trim is okay, but never cut into woody stems.
Unpruned lavender becomes woody, leggy, and produces fewer blooms. Over time, the center may die out, leaving a “donut” shape. Annual pruning keeps plants compact, bushy, and flowering abundantly. If yours is overgrown, renew it by cutting back one-third of the oldest stems each year.
Yes, but only for light shaping—never for deep cuts. Hedge trimmers can shred stems, so use sharp bypass pruners for cleaner cuts on thicker wood. For large plants, trim in stages to avoid stress. Always disinfect blades with rubbing alcohol between plants to prevent disease spread.
Brown tips or wilting often mean over-pruning (cutting into old wood with no green growth) or pruning at the wrong time. If the base is still green, it may recover—water deeply and avoid fertilizer. If the entire stem is brown and brittle, it’s likely dead; trim it back to healthy growth.
Try Spanish lavender (Lavandula stoechas)—it’s less fussy and blooms on old wood, so you can skip annual pruning. For English lavender, a super-light “haircut” (just deadheading) is better than nothing, but expect shorter-lived plants. Dwarf varieties also need less maintenance.
