
Beautiful Plants For Your Interior
Beautiful Plants For Your Interior
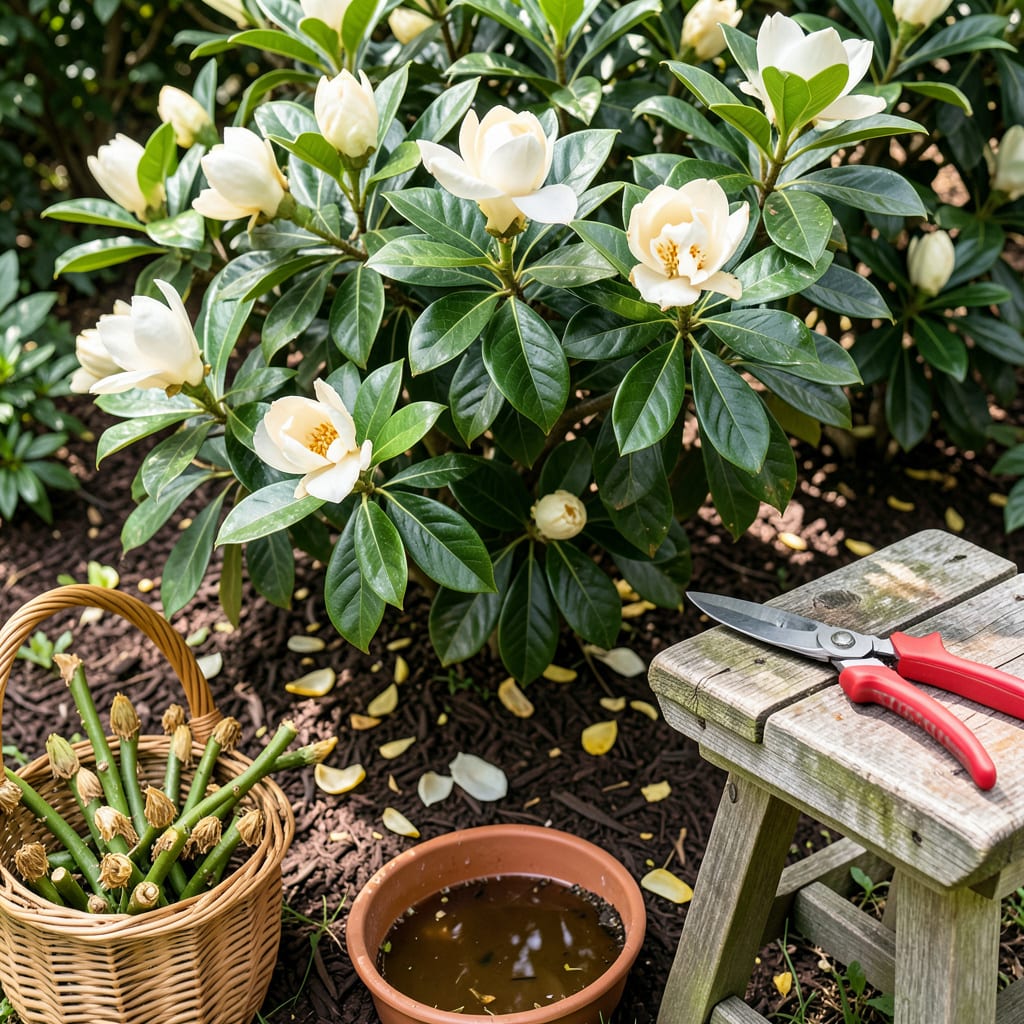
That first time I pruned my gardenias, I nearly ruined them. The difference between a thriving, flower-covered shrub and a sad, leggy plant comes down to timing and technique. Pruning gardenias isn’t about hacking away—it’s about making strategic cuts that encourage more blooms and stronger growth next season.
Do it right after the flowers fade in summer, and you’ll see the payoff: bushier plants with darker green leaves and twice as many fragrant blossoms. The process takes less than 20 minutes with the right tools, and I’ll show you exactly where to cut (and where to leave things alone) for best results.
📚 In This Guide
Pruning gardenias doesn’t have to be intimidating—follow my approach for healthier plants and more abundant blooms next season.
Timing is everything with gardenias. Prune immediately after the blooming period ends, typically in late summer or early fall once the last flowers fade. This gives the plant time to develop new growth before winter dormancy while avoiding cutting off next year’s flower buds that form in late summer.
Never prune in spring or early summer—you’ll remove the developing flower buds. In warmer climates (zones 8-11), you can do light shaping in winter, but avoid hard pruning then. The ideal window is 4-6 weeks after flowering when the plant is still actively growing.
Use sharp, clean bypass pruners (not anvil-style) to make precise cuts. Wipe the blades with rubbing alcohol to prevent disease transmission. I also keep a small hand saw nearby for thicker stems. Put on gardening gloves—gardenias have surprisingly tough branches that can scratch.
Before cutting, examine the plant’s structure. Identify dead or diseased branches (they’ll be brown or black rather than green), crossing branches that rub against each other, and any growth that disrupts the natural shape. Note where the most vigorous new growth is emerging—these are your keepers.
Start by removing all dead, diseased, or broken branches at their point of origin. Next, cut back any leggy growth by one-third to encourage bushier regrowth. Always cut just above a leaf node or branching point—never leave stubs. For shaping, follow the plant’s natural form rather than forcing geometric shapes.
When thinning crowded areas, remove entire branches at their base rather than just trimming tips. This opens up the center for better air circulation, which prevents fungal diseases. Step back frequently to assess your progress—the goal is to maintain 30-40% of the plant’s foliage for continued photosynthesis.
Remove all cut material from around the base to prevent pest harboring. I like to make a final pass with my pruners to clean up any jagged cuts. Water the plant deeply after pruning to help it recover from the stress. Apply a 2-3 inch layer of mulch around the base (but not touching the stem) to conserve moisture.
Avoid fertilizing immediately after pruning—wait 2-3 weeks to allow the plant to recover. Monitor for new growth, which should appear within 3-4 weeks in optimal conditions. The first signs of recovery are small green buds at the leaf nodes where you made your cuts.
After your main pruning, do light maintenance throughout the growing season. Pinch back new growth tips occasionally to encourage bushier growth. Remove spent flowers (deadhead) regularly to prevent seed formation, which diverts energy from flower production.
Watch for suckers emerging from the base—they’ll look like fast-growing vertical shoots. Remove these promptly as they divert energy from the main plant. By mid-summer, your pruned gardenia should have developed a balanced shape with plenty of new growth ready to produce next year’s spectacular blooms.
Pruning gardenias well requires understanding both the plant’s biology and your tools. Here’s what I’ve learned from years of shaping these fragrant beauties.
Timing Precision: The 4-6 week window after flowering mentioned in Step 1 isn’t arbitrary—this period aligns with the plant’s natural growth cycle when it’s actively producing new shoots but hasn’t yet set next year’s flower buds. I’ve found that pruning exactly 5 weeks after the last bloom strikes the perfect balance between recovery time and bud development. Never attempt major pruning during spring growth flushes, as this will sacrifice next season’s flowers.
Tool Technique: In Step 2, the recommendation for bypass pruners over anvil-style isn’t just preference—it’s critical for plant health. Bypass pruners make clean, angled cuts that heal faster, while anvil pruners crush stems, creating entry points for disease. I sharpen my pruners before each session and make a habit of wiping blades with alcohol between cuts when working with multiple plants to prevent cross-contamination.
Structural Strategy: When implementing Step 3’s one-third reduction for leggy growth, focus on cutting just above outward-facing buds rather than inward-facing ones. This subtle technique directs new growth outward, creating a more open, vase-like shape that improves air circulation. I also recommend making your cuts at a 45-degree angle to maximize water runoff and minimize disease risk at the wound site.
Recovery Monitoring: The 3-4 week timeline for new growth mentioned in Step 4 assumes optimal conditions—consistent moisture and temperatures between 65-75°F. In cooler climates, this may extend to 5-6 weeks. I track recovery by measuring new shoot length weekly; healthy gardenias should produce 2-3 inches of new growth per month during the growing season. If you’re not seeing this, reassess your watering and light conditions.
Prune gardenias right after they finish blooming (late summer to early fall). This timing prevents cutting off next year’s flower buds, which form in fall. Avoid heavy pruning in spring or winter—it can remove blooms or stress the plant during dormancy.
No! Regular scissors can crush stems and introduce disease. Use sharp bypass pruners (cleaned with rubbing alcohol) for clean cuts. For thick branches, opt for loppers. Dull tools tear bark, slowing healing and inviting pests.
Over-pruning or cutting at the wrong time (like spring) is often the culprit. Gardenias bloom on old wood, so avoid trimming after fall. Check for other issues: poor soil pH (aim for 5.0–6.0), low light, or nutrient deficiencies (test soil if blooms stay sparse).
Yes! Gardenias respond well to light, frequent pruning for formal shapes. Start young—trim new growth by 1/3 every 4–6 weeks in growing season. Avoid shearing like a hedge (it reduces airflow); instead, prune selectively to maintain shape while keeping the center open.
Common mistakes: pruning too aggressively (never remove >1/3 of the plant), using dirty tools (spreads fungus/bacteria), or pruning during heatwaves (stresses the plant). If leaves yellow or drop, check for root rot (overwatering) or pest infestations (scale, aphids) on fresh cuts.
