
Beautiful Plants For Your Interior
Beautiful Plants For Your Interior
That first summer my fig tree produced exactly three hard, pea-sized fruits, I knew something was wrong. Pruning changed everything—the next year brought dozens of plump, sweet figs from the same plant. The difference wasn’t luck; it was understanding when and how to make the right cuts. Fig trees grow fast and wild if left […]
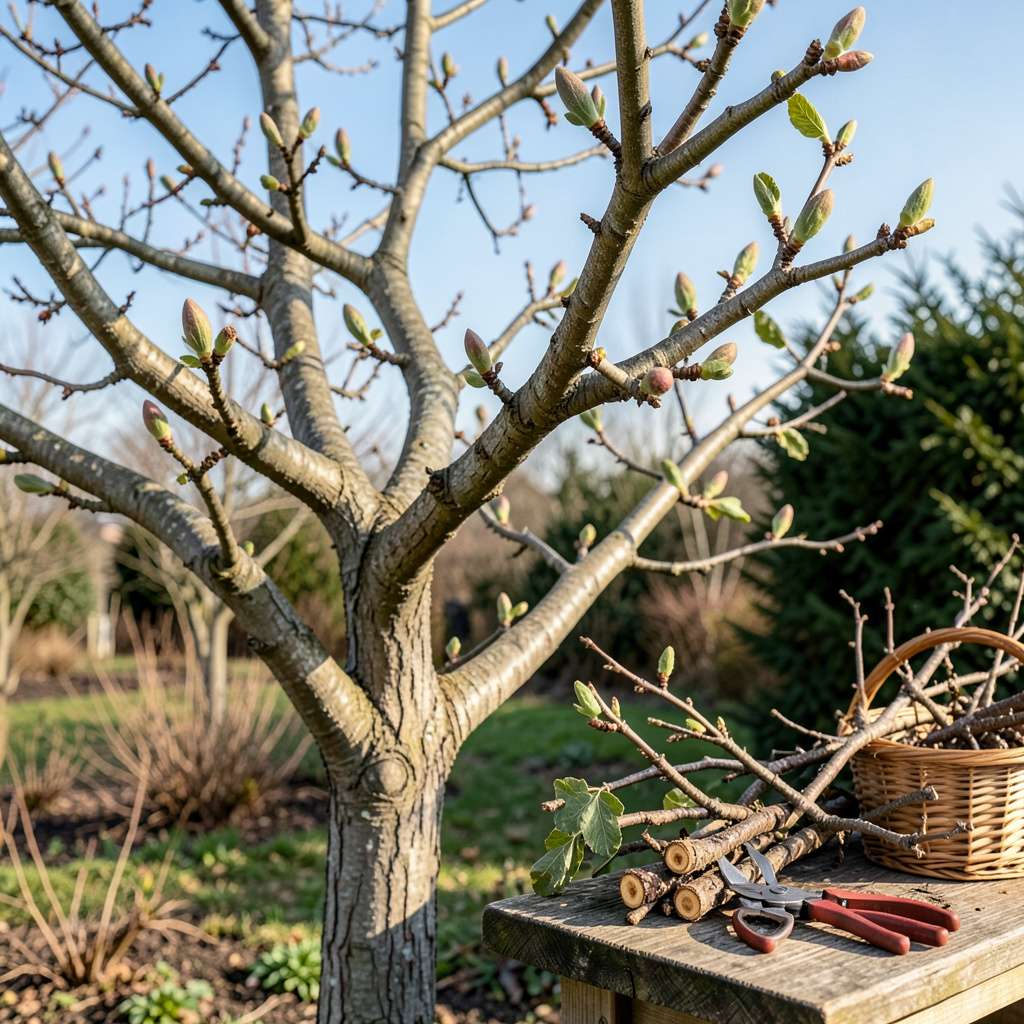
That first summer my fig tree produced exactly three hard, pea-sized fruits, I knew something was wrong. Pruning changed everything—the next year brought dozens of plump, sweet figs from the same plant. The difference wasn’t luck; it was understanding when and how to make the right cuts.
Fig trees grow fast and wild if left unchecked, pouring energy into unproductive branches instead of fruit. I learned the hard way that random snipping does more harm than good. The right approach balances shaping the tree, removing dead wood, and encouraging fruit-bearing growth—all without stressing the plant.
You’ll see the payoff in larger harvests and a tree that stays manageable. My once-scrambled fig now has an open center that lets sunlight reach every branch, and the fruit ripens weeks earlier than before. Best part? The whole process takes less than an hour with basic tools.
Whether you’re working with a young sapling or an overgrown monster, the same principles apply. Timing matters—do it too late and you’ll cut off next year’s figs. Here’s how to get it right the first time.
📚 In This Guide
Pruning may seem intimidating at first, but this method ensures your tree stays productive and healthy for years.
Late winter is ideal—just before new growth begins but after the last hard frost. In most regions, this falls between February and early March. You’ll see swollen buds forming on branches, which signals the tree is waking up but hasn’t started actively growing yet.
Avoid pruning in fall, as fresh cuts won’t have time to harden off before winter. I’ve learned the hard way that fall pruning leads to dieback and disease. If you must prune later, wait until after the first harvest in summer, but avoid heavy cuts then.
Start by cutting out any dead wood (gray, brittle branches with no buds) or branches showing signs of disease (discolored bark, fungal growth). Use clean, sharp bypass pruners and make cuts at a 45-degree angle just outside the branch collar—the swollen area where the branch meets the trunk.
Next, look for branches that rub against each other or grow inward toward the center. Remove the weaker of any crossing branches completely. This opens up the canopy for better air circulation, which I’ve found reduces fungal issues dramatically in humid climates.
Your goal is to create an open vase shape that lets sunlight reach the center. Remove about one-third of the oldest branches each year, focusing on those growing straight up (called “water sprouts”) or directly downward. These rarely produce good fruit and drain energy from the tree.
Step back frequently to assess your progress. You want to maintain 4-6 main scaffold branches radiating outward from the trunk. I like to visualize how sunlight will filter through the branches—if you can’t see through the canopy, you need to remove more.
Shorten remaining branches by cutting just above an outward-facing bud. This encourages the tree to grow wider rather than taller. For mature trees, I aim to keep the height under 10 feet for easier harvesting. Make these cuts judiciously—never remove more than 25% of the total canopy in one season.
Pay special attention to suckers (vigorous vertical shoots) growing from the base or along the trunk. Remove these completely at ground level. While it might feel counterintuitive to cut off vigorous growth, these suckers steal energy from fruit production and create a dense, unproductive thicket over time.
Rake up and dispose of all pruned material immediately—don’t compost diseased wood. I like to follow up with a light application of balanced fertilizer (10-10-10) around the drip line to support new growth. Water deeply after pruning to help the tree recover from the stress.
Watch for new growth to emerge within 2-3 weeks. The first leaves will be smaller and lighter green than mature foliage. If you notice dieback on any cuts, that’s a sign you pruned too late in the season or made cuts too close to the trunk—adjust your technique next year.
Pruning doesn’t have to be stressful—these practical insights will help you avoid common pitfalls and set your tree up for success.
Timing is Everything: The February to early March window mentioned in Step 1 is critical because it allows cuts to heal before active growth begins. I’ve found that pruning even two weeks later can stress the tree as it starts pushing out new leaves. Watch for those swollen buds—they’re your signal that it’s go time. If you’re in a warmer climate where buds appear earlier, adjust accordingly but never prune during freezing temperatures.
The Angle Matters More Than You Think: When making those 45-degree cuts in Step 2, pay special attention to the branch collar. I used to cut too close to the trunk, thinking I was being neat, until I noticed dieback on several branches. The collar contains specialized cells that help the tree heal—cutting into it creates an open wound that invites disease. When in doubt, leave a little extra length rather than cutting too short.
Visualize the Sunlight: Step 3’s goal of creating an open vase shape isn’t just about aesthetics—it’s about fruit production. I like to stand back after every few cuts and actually trace sunlight paths with my eyes. If you can’t see sky through at least 60% of the canopy when looking straight up, you haven’t thinned enough. Remember that those 4-6 main scaffold branches should be spaced evenly around the trunk like spokes on a wheel.
Sucker Vigilance: The suckers mentioned in Step 4 are sneaky—they can grow several inches in just a week during warm weather. I make it a habit to do a quick sucker check every time I walk past my tree in spring. Remove them when they’re small (under 6 inches) by rubbing them off with your thumb if possible. This prevents the larger wounds that come from cutting thicker suckers, and the tree recovers faster from these minor injuries.
The ideal time is late winter or early spring (before new growth starts) when the tree is dormant. Avoid pruning in fall—fresh cuts may not heal before winter, risking frost damage. Light pruning in summer can control size but may reduce fruit production.
Yes! Figs tolerate aggressive pruning—remove up to ⅓ of the branches annually to control size. Focus on cutting back long, unproductive branches and thinning crowded areas. Just avoid removing all new growth, as that’s where fruit forms.
Common mistakes include:
Fix it: Next season, prune lightly and leave plenty of last year’s growth.
No! Figs heal naturally—avoid pruning sealants, which can trap moisture and encourage rot. Just make clean cuts with sharp tools (sterilized with rubbing alcohol) and let the tree callus over. For large cuts (>1 inch), angle them slightly to shed water.
Pruning your fig tree doesn’t have to be intimidating—just remember, timing, technique, and confidence are key! 🌿 By removing dead wood, shaping growth, and encouraging airflow, you’re setting the stage for sweeter fruit, stronger branches, and a thriving tree for years to come. Whether you’re a beginner or a seasoned gardener, every snip brings you one step closer to a bountiful harvest.
Ready to put your new skills to work? Grab those pruners, step outside, and give your fig tree the care it deserves—your future self (and taste buds!) will thank you. 🍇Happy pruning!
