
Beautiful Plants For Your Interior
Beautiful Plants For Your Interior
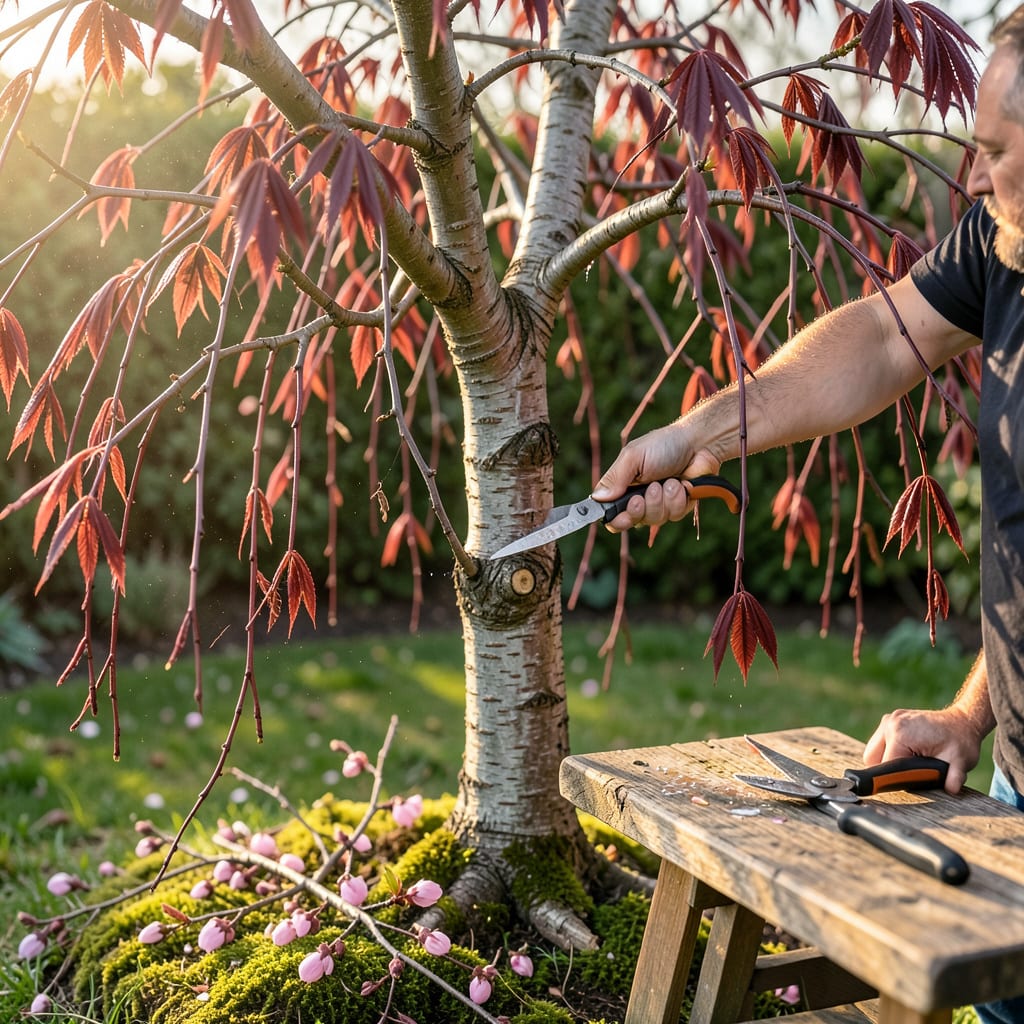
That first time I stood under a weeping cherry’s cascading branches, pruners in hand, I froze. What if I ruined its natural elegance? Turns out, thoughtful pruning doesn’t just preserve that beauty—it enhances it. These trees practically beg for careful shaping to maintain their signature waterfall form while keeping them healthy and floriferous.
Timing and technique make all the difference. Prune too late, and you sacrifice next year’s blooms. Cut incorrectly, and you risk weak growth or disease entry. After years of trial (and a few regrettable haircuts), I’ve landed on a foolproof approach that keeps these trees thriving for decades. The right cuts in late winter set up a season of dramatic cascades and abundant flowers.
📚 In This Guide
Pruning these elegant trees is simpler than it appears—focus on enhancing their natural form while maintaining health.
Begin by studying the tree’s existing shape. Weeping cherries have a distinctive cascading habit with a central leader (main upward trunk) and pendulous branches. Locate the graft union—a noticeable bulge near the base where the weeping variety was grafted onto hardier rootstock. This is your pruning boundary.
Trace the primary branches that create the waterfall effect. Note which branches cross, rub against others, or grow inward toward the trunk. These are your first removal targets. I always step back frequently to visualize how cuts will affect the overall silhouette—what looks crowded now may appear balanced after strategic removal.
Start with the “three Ds”: dead, diseased, and damaged wood. Dead branches appear brittle and gray, while diseased wood may show cankers or discolored bark. Use clean, sharp bypass pruners to make cuts just outside the branch collar—the slightly swollen area where the branch meets the trunk. Never cut flush to the trunk, as this delays healing.
Next, eliminate any suckers emerging below the graft union. These vertical shoots steal energy from the weeping canopy and will eventually dominate if left unchecked. Remove them at their base without leaving stubs. Also prune any branches growing straight upward from the weeping canopy—these disrupt the graceful cascading form.
Selectively remove about 20-30% of the oldest branches at their point of origin. Focus on branches that are crowded, crossing, or growing parallel to others. This opens the canopy to improve air circulation (critical for preventing fungal diseases) and allows sunlight to reach inner branches.
When thinning, make cuts where branches meet the main trunk or a larger limb. Avoid leaving stubs longer than 1/4 inch, as these become entry points for pests and pathogens. I use the “rule of thirds”—never remove more than one-third of the total canopy in a single season to avoid stressing the tree.
The artistry comes in guiding the weeping branches. Rather than cutting back the entire length of a branch (which destroys the natural drape), identify where the branch begins to cascade and prune just above a healthy bud facing the direction you want new growth to follow. This encourages the tree to develop its characteristic fountain shape.
For branches touching the ground, you have two options: either prune them back to a higher bud to lift the canopy, or allow them to root (some weeping cherries propagate this way). If lifting, cut just above a bud that faces outward to maintain the tree’s symmetrical spread. Step back after each cut to assess balance—you’re sculpting, not just cutting.
Collect all pruned material immediately to prevent the spread of potential diseases. I use a tarp underneath the tree to simplify cleanup. Sterilize your pruners between cuts with rubbing alcohol if you’ve removed diseased wood—this prevents cross-contamination to healthy tissue.
Water the tree deeply after pruning to help it recover from stress. Monitor the tree over the next 4-6 weeks for new growth patterns. You’ll see fresh buds swelling within 2-3 weeks if pruned at the right time (late winter before bud break). The tree’s response will guide your approach for next year’s pruning—whether you need to thin more aggressively or simply maintain the shape you’ve established.
Pruning these trees is as much about artistry as it is about horticulture—here’s what I’ve learned from years of shaping them.
The Structural Foundation: In Step 1, when identifying the tree’s natural structure, pay special attention to the graft union. This isn’t just a visual marker—it’s the biological boundary between the weeping scion and the hardy rootstock. Never prune below this point, as you’ll lose the weeping characteristic entirely. I’ve seen well-intentioned gardeners accidentally turn a weeping cherry into a standard tree by cutting below this critical junction.
Precision in Problem Removal: When addressing the “three Ds” in Step 2, remember that diseased wood requires special handling. Always sterilize your pruners with rubbing alcohol between cuts when dealing with cankers or fungal infections. I make it a habit to keep a small spray bottle of alcohol in my pruning kit for this exact purpose. A quick spritz and wipe between branches prevents spreading pathogens throughout the tree.
The Thinning Technique: Step 3’s 20-30% thinning guideline isn’t arbitrary—it’s based on the tree’s ability to recover. When selecting which branches to remove, prioritize those older than three years first. You can identify these by their darker bark and thicker diameter. The “rule of thirds” mentioned isn’t just about quantity; it’s about maintaining the tree’s energy balance. Removing more than one-third of the canopy in a single season forces the tree to expend excessive energy on regrowth rather than establishing strong new branches.
Artistic Shaping Insight: The shaping process in Step 4 requires understanding how weeping cherries grow. When pruning cascading branches, always cut just above a bud that faces outward—not inward toward the trunk. This seems counterintuitive, but outward-facing buds will produce branches that continue the graceful weeping habit rather than growing upward. I’ve found that making these cuts at a slight angle (about 45 degrees) helps water run off rather than pooling on the cut surface, which can lead to rot.
The ideal time is late winter to early spring (before buds swell) or after flowering in spring. Avoid pruning in fall—it stimulates new growth vulnerable to frost. Summer pruning is okay for light shaping but avoid extreme heat.
No—its weeping form is genetic! Pruning can direct growth (e.g., thinning crowded branches) but won’t eliminate the cascading habit. Focus on enhancing its natural shape instead of fighting it.
Weeping cherries need gentler thinning to preserve their graceful drapes. Avoid heavy heading cuts (which spur upright growth). Standard cherries tolerate more aggressive structural pruning. Always sanitize tools to prevent disease!
Yes! Dead, diseased, or broken branches should be pruned as soon as you spot them, regardless of season. Use clean, angled cuts just outside the branch collar. Pro tip: Sterilize pruners with rubbing alcohol between cuts.
If pruning feels overwhelming, try:
