
Beautiful Plants For Your Interior
Beautiful Plants For Your Interior
There’s something magical about watching an orchid multiply right before your eyes. I remember the first time I successfully propagated one—what started as a single plant became three thriving specimens in just one season. Outdoor orchids, with their resilience and beauty, make propagation surprisingly accessible once you know the right techniques. Division and keiki propagation […]
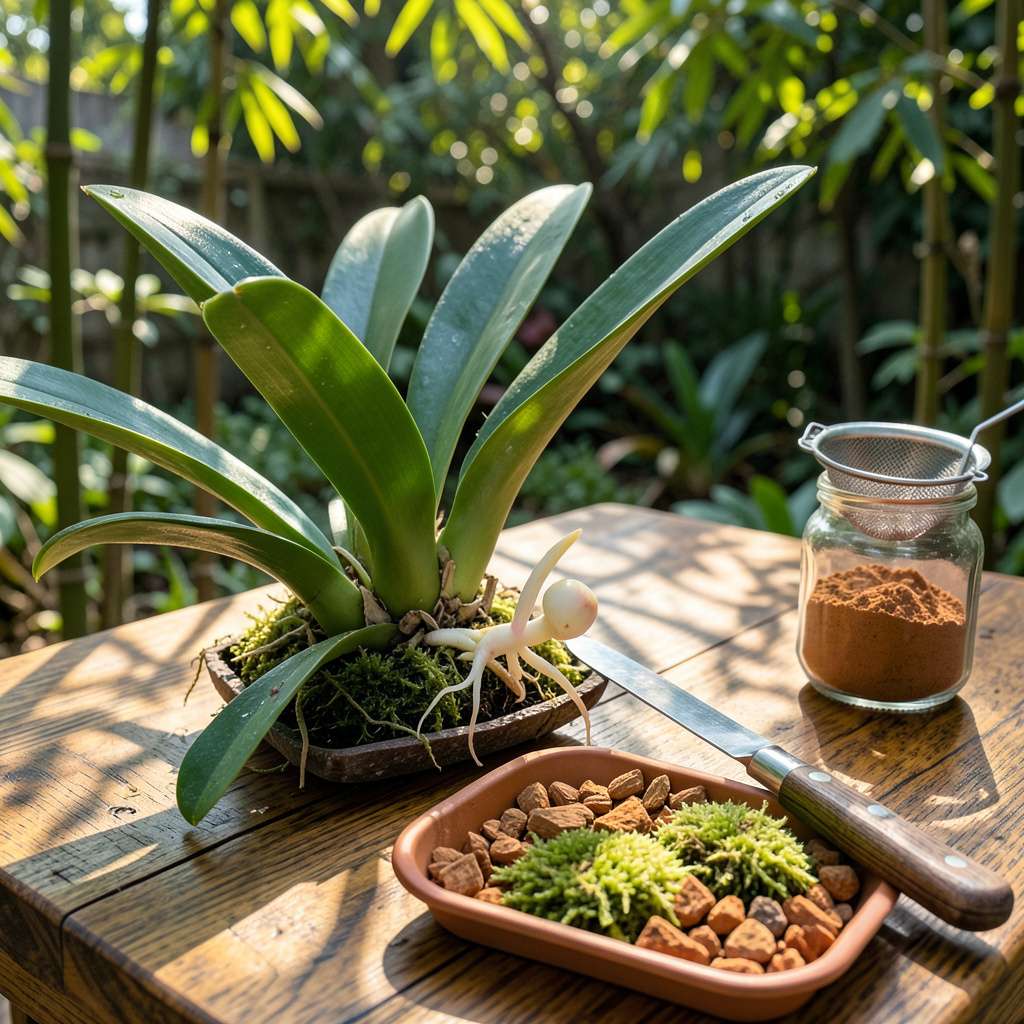
There’s something magical about watching an orchid multiply right before your eyes. I remember the first time I successfully propagated one—what started as a single plant became three thriving specimens in just one season. Outdoor orchids, with their resilience and beauty, make propagation surprisingly accessible once you know the right techniques.
Division and keiki propagation (those adorable baby plants that grow on stems) are the two simplest methods I’ve used with consistent success. The key is timing—wait until new growth appears in spring, then act before summer heat stresses the plants. You don’t need fancy equipment, just clean tools, patience, and a shady spot for recovery.
What you’ll end up with are stronger, more established plants that bloom better than store-bought specimens. My propagated orchids consistently outperform their parent plants, with more flowers and longer bloom cycles. The process feels like unlocking a secret level of gardening where plants actually work with you.
This method adapts to different climates and orchid varieties, from terrestrial types to epiphytic species. Whether you’re expanding your collection or sharing plants with friends, propagation turns one orchid into a lifetime supply. Here’s how to make it happen.
📚 In This Guide
Sharp pruning shears or scissors (rubbing alcohol or flame-sterilized).
Fine orchid bark mix (recommended for most species).
4-6 inch pots with drainage holes (1 per division/keiki).
Rooting hormone gel/powder (e.g., 0.1% IBA for stubborn cuttings).
This method delivers healthy new plants with minimal stress—perfect for both beginners and seasoned growers.
Choose a mature, disease-free orchid with at least three healthy pseudobulbs or canes. The ideal time for propagation is immediately after flowering when the plant enters its active growth phase, typically in early spring. Avoid propagating during dormancy or extreme heat, as the parent plant won’t recover well.
Examine the plant for natural division points—look for clusters of pseudobulbs with their own root systems. I use sterilized scissors to avoid transmitting pathogens. A clean cut ensures faster healing and reduces rot risk. If the orchid is monopodial (single-stemmed), focus on keiki propagation instead of division.
Carefully remove the orchid from its pot and gently shake off excess growing medium. Use your fingers to separate roots where natural divisions occur. For sympodial orchids, each division should include 2-3 pseudobulbs with attached roots. Never divide single-bulb sections—they lack sufficient energy reserves to survive.
Make clean cuts through rhizomes using a sterilized blade. I dip my tools in 70% isopropyl alcohol between cuts to prevent cross-contamination. Leave at least 1 inch of rhizome attached to each division to support new growth. Immediately dust cut surfaces with ground cinnamon or sulfur powder to prevent fungal infections.
Select pots with multiple drainage holes and use a chunky orchid mix containing 50% fir bark, 25% perlite, and 25% charcoal. The mix should drain completely within 10 seconds when watered. Position each division so the base of the pseudobulbs sits just above the medium surface—burying them invites rot.
Water the newly potted divisions lightly, just enough to settle the medium around roots. I place them in bright, indirect light (1,000-1,500 foot-candles) with 50-70% humidity and temperatures between 65-75°F. Avoid direct sun for the first 7-10 days while roots re-establish.
Maintain consistent moisture by watering when the top 1 inch of medium feels dry, typically every 5-7 days. Use room-temperature water and avoid wetting the pseudobulbs directly. I fertilize with a balanced 20-20-20 orchid fertilizer at quarter strength every other watering during active growth.
Watch for new root growth emerging from the division base—this confirms successful propagation. You’ll see 1-2 inches of new root growth within 4-6 weeks under ideal conditions. Gradually acclimate the new plants to normal light levels over 2-3 weeks to prevent stress.
After 8-12 weeks, your propagated orchids should show new leaf growth and established root systems. At this point, you can treat them like mature plants. I recommend repotting into slightly larger containers only when roots completely fill the current pot—usually every 18-24 months.
Real talk: Some divisions may struggle initially. If a pseudobulb yellows, it’s often sacrificing itself to support new growth. Remove completely desiccated bulbs to prevent disease spread, but leave partially green ones—they may still contribute energy to the developing plant.
After years of propagating orchids, I’ve learned that success comes down to a few critical details—here’s what makes the difference between struggling divisions and thriving new plants.
Sterilization Protocol: I can’t overstate how important it is to maintain sterile conditions during Step 2. Between each cut, dip your tools in 70% isopropyl alcohol and let them air dry for 10 seconds. I learned the hard way that even microscopic pathogens can cause divisions to fail. For an extra layer of protection, wipe down your work surface with a 10% bleach solution before starting.
Medium Composition: The 50% fir bark, 25% perlite, and 25% charcoal mix specified in Step 3 isn’t arbitrary. This precise ratio creates the perfect balance of drainage and aeration. I’ve tested various mixes over the years, and any deviation—especially reducing the charcoal percentage—leads to faster medium breakdown and root rot issues. Trust me on this.
Environmental Control: During those first 7-10 days mentioned in Step 3, maintaining 50-70% humidity is crucial. I use a simple humidity tray filled with pebbles and water placed beneath the pots. The key is keeping the humidity consistent without letting the pots sit in water. A small fan set to low can help circulate air and prevent fungal issues while maintaining humidity levels.
Patience with Progress: It’s tempting to check for new roots constantly, but disturbing the medium too soon can set back growth. The 4-6 week timeline in Step 4 is accurate—resist the urge to dig around the base before then. I mark my calendar and only check when I see new growth emerging above the medium, which is a safer indicator of root development.
Both methods work! Division (splitting mature plants) is the most reliable for beginners, but stem cuttings (from healthy pseudobulbs or keikis) can also succeed with high humidity and rooting hormone. Keikis (baby orchids) often root easily if left attached or gently removed!
Early spring (just before new growth starts) is ideal for division, while late spring to early summer works best for cuttings. Avoid propagating during dormancy (winter) or extreme heat. Pro tip: Propagate after blooming to avoid stressing the plant!
Common issues include:
Patience is key—roots can take 4–12 weeks!
Not fancy ones! A sterilized knife or shears, rubbing alcohol (for cleaning tools), and well-draining medium (like bark or sphagnum moss) are essential. Optional: rooting hormone for cuttings or a humidity dome. Clean tools prevent disease!
While some orchids (like Phalaenopsis) can root in water temporarily, it’s risky long-term—rot is common. For outdoor varieties, sphagnum moss or bark mimics their natural habitat better. Try the “water-start, soil-finish” method for stubborn cuttings!
Propagating outdoor orchids is simpler than it seems—just patience, the right technique, and a little TLC are all you need! 🌱 Whether you’re dividing mature plants, using keikis, or trying seed propagation, the key is consistent care and ideal growing conditions. Soon, you’ll have vibrant new blooms to enjoy or share with fellow plant lovers.
Ready to put your new skills to the test? Pick one method, gather your supplies, and start small—your orchid collection will thank you! For extra confidence, revisit the FAQ section if you hit a snag. Happy propagating! ✨
