
Beautiful Plants For Your Interior
Beautiful Plants For Your Interior
I killed my first three orchids before learning the propagation secret that changed everything. The moment I saw new roots emerging from a stem cutting, I realized these elegant plants aren’t as fragile as they seem—when you know how to work with their natural growth patterns. What surprised me most? You don’t need fancy equipment. […]
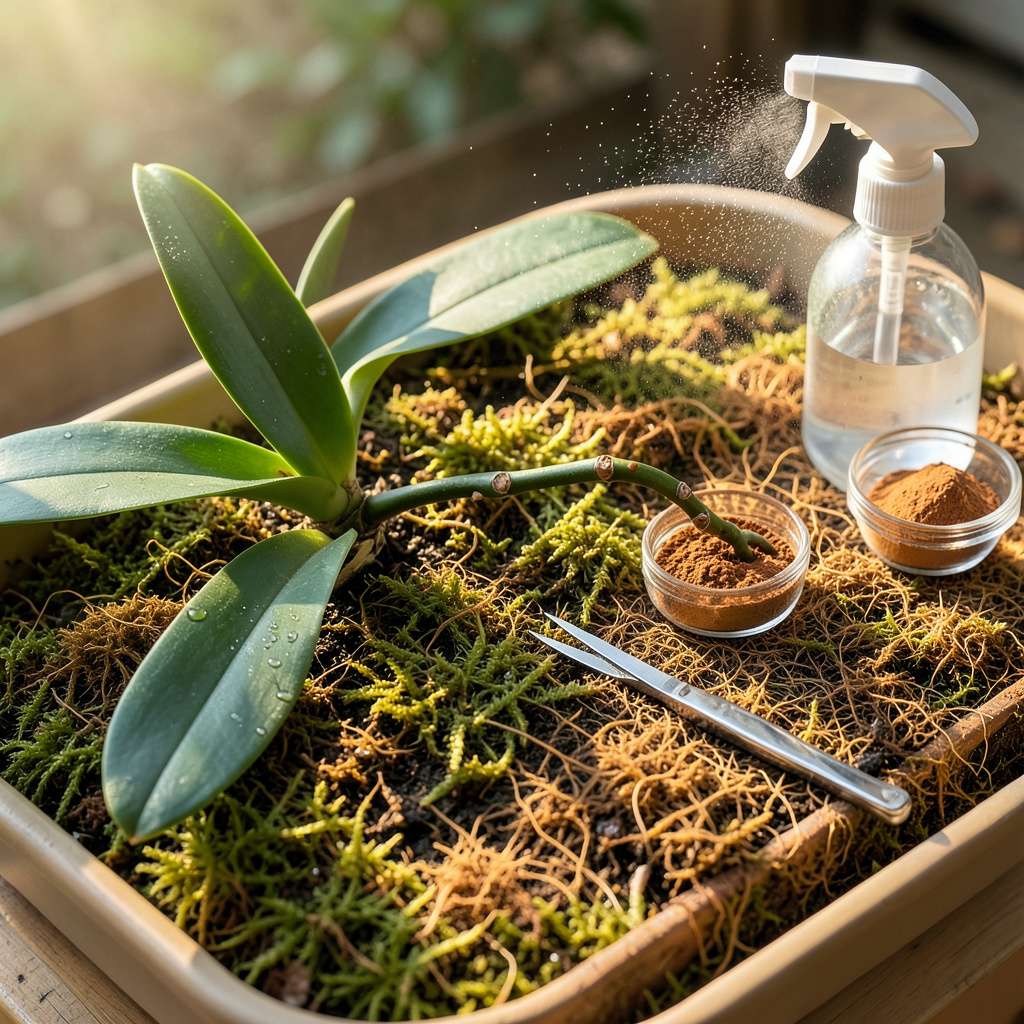
I killed my first three orchids before learning the propagation secret that changed everything. The moment I saw new roots emerging from a stem cutting, I realized these elegant plants aren’t as fragile as they seem—when you know how to work with their natural growth patterns.
What surprised me most? You don’t need fancy equipment. A clean razor blade, some sphagnum moss, and a plastic bag create the perfect propagation environment. The process feels almost magical when you check after 3-4 weeks and find tiny white roots pushing out, ready to become independent plants.
New orchid plants from your existing collection means more blooms without spending a dime at the nursery. I’ve turned single plants into entire windowsill displays using this method, with varieties that would cost $30-$50 each at garden centers. The satisfaction of watching your “baby” orchids produce their first flowers is unmatched.
Whether you’re rescuing a struggling plant or expanding your collection, this technique works for phalaenopsis, cattleya, and many other common varieties. The key is timing—propagate when the plant is actively growing, and you’ll see results faster than you expect.
📚 In This Guide
Sphagnum moss (soaked in water, squeezed dry) OR
This method delivers healthy new plants from your existing orchids—no green thumb required.
Choose a mature, healthy orchid with at least one flower spike that has finished blooming but remains green and firm. Look for nodes (small brown lines) along the spike—these are dormant growth points where new plants will form. I prefer working with Phalaenopsis orchids for beginners because their spikes propagate most reliably.
Using sterilized scissors or a sharp blade, make a clean cut 1 inch below the lowest node and 1 inch above the highest node on the spike. This creates a stem section with multiple potential growth points. Always sterilize your tool with rubbing alcohol first to prevent fungal contamination.
Dip the base of your cut stem section into rooting hormone powder, tapping gently to remove excess. This step isn’t mandatory but dramatically increases success rates by encouraging faster root development. I’ve found it particularly useful when propagating from older spikes that might be less vigorous.
For the hormone to work effectively, ensure the cut end is slightly moist before dipping—dry tissue won’t absorb the powder properly. Let the treated end air dry for 5-10 minutes before proceeding. This prevents the powder from washing off immediately when watered.
Fill a small container with sphagnum moss (soaked and squeezed to remove excess water) or use a specialized orchid propagation box. The moss should feel damp but not dripping—think of a wrung-out sponge. Place your stem section horizontally on the moss surface, ensuring at least one node makes direct contact.
Maintain consistent 70-75°F temperatures and 60-70% humidity around your cutting. I use a clear plastic bag with small ventilation holes to create a mini greenhouse effect. Keep the setup in bright, indirect light—east-facing windows work perfectly for this stage.
Check your cutting every 3-4 days, misting lightly if the moss surface begins to dry. You should see new growth emerging from the nodes within 4-8 weeks. The first signs are tiny green bumps that gradually develop into leaves and roots.
Resist the urge to overwater—soggy conditions cause rot faster than drought kills orchid cuttings. I’ve ruined more propagations by overzealous watering than by neglect. Once roots reach 1-2 inches long, your new plant is ready for its own pot.
When your propagated plant (called a keiki) has 3-4 roots that are 2-3 inches long, carefully separate it from the parent stem. Use a sterile cutting tool to make a clean break at the base of the new growth.
Pot the keiki in orchid bark mix, burying the roots just below the surface. Water lightly and maintain the same humidity conditions for another 2-3 weeks while it establishes. You’ll know it’s thriving when you see new leaf growth within 4-6 weeks of transplanting.
Here’s what I’ve learned through trial and error to maximize your success with this propagation method.
Sterilization is Non-Negotiable: In Step 1, when preparing your cutting tool, don’t skip the rubbing alcohol sterilization. I ruined three batches before realizing that even microscopic fungal spores can infect the vulnerable cut tissue. Wipe down both the blades and the cutting surface, and let the alcohol evaporate completely before making your cuts. This simple step prevents the majority of propagation failures.
Hormone Application Technique: For Step 2, the key to rooting hormone success lies in moisture balance. The cut end should feel slightly damp to the touch—like a barely wrung-out sponge—before dipping. I’ve found that misting the cut end lightly with water and letting it sit for 30 seconds creates the perfect surface for powder adhesion. The 5-10 minute drying time is critical; rushing this step causes the powder to clump and wash away during watering.
Environmental Consistency: Maintaining the 70-75°F temperature range in Step 3 is more challenging than it seems. Avoid placing your setup near drafty windows or heating vents. I use a small digital thermometer inside my propagation container to monitor conditions. If temperatures fluctuate more than 5 degrees, consider using a seedling heat mat set to low. Remember that the 60-70% humidity requirement means you’ll need to mist more frequently in dry climates—sometimes daily during winter months.
Patience During Development: The 4-8 week waiting period in Step 4 tests even experienced growers. Resist the temptation to check for roots by disturbing the cutting. Instead, watch for the telltale green bumps at the nodes—these appear before roots develop. I mark my calendar for 6 weeks out and only check if I haven’t seen any changes by then. Overhandling at this stage can dislodge developing root primordia that aren’t visible yet.
Orchids can’t be propagated from leaf or stem cuttings like pothos or succulents. Instead, focus on division (for sympodial orchids like Cattleyas) or keiki propagation (for monopodial types like Phalaenopsis). Some orchids also grow from backbulbs—dormant pseudobulbs that can sprout new plants!
Timing is key! Propagate after flowering when the plant is in active growth (usually spring or early summer). Avoid disturbing orchids during dormancy or while blooming—stress can stunt new growth. For keikis, wait until roots are 2–3 inches long before separating.
Patience is your friend! If a keiki (baby orchid) lacks roots after 3+ months, try these fixes:
Avoid overwatering—rot is the #1 killer of slow-starting keikis!
Water propagation rarely works for orchids—most rot before rooting. Instead, use sphagnum moss or orchid bark mix for keikis/divisions. Exception: Some growers succeed with semi-hydroponics (LECA clay pellets), but it requires precise moisture control.
Shock is common! Top causes:
Trim dead roots, repot in fresh mix, and wait—recovery can take weeks!
Propagating orchids is easier than you think—just patience, the right technique, and a little TLC can turn one plant into many! 🌱 Whether you choose division, keiki propagation, or seed sowing, success starts with clean tools, ideal conditions, and gentle care. Now that you’re equipped with the know-how, why not pick your healthiest orchid and give it a try?
Start small with division or keiki propagation for quicker results, and don’t forget to track your progress. Happy growing—your future orchid collection is waiting! 🌸
