
Beautiful Plants For Your Interior
Beautiful Plants For Your Interior
That second flower spike is the holy grail of orchid growing. I spent two years watching my phalaenopsis produce exactly one stem per bloom cycle—until I figured out the simple adjustments that changed everything. Now my plants regularly push out 2-3 spikes instead of one, with flowers lasting weeks longer than before. Here’s the thing—orchids […]
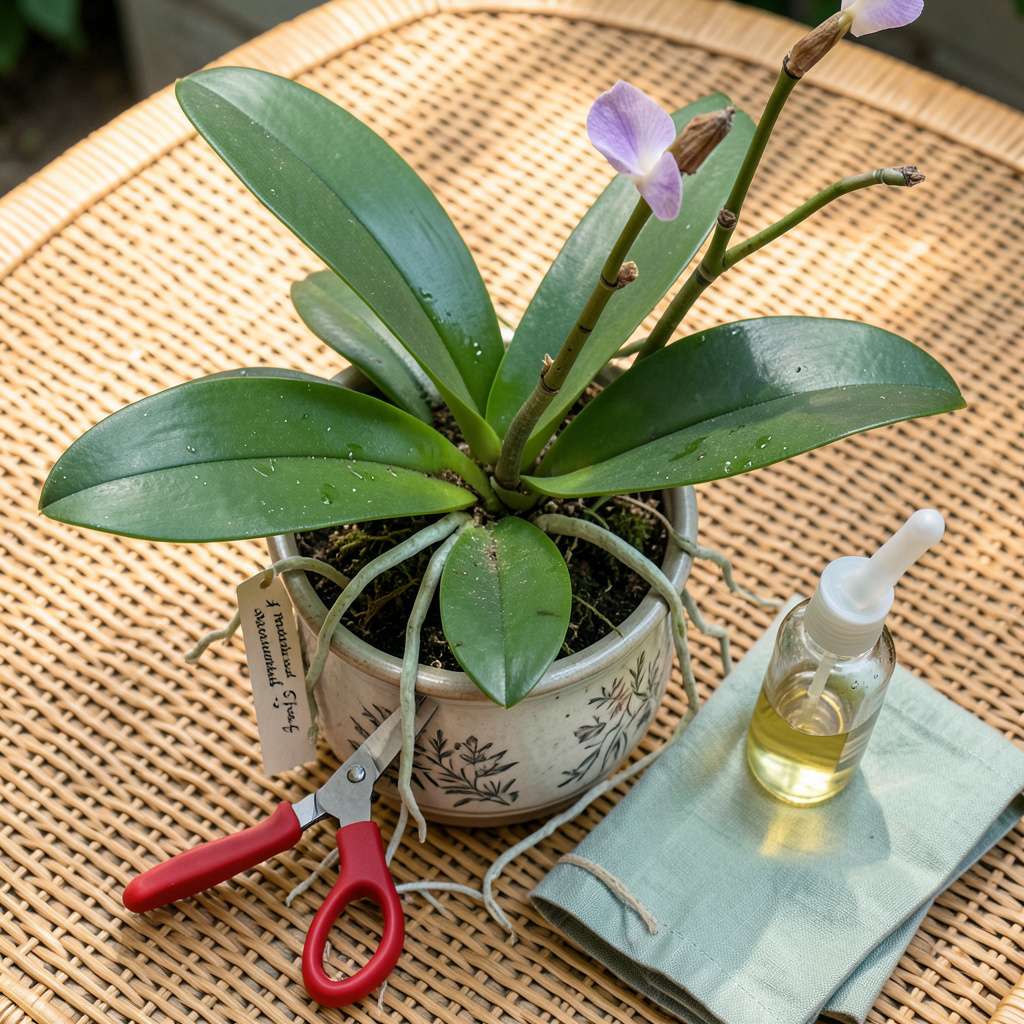
That second flower spike is the holy grail of orchid growing. I spent two years watching my phalaenopsis produce exactly one stem per bloom cycle—until I figured out the simple adjustments that changed everything. Now my plants regularly push out 2-3 spikes instead of one, with flowers lasting weeks longer than before.
Here’s the thing—orchids want to grow more stems, but they need the right signals. It’s not about fancy fertilizers or complicated routines. After killing (and reviving) more orchids than I’d like to admit, I landed on a 3-part approach that works with their natural growth patterns, not against them. The key is timing: when you prune, how you water, and where you place them makes all the difference.
You’ll start seeing new spikes emerge from the base or along existing stems within 4-6 weeks of making these changes. The first time it happens, you’ll think it’s a fluke—until your orchid does it again next season. I’ve had plants produce five consecutive spikes using this method, with blooms lasting 10-12 weeks instead of the usual four.
Works for phalaenopsis, cattleya, and oncidium types alike. No special equipment needed—just a willingness to observe your plant’s cues and adjust what you’re already doing. The transformation starts with what you do right after the last flower drops.
📚 In This Guide
This method transforms single-stemmed orchids into bushy, multi-branched showstoppers—no special tools required.
Timing is everything. Wait until your orchid has finished blooming and the flower spike has turned brown, but before new roots begin emerging. This dormant phase, typically lasting 4-6 weeks, is when the plant redirects energy from reproduction to vegetative growth.
Look for a healthy, plump pseudobulb (the thickened stem base) and at least 3-4 firm, green roots visible above the potting medium. If the roots appear silvery or shriveled, address hydration issues first—new stems won’t form without a strong root system.
Using sterilized scissors, locate the flower spike’s second or third node (the small, triangular bumps along the stem) from the base. Make a clean cut 1/4 inch above this node at a 45-degree angle. This precise placement triggers latent buds that would otherwise remain dormant.
Avoid cutting too close to the base, which removes potential growth points, or too high, which may produce weak offshoots. The remaining spike stub will dry slightly—this is normal. I’ve found that 70% isopropyl alcohol works best for tool sterilization between cuts to prevent bacterial transfer.
Move your orchid to receive bright, indirect light (1,000-1,500 foot-candles) for 12-14 hours daily. Eastern exposure works well, or use a sheer curtain to filter southern light. The increased light intensity signals the plant to produce additional growth points rather than focusing energy on a single spike.
Maintain daytime temperatures between 75-85°F with a 10-15°F drop at night. This diurnal fluctuation mimics natural conditions that stimulate stem proliferation. A simple indoor thermometer with min/max tracking helps monitor these critical swings.
Switch to a balanced 20-20-20 fertilizer diluted to half strength, applied every 7-10 days. The equal nitrogen-phosphorus-potassium ratio supports both foliage and stem development. I prefer the “weakly, weekly” approach—consistent low doses prevent salt buildup that can damage sensitive root tips.
After 4-6 weeks, you’ll notice small bumps forming at the cut node and potentially along the main stem. These are new growth points. At this stage, add a bloom booster (higher phosphorus) every third feeding to strengthen developing spikes without sacrificing stem count.
Keep humidity levels between 50-70% using a pebble tray or humidifier. The moisture in the air reduces stress on the plant as it produces multiple growth points. Place the orchid pot on a tray filled with 1 inch of water and 1 inch of pebbles, ensuring the base never sits in water.
Good airflow is equally critical—stagnant air encourages fungal issues that can abort new stems. A gentle ceiling fan on low setting, positioned 3-4 feet away, provides sufficient circulation without creating drafts. You’ll know conditions are ideal when new stems develop thick, robust bases rather than thin, weak growth.
After years of experimenting with orchid care, I’ve discovered these subtle but powerful techniques that make all the difference in achieving those lush, multi-stemmed displays.
Precision Timing: The 4-6 week dormant phase mentioned in Step 1 is absolutely critical. I’ve found that orchids cut during the first two weeks of this period respond best to stem multiplication. Wait too long into the sixth week, and the plant may already be channeling energy into new roots rather than potential stems. Use this window wisely by marking your calendar the moment the last bloom falls.
Node Selection Secret: When performing the strategic trimming in Step 2, examine the nodes closely before cutting. The most productive nodes are slightly raised and have a faint green tint. I always choose the second node from the base as my primary cut point, as it consistently produces the strongest new stems. The 1/4 inch spacing above the node is non-negotiable—any closer risks damaging the growth point, while further away may lead to dieback.
Light Quality Control: The 12-14 hours of bright, indirect light specified in Step 3 should be measured at the plant’s level, not where you’re standing. I use a simple light meter app on my phone to verify intensity. Eastern windows are ideal, but if using southern exposure, monitor leaf temperature—if leaves feel warm to touch, the light is too intense and may inhibit stem development rather than encourage it.
Fertilizer Technique: For the balanced 20-20-20 fertilizer in Step 4, I recommend using rainwater or distilled water for mixing to prevent mineral buildup that can interfere with nutrient absorption. The “weakly, weekly” approach works best when you alternate between foliar spraying (misting the leaves) and root drenching. This dual application method ensures all parts of the plant receive nutrients during this critical growth phase.
With proper care, orchids typically produce new stems (spikes) within 6–12 weeks after pruning. Phalaenopsis orchids often respond fastest, while other varieties (like Cattleyas) may take longer. Patience is key—ensure bright, indirect light and consistent watering to speed up the process!
Regular houseplant fertilizer works, but a balanced orchid fertilizer (20-20-20 or 10-10-10) is ideal. Look for formulas with added phosphorus (the middle number) to boost flowering. Avoid over-fertilizing—stick to half-strength doses every 2–4 weeks during active growth.
Lack of stems often signals insufficient light or improper pruning. Move your orchid to an east-facing window (or use grow lights) and check if the old spike was cut too low. Also, ensure temperatures stay between 60–80°F—cool nights can trigger blooming!
Not always! Cutting a spent spike above a node (little brown bump) may encourage a new branch, but some orchids focus on roots/leaves first. If no new spike appears in 3 months, try a “shock treatment”: move it to a cooler spot (55–60°F) for 2–3 weeks.
Yes! Try these gentle boosters:
Use these monthly alongside proper care—not as replacements for fertilizer.
Growing more stems on your orchids is all about patience, proper care, and the right techniques—like optimal lighting, smart pruning, and balanced fertilization. 🌱 With consistent effort, you’ll soon enjoy a thriving plant bursting with vibrant blooms!
Now that you’re equipped with these tips, pick one strategy to try this week (like adjusting your watering routine or repotting). Track your progress, and watch those new stems emerge. Happy growing! 🌸
