
Beautiful Plants For Your Interior
Beautiful Plants For Your Interior
There’s nothing like watching an orchid produce those first vibrant blooms—until you realize the leaves are yellowing and growth has stalled. I’ve been there, staring at my struggling plants until I discovered the game-changer: water pH. Most tap water runs too alkaline for orchids, locking out the nutrients they need to thrive. The fix is […]
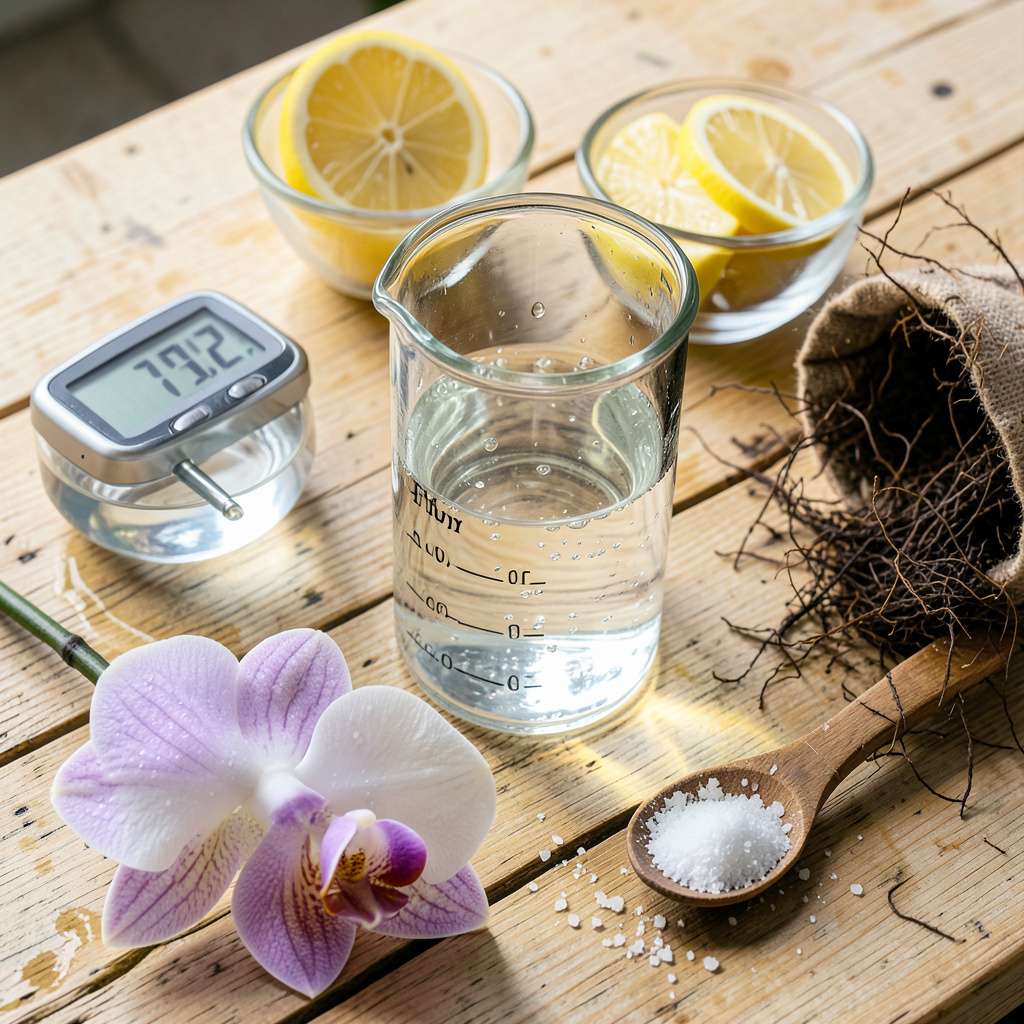
There’s nothing like watching an orchid produce those first vibrant blooms—until you realize the leaves are yellowing and growth has stalled. I’ve been there, staring at my struggling plants until I discovered the game-changer: water pH. Most tap water runs too alkaline for orchids, locking out the nutrients they need to thrive.
The fix is simpler than you’d expect. After ruining a few plants with guesswork, I landed on a foolproof method that lowers pH safely without shocking the roots. You don’t need fancy equipment—just a basic test kit and one household ingredient you already have. My orchids now push out stronger roots and hold blooms twice as long.
What changed? The water. Orchids absorb iron, manganese, and other critical nutrients only when the pH sits between 5.5 and 6.5. Get this right, and you’ll see new growth within weeks. The leaves darken to that rich, healthy green, and flower spikes appear like clockwork. No more limp, sad plants.
Works for phalaenopsis, cattleyas, or any orchid struggling with hard water. Here’s exactly how to test, adjust, and maintain the perfect balance—without the trial-and-error frustration we all hate.
📚 In This Guide
This straightforward method ensures your orchids get the perfectly balanced water they need to thrive and bloom spectacularly.
Before making any adjustments, you need to know your starting point. Use a reliable pH test strip or digital pH meter to check your water. Orchids prefer slightly acidic conditions, ideally between 5.5 and 6.5 pH. Most tap water tests higher than this, often around 7.0 or above.
Fill a clean glass with your water source and dip the test strip for the recommended time (usually 5-10 seconds). Compare the color change immediately to the chart provided. Digital meters give instant readings—just ensure the probe is clean and calibrated for accuracy.
For a simple, natural approach, white vinegar works exceptionally well. The acetic acid gently lowers pH without harming orchids when used correctly. You’ll need distilled white vinegar (5% acidity) and your water source. Avoid apple cider vinegar or other types—they contain additional compounds that may affect water quality.
Alternatively, specialized pH-down products designed for hydroponics or orchid care provide precise control. These are more concentrated, so follow package directions carefully. I prefer vinegar for its accessibility and safety, but commercial products offer consistency if you’re treating larger quantities.
Start with 1 teaspoon of white vinegar per gallon of water. Stir well and retest the pH after 5 minutes. You’ll often see an immediate drop of 0.5-1.0 pH units. If the level remains too high, add another ½ teaspoon, stir, and wait before testing again.
The key here is patience—orchids dislike sudden pH swings as much as high pH. I’ve found that small, incremental adjustments over 10-15 minutes yield the most stable results. Your target is that 5.5-6.5 range, where nutrient uptake is optimal and root health flourishes.
Once you’ve reached the ideal pH, use this water immediately for your orchids. The adjusted pH will begin to rise again after 24-48 hours as it interacts with air and container materials. For this reason, I prepare only what I’ll use that day.
Water your orchids as you normally would, ensuring thorough saturation of the growing medium. You’ll notice healthier root tips (they’ll appear silver-green when wet and white-green when dry) within a week of consistent pH-balanced watering. This simple change often triggers new growth and bud development in previously struggling plants.
Test your water pH every time you prepare a new batch. Municipal water supplies can fluctuate seasonally, and even well water may change with rainfall patterns. I keep a small notebook to track adjustments—this helps me anticipate how much vinegar to add based on recent test results.
Watch your orchids’ response over 2-3 weeks. You’ll see firmer leaves, more vigorous roots, and often, the emergence of new flower spikes. If leaf tips begin to yellow or roots look reddish, the pH may have dropped too low—reduce your vinegar amount by half for the next batch. The plants themselves become your best pH meters with practice.
After years of growing orchids and tracking water quality, I’ve learned that small adjustments make all the difference in plant health. Here’s what experience has taught me about getting the pH just right.
Testing Accuracy: In Step 1, the 5-10 second dip time for test strips is crucial—don’t leave them in longer or you’ll get false readings. I’ve found that swirling the strip gently during testing gives more consistent color development. For digital meters, always rinse the probe with distilled water between tests to prevent mineral buildup that skews results.
Vinegar Technique: When adding the 1 teaspoon of vinegar per gallon in Step 3, stir vigorously for at least 30 seconds to ensure complete distribution. I learned the hard way that vinegar can settle at the bottom if not mixed thoroughly, leading to inconsistent pH readings in different parts of your container. The 5-minute waiting period is non-negotiable—this allows the chemical reaction to stabilize.
Monitoring Changes: During the 10-15 minute adjustment window, watch for subtle signs of over-acidification. If your water develops a slight vinegar scent before reaching the target pH, you’re adding too much too quickly. I keep a timer running and make notes every 5 minutes—this helps me anticipate how my specific water source responds to adjustments.
Storage Wisdom: The 24-48 hour window for water usability is absolute. I once tried storing adjusted water for 3 days and noticed my orchids developed brown root tips. The pH had crept back up to 7.2, undoing all my careful adjustments. Now I prepare only what I’ll use immediately and mark my calendar for fresh batches.
Test your water’s pH every 2–4 weeks—or whenever you adjust it. Orchids thrive in slightly acidic conditions (pH 5.5–6.5), but pH can drift over time. Use a digital pH meter or test strips for accuracy. Pro tip: Test after adding amendments (like vinegar or citric acid) to avoid overcorrecting!
Yes, but sparingly! Lemon juice is acidic but can introduce sugars and organic compounds that may harm roots or attract bacteria. Dilute 1–2 drops per gallon of water, test the pH, and avoid frequent use. Vinegar (white, diluted) is a more stable alternative.
Hard water (high in minerals like calcium/magnesium) or alkaline tap water can cause pH to “bounce back.” Try:
RO water is neutral to slightly acidic (pH ~6–7), which is ideal for orchids! However, it lacks minerals. Mix with 20% tap water or add a balanced orchid fertilizer to replenish nutrients. Avoid pure RO long-term—it can starve your plant.
Don’t panic! If pH drops below 5.0, dilute the water with fresh, pH-neutral water (like distilled or rainwater) to balance it. Signs of over-acidity include yellowing leaves or stunted growth. Flush the pot with neutral water to reset the root environment.
Lowering the pH in your orchid’s water doesn’t have to be complicated! With simple methods like vinegar, citric acid, or reverse osmosis, you can create the ideal acidic environment for vibrant, healthy blooms. 🌸 Remember, consistency is key—test your water regularly and adjust as needed.
Now that you’re equipped with the know-how, why not put it into action? Grab your pH meter and try one of these methods today—your orchids will thank you with stunning growth! For more orchid care tips, check out our guide on fertilizing for maximum blooms.
