
Beautiful Plants For Your Interior
Beautiful Plants For Your Interior
That moment when your orchid’s first bloom opens feels like magic—until the flowers drop and you’re left staring at bare stems. I’ve been there, watching my once-glorious phalaenopsis turn into a sad green stick. The good news? Keeping orchids blooming isn’t about luck or green thumbs—it’s about mimicking what they experience in nature, right on […]
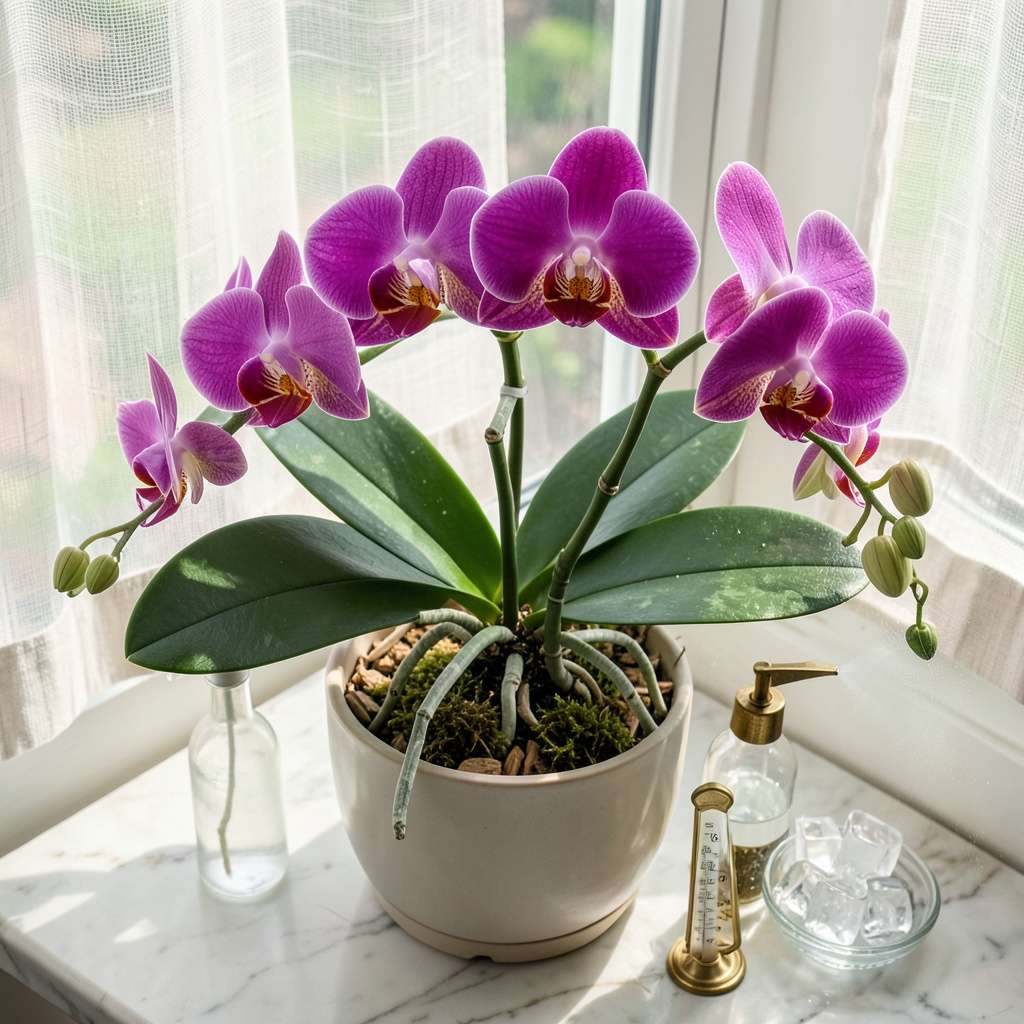
That moment when your orchid’s first bloom opens feels like magic—until the flowers drop and you’re left staring at bare stems. I’ve been there, watching my once-glorious phalaenopsis turn into a sad green stick. The good news? Keeping orchids blooming isn’t about luck or green thumbs—it’s about mimicking what they experience in nature, right on your windowsill.
After killing my first three orchids through overwatering (yes, I drowned them with kindness), I learned the simple rhythm these plants actually need. It comes down to three things: bright indirect light, a watering schedule that lets roots breathe, and the right fertilizer at the right time. No fancy equipment, no daily fussing—just consistent care that takes less time than making coffee.
What you’ll get is a plant that rewards you with months of blooms, not just a few weeks. The flowers stay vibrant longer, new spikes emerge reliably, and that “orchid confidence” grows with every successful season. My current collection has been blooming continuously for 18 months using this approach.
Whether you’re rescuing a grocery-store orchid or nurturing a prized specimen, the same principles apply. The difference between “it died” and “it’s blooming again!” often comes down to one or two simple adjustments. Let’s get those flowers coming back.
📚 In This Guide
This foolproof approach keeps your orchids flowering continuously with minimal effort—just follow these natural growth cues.
Place your orchid where it receives bright, indirect light for 10-12 hours daily. East-facing windowsills work beautifully, while south exposures need sheer curtains to diffuse intensity. I’ve found that 65-80°F daytime temperatures with a 10°F drop at night reliably trigger bloom spikes.
The leaves will tell you if light is correct: deep green indicates too little light (expect no blooms), while reddish tinges signal too much. Aim for medium olive-green foliage. Rotate the pot quarter-turn weekly to prevent lopsided growth toward the light source.
Water only when the top inch of bark mix feels completely dry—typically every 7-10 days in average home conditions. Use room-temperature water and soak the pot for 15 minutes, then let it drain thoroughly. Never let orchids sit in water, as this invites root rot that will kill the plant within weeks.
Here’s the thing—orchids absorb moisture through their aerial roots, so mist those silver-green roots lightly between waterings. You’ll see plump, green root tips when hydration is perfect. If roots appear shriveled or gray, increase watering frequency slightly, but always check the bark mix first.
Use a balanced 20-20-20 orchid fertilizer diluted to half-strength every other watering during active growth. I switch to a high-phosphorus 10-30-20 formula when I see a flower spike emerging—this dramatically increases bloom count and size. Flush the pot with plain water monthly to prevent salt buildup that burns roots.
Real talk: overfertilizing causes leafy growth at the expense of flowers. If you see rapid leaf production but no spikes, cut back feeding for 4-6 weeks. The stress of reduced nutrients often triggers blooming. Always apply fertilizer to damp roots only—never to dry bark mix.
When the last flower drops, examine the spike: if it’s still green and firm, trim it back to just above the second or third node from the base. This often produces a secondary bloom within 8-12 weeks. Brown, dried spikes should be removed entirely at the base to redirect energy.
After pruning, move the plant to a slightly cooler location (55-65°F) for 2-3 weeks to mimic its natural dormancy period. You’ll know the resting phase is working when you see a new spike emerging from the base or along the old stem. Resume normal care once the spike reaches 2-3 inches in length.
Orchids thrive at 40-70% humidity. In dry homes, place the pot on a tray filled with pebbles and water, ensuring the pot sits above the waterline. I’ve had excellent results grouping orchids together—this creates a microclimate with naturally higher humidity through transpiration.
Watch for pleated leaves, which indicate insufficient humidity. A simple hygrometer lets you monitor levels precisely. If your home runs very dry in winter, consider a small humidifier placed near your orchid collection, but avoid misting flowers directly as this causes petal spotting and reduces bloom longevity.
These simple adjustments will transform your orchid care routine and keep those stunning blooms coming season after season.
Light Quality Check: The 10-12 hours of bright, indirect light mentioned in Step 1 is non-negotiable for consistent blooming. I’ve found that placing orchids near east-facing windows gives the most reliable results, but if you only have north-facing windows, supplement with a grow light for 4-6 hours daily. Remember to rotate your pot that quarter-turn weekly—this prevents the plant from growing lopsided as it stretches toward the light source. The olive-green leaf color is your perfect indicator that light levels are ideal.
Watering Wisdom: When following the 7-10 day watering schedule in Step 2, always use the finger test before watering—stick your finger an inch into the bark mix. If it feels even slightly damp, wait another day. The 15-minute soaking method is crucial because it allows the bark to fully hydrate, but here’s what nobody tells you: after soaking, gently squeeze the pot to remove excess water from the bark. This prevents the dreaded root rot that can kill an orchid in just weeks.
Fertilizer Technique: The every-other-watering schedule for 20-20-20 fertilizer in Step 3 works beautifully, but I’ve learned to always water first, then fertilize. Applying fertilizer to dry roots can burn them. When you see that flower spike emerging, the switch to 10-30-20 formula makes a noticeable difference in bloom size. Don’t skip the monthly flush with plain water—this removes salt buildup that can damage roots over time.
Pruning Precision: For the strategic pruning in Step 4, use sterilized scissors or pruners to avoid introducing bacteria. When trimming back to the second or third node, make your cut at a 45-degree angle—this helps prevent water from pooling on the cut surface. The 2-3 week cooler period after pruning is when new spikes form, so be patient and maintain that 55-65°F temperature range for best results.
Fertilize your orchid every 2–4 weeks during active growth (spring/summer) with a balanced 20-20-20 orchid fertilizer, diluted to half strength. Cut back to monthly feedings in fall/winter. Over-fertilizing can burn roots—flush the pot with water every few months to prevent salt buildup!
Orchids need a “rest period” (6–8 weeks of cooler temps, ~55–65°F at night) to trigger reblooming. Ensure it’s getting bright, indirect light (east/west window) and avoid overwatering. If spikes don’t appear in 3–6 months, check for root rot or insufficient light.
Can I use ice cubes to water my orchid? (I heard it’s easier!)
Skip the ice! Orchids hate cold roots—it can shock the plant and cause root damage. Instead, water with room-temperature water until it drains freely from the pot. Aim for once a week (adjust based on humidity). Pro tip: Lift the pot—if it feels light, it’s thirsty!
First, check the roots—healthy roots are plump and green. If mushy (rot) or dry (underwatered), trim damaged roots and repot in fresh bark mix. For quick hydration, soak the pot in water for 10 minutes, then let drain. Move to brighter light (no direct sun) and mist leaves lightly for humidity boost.
Orchids thrive in well-draining pots with airflow—clear plastic (lets you monitor roots) or slotted clay work best. Avoid dense ceramic without holes; trapped moisture causes rot. If using a decorative cache pot, ensure the inner pot lifts out for easy drainage after watering.
Keeping your orchid blooming year-round isn’t magic—it’s about consistent care and a little patience! 🌸 By mastering the right light, water, humidity, and fertilizer balance, you’ll turn those sporadic blooms into a stunning, long-lasting display. Remember, every orchid is unique, so observe yours closely and adjust as needed.
Ready to put these tips into action? Start by assessing your orchid’s current environment—could it use brighter light or a humidity boost? Small tweaks today lead to bigger, brighter blooms tomorrow. Happy growing! 🌱
