
Beautiful Plants For Your Interior
Beautiful Plants For Your Interior
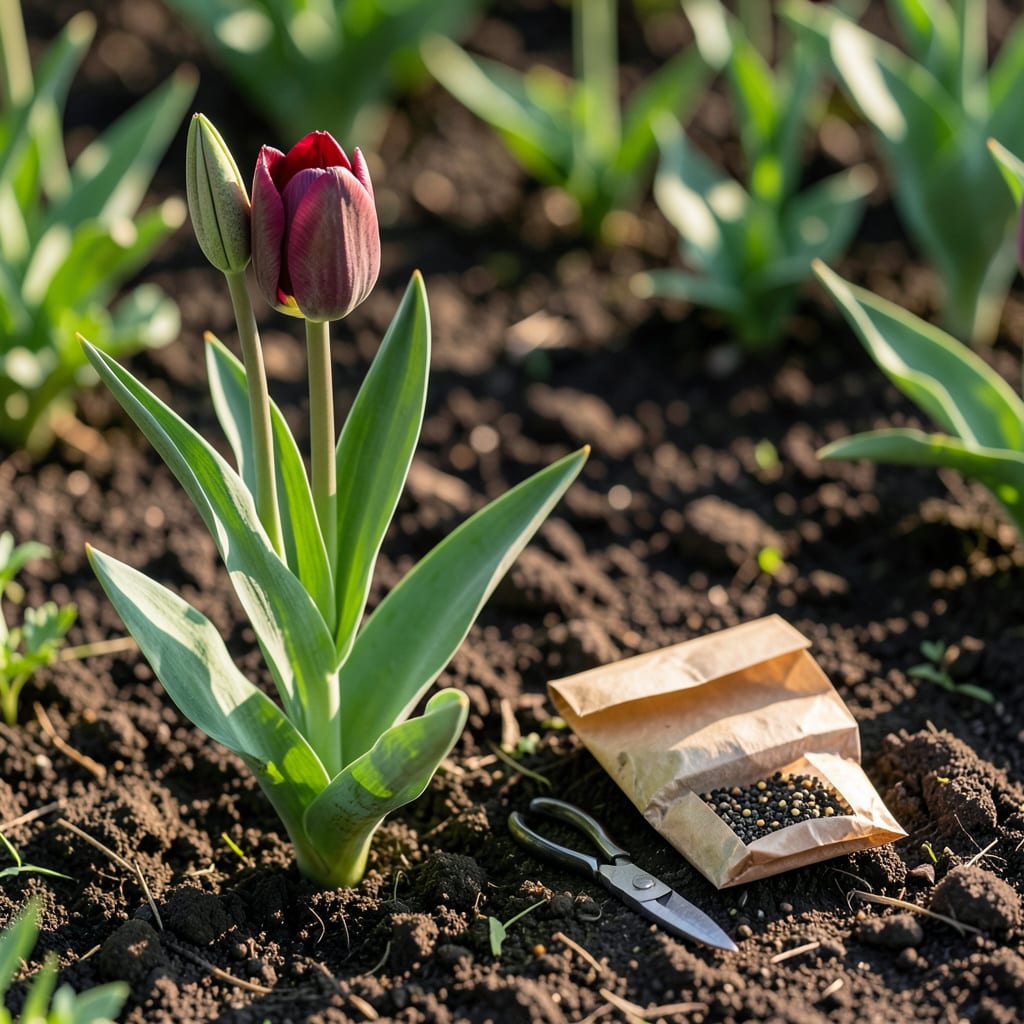
Want to grow your own unique 🌷 Tulip varieties from scratch? Harvesting seeds opens up a world of propagation possibilities that bulb division simply can’t match.
I’ll show you the exact timing and techniques to collect viable seeds from your Tulips. With these steps, you can cultivate new plants that may surprise you with their colors and forms.


Harvesting tulip seeds is a rewarding way to create new hybrid varieties and expand your garden. The key is waiting until the seed pods are fully mature, which happens after the blooms fade.
I always check for yellow or brown pods that begin to split open naturally. This is your sign that the seeds inside are ready for collection and will have the best chance of viability.
Timing is critical. If you harvest too early, the seeds won’t germinate. I’ve learned that patience pays off—wait until the pods are truly ready to open on their own.
Once you’ve collected the seeds, remove any plant debris or chaff. This prevents mold during drying and ensures only the healthiest seeds are stored for future planting.
For drying, I recommend a dark, dry location with good airflow. Avoid direct sunlight exposure, which can reduce viability. A simple paper towel works perfectly for this stage.
After 1-2 weeks of drying, your tulip seeds will be ready for storage. I use paper envelopes or small glass jars to keep them safe until planting season arrives.
Remember, seed-grown tulips may take 3-7 years to bloom. This method is ideal for gardeners who enjoy the experimental side of horticulture and don’t mind waiting.
One pro tip: Label your seeds with the harvest date and tulip variety. This helps track germination success and identify which parent plants produce the best offspring.
With these steps, you’ll be well on your way to growing unique tulips from seed. It’s a slow but incredibly satisfying process that adds diversity to your garden 🌷
Proper drying and storage are crucial for keeping your tulip seeds viable. I always start by spreading the seeds on paper towels in a single layer to ensure even airflow.
A dark, dry location with good ventilation is ideal. Direct sunlight or humidity can ruin your seeds, so avoid basements or kitchens where moisture lingers.
⚠️ Warning: Never store seeds in plastic bags or damp containers. Moisture exposure leads to mold and reduced germination rates. Use paper envelopes or glass jars instead.
I let my seeds dry for 1-2 weeks, checking daily for any signs of moisture. Once completely dry, they’ll feel hard and brittle—this means they’re ready for storage.
For storage, I prefer airtight glass jars or paper seed envelopes. Label each with the harvest date and tulip variety to track viability over time.
Store your seeds in a cool, dark place like a pantry or closet. Ideal conditions are 40-50°F with low humidity, ensuring they stay fresh until planting.
Remember, tulip seeds have a shorter lifespan than bulbs. For best results, plant them within 1-2 years of harvest to maximize germination potential.
With proper care, your stored seeds will reward you with new tulip plants that bring fresh colors and shapes to your garden 🌷
Growing tulips from seeds is a long-term commitment that rewards your patience. Unlike bulb propagation, seed-grown tulips may take 3-7 years to produce their first blooms.
I love the element of surprise with seed propagation. Each new plant can develop unique colors or shapes that differ from the parent, creating exciting variations in your garden.
| Propagation Method | Time to Bloom | Offspring Consistency |
|---|---|---|
| Seed Propagation | 3-7 years | Highly variable |
| Bulb Propagation | 1-2 years | Identical to parent |
The first year, you’ll likely see only foliage as the plant focuses on root and bulb development. By year two, you might notice smaller leaves and stronger growth.
Years three to five are when the real magic happens. The bulb matures enough to potentially produce its first flower stem, though this varies by tulip variety and growing conditions.
Seed propagation is perfect for experimenters. While it requires more time, the process allows you to develop new tulip hybrids that can’t be achieved through bulb division alone.
Just remember that not all seeds will germinate, and even those that do may not bloom. But for me, that’s part of the excitement and challenge of growing from seed 🌷
Wait until pods turn yellow or brown and begin splitting open naturally. This usually happens 6-8 weeks after blooming, when seeds inside are dark and hard.
Viable seeds will be dark brown or black and feel firm. Discard any light-colored or soft seeds, as these won’t germinate. A simple float test in water can also help identify good seeds.
Harvesting too early is the most common error. Green pods contain immature seeds that won’t grow. Always wait for the color change and natural splitting to ensure success.
Properly dried and stored seeds remain viable for 1-2 years. Keep them in a cool, dark place in airtight containers to maintain freshness. Label with the harvest date for tracking.
