
Beautiful Plants For Your Interior
Beautiful Plants For Your Interior
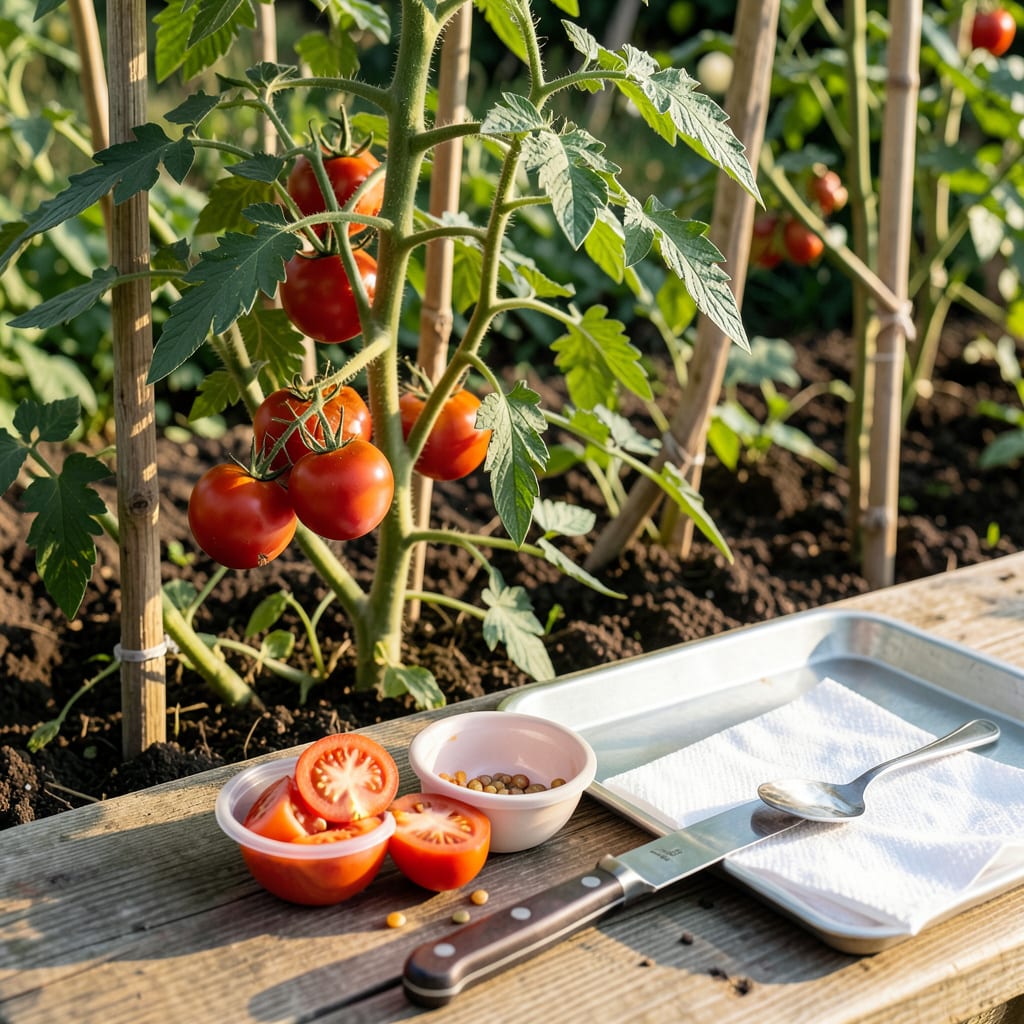
Saving seeds from your best Tomato plants is a game-changer for next year’s garden. The fermentation method ensures higher germination by removing germination-inhibiting gels naturally present in the fruit.
I’ll walk you through this simple yet effective process that preserves seed viability. Whether you’re a seasoned gardener or just starting, these steps will help you grow stronger plants from saved seeds.


Harvesting tomato seeds through fermentation is the gold standard for seed saving. I always start by selecting the ripeness tomatoes from my healthiest, most productive plants to ensure strong genetics for next year.
This method removes the gel coating that inhibits germination while killing potential seed-borne diseases. The process takes about 3-5 days and dramatically improves your seeds’ viability.
The fermentation process is crucial because it breaks down the gelatinous sac surrounding each seed. This sac contains germination inhibitors that prevent premature sprouting inside the fruit.
I’ve found that heirloom tomatoes like Brandywine or Cherokee Purple produce the most reliable seeds. Hybrid varieties may not grow true to type, so stick with open-pollinated types for consistent results.
When scooping seeds, use a spoon to scrape everything from the seed cavities. The more gel you include, the better the fermentation process works, as the natural sugars feed the beneficial microbes.
During fermentation, you’ll notice bubbles forming and a slight odor – this is normal. The mixture should develop a white mold layer on top when it’s ready. Don’t let it ferment too long or the seeds may begin to sprout.
After rinsing, spread seeds on paper towels or coffee filters to dry. Avoid paper plates as they can contain chemicals. Label each batch with the tomato variety and date for organization.
Properly dried seeds will be completely dry and brittle. Test by trying to bend one – if it snaps, it’s ready for storage. I store mine in paper envelopes inside a jar with a silica packet to absorb moisture.
With this method, your saved tomato seeds can remain viable for 5-10 years if stored properly. Next spring, you’ll have homegrown seeds perfectly adapted to your garden’s conditions. 🌱
The fermentation process isn’t just tradition—it’s science. Those gel coatings around tomato seeds contain natural germination inhibitors that prevent sprouting inside the fruit. Fermenting removes these inhibitors for better results next season.
I’ve noticed fermented seeds have higher germination rates and stronger seedlings. The process also kills off potential seed-borne diseases that could affect your future plants, making it essential for healthy seed saving.
Removes germination inhibitors in the gel coating, prevents mold during storage, improves seed longevity, and increases next season’s success rates significantly.
During fermentation, beneficial microbes break down the gel sac. This not only removes inhibitors but also starts the natural cleaning process that would happen in nature if the tomato fell to the ground and rotted.
The white mold you see forming is actually a good sign. It means the fermentation is working. The viable seeds will sink to the bottom while the bad ones and debris float, making it easy to separate the best seeds for saving.
For heirloom varieties like Brandywine or Cherokee Purple, fermentation preserves the true-to-type characteristics you want. Without it, you risk lower germination and weaker plants that may not resemble the parent.
Proper fermentation also prepares the seeds for long-term storage. The cleaned seeds dry more evenly and store better, maintaining viability for 5-10 years when kept in cool, dry conditions. 🌱
Even experienced gardeners can make critical errors when saving tomato seeds. I’ve learned that using unripe tomatoes is one of the biggest mistakes, as the seeds won’t be fully developed for next season’s planting.
Another common pitfall is skipping fermentation. Without this step, the gel coating remains, reducing germination rates and potentially introducing diseases to your future plants.
Using unripe tomatoes, skipping fermentation, improper drying, and poor storage conditions can ruin your seed saving efforts.
Improper drying is another issue I see often. Seeds must be completely dry before storage, or they’ll mold. Spread them thinly on paper towels and give them 1-2 weeks in a well-ventilated area.
Poor storage conditions can also reduce seed viability. Always store seeds in cool, dry places in labeled envelopes. Avoid plastic bags, as they can trap moisture and lead to mold growth.
Lastly, 🌱
Stick with heirloom or open-pollinated types. Hybrid seeds won’t grow true to the parent plant. Brandywine or Cherokee Purple are excellent choices for reliable results.
Look for a white mold layer on top after 3-5 days. Viable seeds will sink while debris floats. A slight odor is normal during this process.
Spread them on paper towels in a single layer. Place in a well-ventilated area for 1-2 weeks until completely dry and brittle.
Properly stored seeds last 5-10 years. Keep them in labeled paper envelopes in a cool, dry place with a silica packet.
