
Beautiful Plants For Your Interior
Beautiful Plants For Your Interior
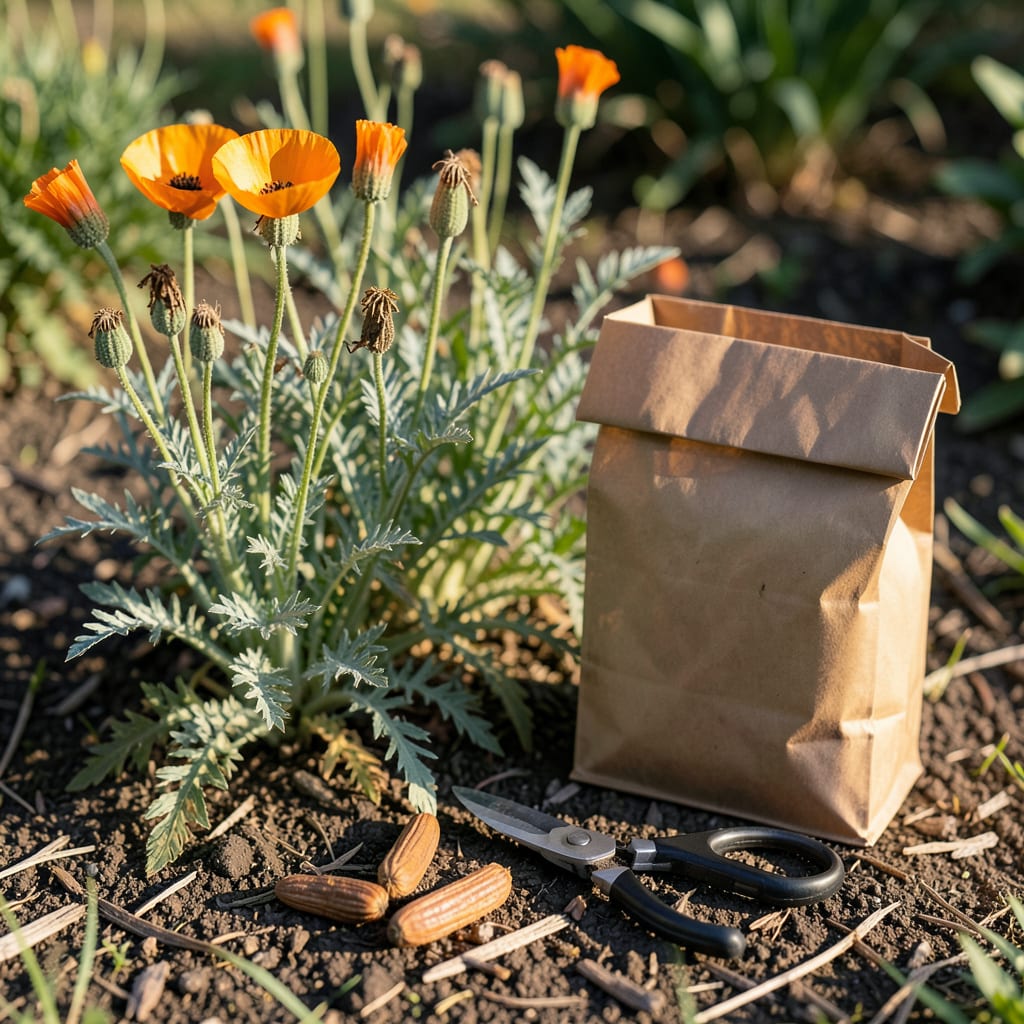
There’s something magical about watching California Poppy 🌼 pods dry and split, revealing tiny seeds ready for next season’s vibrant display. This simple process can transform your garden year after year.
I’ll show you the easiest way to collect these precious seeds at just the right moment. With a few key tips, you’ll preserve their viability and ensure a stunning comeback.


Timing is everything when harvesting California poppy seeds. I’ve found that waiting for the perfect moment ensures the best results for next season’s garden. These wildflowers produce dry, papery pods that signal readiness.
The key is observing the color change from green to brown. Once the pods turn fully brown and begin to split, you’ll know the seeds inside are mature and ready for collection.
| Sign | Description |
| Pod Color | Turns from green to brown |
| Pod Texture | Dry and papery to touch |
| Seed Sound | Rattles inside when shaken |
| Pod Action | Splits open easily |
I always check the seed color too. Mature seeds are black and hard, not the white or light-colored ones you might see earlier. This is a surefire sign they’re ready to harvest.
Another clue is the stem condition. When the stems turn yellow and brittle, it’s nature’s way of telling you the pods are fully mature. I like to test this by gently pressing the pod.
If the pod doesn’t open with light pressure, it’s not ready. But if it splits easily, you’re good to go. This simple test has saved me from harvesting too early many times.
I recommend checking your plants daily during the harvest window. The transition from not ready to perfect can happen quickly, especially in warm, dry weather. You don’t want to miss it!
The ideal time to harvest is on a dry, sunny day. Moisture can cause the seeds to mold, so I always wait for clear conditions. Early morning is best, as the dew has evaporated but the heat hasn’t set in.
Remember, patience pays off. Rushing the process might give you immature seeds that won’t germinate well. I’ve learned that waiting for these clear signs results in the highest quality seeds for next year’s garden.
Once you spot these signs, you’re ready to move on to collecting your seeds. The next step is just as important for preserving their viability for future planting 🌼
Harvesting California poppy seeds is simple once you know the right technique. I always start by gently removing the dry pods from the plant using clean, dry hands or scissors.
Place the pods in a paper bag or envelope. This allows any remaining seeds to fall out naturally as the pods continue drying. I prefer paper over plastic to prevent moisture buildup.
After collection, I spread the seeds on a paper towel in a well-ventilated area for 2-3 days. This ensures any lingering moisture evaporates completely before storage.
For storage, airtight containers work best. I use small glass jars or envelopes, always labeling them with the harvest date and poppy variety. This helps me track viability over time.
Store your seeds in a cool, dark place like a drawer or cabinet. Avoid refrigerators as the humidity can cause mold. Properly stored seeds can remain viable for 3-5 years.
I’ve found that testing germination before planting helps. Simply place a few seeds on a damp paper towel in a bag. If they sprout within 7-10 days, they’re ready to go 🌼
Even experienced gardeners can make simple errors when harvesting California poppy seeds. I’ve learned the hard way that timing and technique matter just as much as the harvest itself.
One of the biggest mistakes is harvesting too early. If you pick pods while they’re still green or the seeds are light-colored, you’ll end up with non-viable seeds that won’t germinate.
Harvesting too early results in immature seeds that won’t sprout next season 🌼
Using wet containers can cause mold and ruin your entire seed collection
Exposing seeds to moisture during storage leads to spoilage and loss of viability
Another common issue is using wet containers for collection. Plastic bags or damp paper can trap moisture, causing the seeds to mold before you even get them stored.
I always ensure my containers are completely dry before use. Paper envelopes or bags work best as they allow airflow while keeping seeds contained.
Storing seeds improperly is just as damaging. Keep them in a cool, dry place away from humidity. A sealed glass jar in a dark cabinet works perfectly for me.
Finally, avoid shaking pods too hard during collection. This can release seeds prematurely or damage them. A gentle approach preserves seed quality for future planting 🌼
Harvest when pods turn fully brown and feel dry and papery. Green or plump pods indicate seeds aren’t mature yet. A simple shake test works—mature seeds will rattle inside.
Properly stored seeds stay viable for 3-5 years. Keep them in airtight containers in a cool, dark place to maintain germination rates. Always label with the harvest date.
Plastic traps moisture, causing seeds to mold. Use paper bags or envelopes instead—they allow airflow while containing seeds. This prevents spoilage during the final drying process.
Collect on dry, sunny days, preferably in the early morning. This ensures dew has evaporated and pods are at their driest. Avoid damp conditions to prevent mold.
