
Beautiful Plants For Your Interior
Beautiful Plants For Your Interior
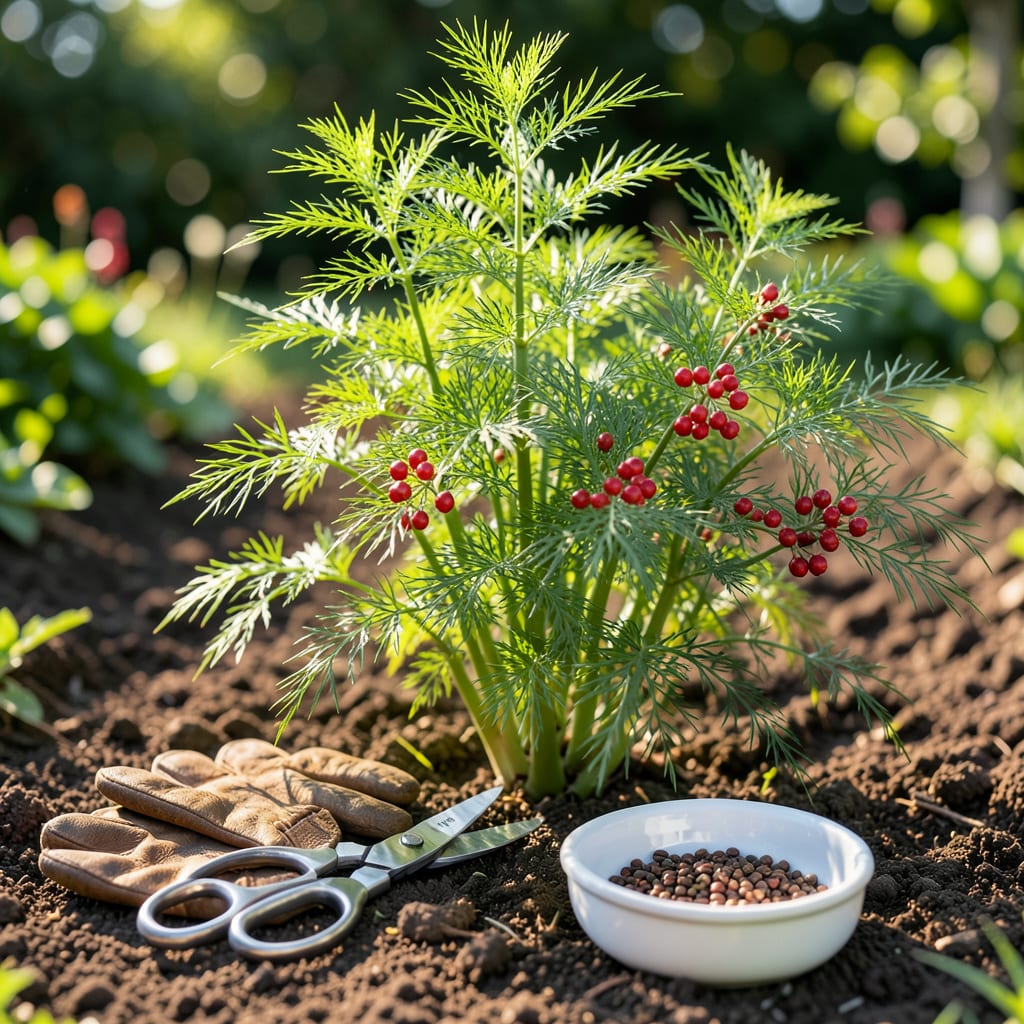
Want to grow more resilient asparagus next year? Saving your own 🥬 seeds is the way to go. It’s free, simple, and ensures plants that thrive in your climate.
I’ll show you how to identify ripe seed pods and harvest them at just the right time for maximum viability. Let’s get started.


Harvesting asparagus seeds starts with knowing what to look for. Unlike the edible spears we enjoy, seeds form on the mature ferns after they flower. The key is waiting for the right signs of maturity.
I always watch for bright red berries on the female plants. These berries contain the seeds, and their color change is the first clue they’re ready for harvest.
| Sign | Description |
|---|---|
| Berry color | Turns bright red |
| Berry texture | Soft to touch |
| Seed color | Black inside |
| Foliage state | Begins yellowing |
The harvest window typically falls in late summer to early fall, about 90-150 days after planting. This is when the seed pods reach full maturity and the seeds inside turn black.
If the berries are still green or hard, they’re not ready. The seeds inside will be white or light-colored, which means they won’t germinate if planted. Patience is key here.
I like to check the seed pods daily as they approach maturity. The transition from green to red can happen quickly, and you don’t want to miss the perfect moment.
Another sign is the foliage yellowing. As the plant prepares for dormancy, the ferns start to die back, signaling that the seeds are nearly ready for collection.
Remember, only female asparagus plants produce berries. If you don’t see any seed pods, you might have male plants, which won’t give you seeds to harvest.
For the best results, I recommend harvesting on a dry, sunny day. This makes the process easier and helps prevent mold or rot during the drying phase.
Once you’ve confirmed the berries are bright red and soft, it’s time to move on to extraction and storage. This ensures you’ll have viable seeds for next season’s planting.
Once your asparagus berries are bright red and soft, it’s time to collect those valuable seeds. I prefer to harvest on a dry morning when the plants are free of dew.
Start by gently hand-picking the berries or use clean scissors to snip the clusters. Be careful not to damage the seed pods during this process.
After crushing the berries in water, the good seeds will sink while the pulp floats. This fermentation process helps separate the seeds naturally.
Once separated, spread the seeds on paper towels to dry completely. This can take 1-2 weeks in a well-ventilated area. Never skip this step—moist seeds will mold in storage.
For storage, I use paper envelopes or glass jars in a cool, dark place. Properly dried asparagus seeds can remain viable for 3-5 years if kept dry.
Avoid storing seeds in plastic bags, as condensation can ruin them. Label your containers with the harvest date and variety for future reference. 🌱
Saving your own asparagus seeds offers multiple benefits beyond just cost savings. The biggest advantage is local adaptation—seeds from my garden produce plants that are already acclimated to my specific climate and soil conditions.
I’ve noticed my home-saved seeds often grow into stronger, more resilient plants than store-bought varieties. They’re already adapted to my garden’s unique conditions, which means less guesswork and better harvests over time.
Another major benefit is heirloom preservation. If you have a favorite asparagus variety, saving its seeds ensures you can grow that exact plant again. Commercial seeds might not offer the same unique characteristics.
The satisfaction of self-sufficiency is hard to beat. There’s something special about growing plants from seeds you’ve harvested yourself, knowing you’re continuing the cycle of life in your garden.
Plus, you avoid the uncertainty of seed age with store-bought options. When you save your own, you know exactly when they were harvested and how they’ve been stored, giving you confidence in their viability.
With proper storage, your home-saved seeds can last 3-5 years, providing a reliable source for future plantings. It’s a rewarding way to become more connected to your garden’s lifecycle. 🌱
Properly dried and stored seeds remain viable for 3-5 years. Keep them in airtight containers in a cool, dark place to maintain quality. Always label with the harvest date.
No, only female plants produce the red berries containing seeds. Male plants won’t give you seed pods, so look for berry clusters to identify female specimens.
Crush berries in water and let them ferment for 2-3 days. Viable seeds sink while pulp floats, making separation easy. Rinse and dry thoroughly afterward.
Common causes include harvesting too early (seeds not black) or improper drying. Ensure seeds are fully mature and completely dry before storage to prevent mold.
