
Beautiful Plants For Your Interior
Beautiful Plants For Your Interior
I killed my first three orchids before realizing they’re tougher than they look. The secret isn’t green thumbs—it’s understanding their quirks. These plants thrive on what seems like neglect to most houseplants: bright indirect light, infrequent watering, and room to breathe in their pots. Once you get the rhythm, they reward you with months of […]
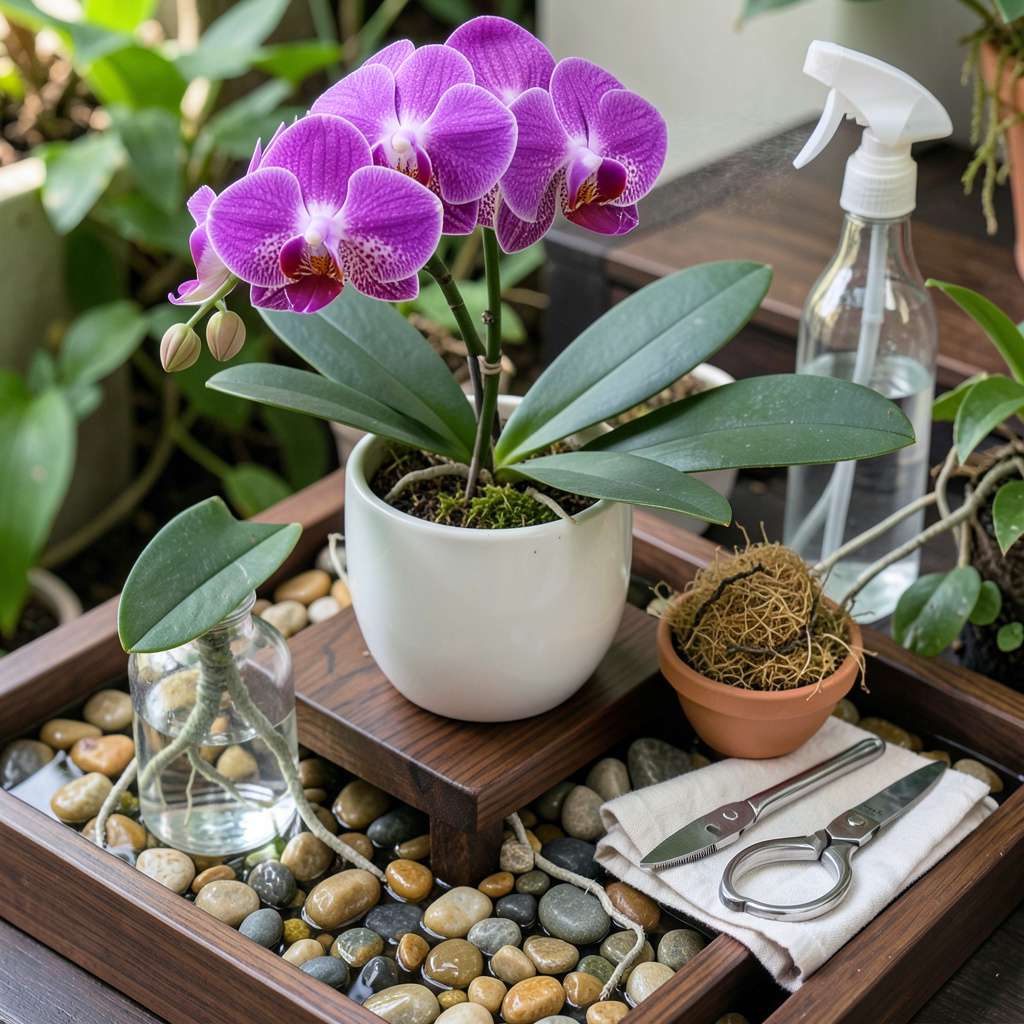
I killed my first three orchids before realizing they’re tougher than they look. The secret isn’t green thumbs—it’s understanding their quirks. These plants thrive on what seems like neglect to most houseplants: bright indirect light, infrequent watering, and room to breathe in their pots. Once you get the rhythm, they reward you with months of jaw-dropping blooms that make store-bought bouquets look sad.
Here’s what changed everything for me: treating orchids like epiphytes, not typical potted plants. They want bark-based mixes that mimic tree branches, not dense soil. Watering becomes a once-a-week ritual where you soak the roots then let them dry completely. The leaves tell you everything—firm and bright green means you’re nailing it, while limp or yellow signals it’s time to adjust your care.
First-time growers often get surprised by how forgiving orchids become once you learn their language. That wilted plant you’re about to toss? It might just need a trim and some patience. We’ve revived orchids that looked beyond hope, and watched them push out new spikes within 6-8 weeks. The transformation feels like magic until you realize it’s just good science.
This isn’t about creating a jungle in your living room. One healthy orchid on a windowsill brings more life to a space than a dozen finicky houseplants. They bloom when everything else is dormant, turning gray winters into something spectacular. Let’s get yours set up for that first stunning flower show.
📚 In This Guide
Here’s the simple method I use to grow stunning orchids—even if you’ve never tried before.
Start with a beginner-friendly variety like Phalaenopsis (moth orchids) or Cattleya. I always recommend buying from a reputable nursery rather than big-box stores, where plants often arrive stressed. Look for plants with firm, bright green leaves and no signs of pests or yellowing.
Select a clear plastic pot with drainage holes—orchid roots need light and airflow. The pot should be just slightly larger than the root ball (about 1-2 inches wider). Avoid decorative pots without drainage; they trap water and cause root rot.
Never use regular potting soil—orchid roots suffocate in it. Instead, use a chunky orchid mix of fir bark, sphagnum moss, and perlite. This mimics their natural epiphytic growing conditions. If buying pre-mixed, check that it’s labeled specifically for orchids.
Repot every 1-2 years or when the media breaks down into fine particles. You’ll know it’s time when water sits on top instead of draining through quickly. Gently remove old media and trim any dead roots (they’ll be mushy and brown) before repotting.
Place your orchid in bright, indirect light—an east-facing window is perfect. Direct afternoon sun burns leaves, while too little light prevents blooming. You’ll see healthy light levels when leaves are medium green (dark green means too little light; reddish means too much).
Maintain daytime temperatures between 65-80°F and nighttime drops of 10-15°F to trigger blooming. Most homes naturally provide this range. Avoid drafts from vents or cold windows that create sudden temperature swings.
Water thoroughly about once a week, letting water run through the pot for 30 seconds. The media should feel damp but never soggy. I use the “finger test”—stick your finger 1 inch into the media; if it’s dry, it’s time to water. Always use room-temperature water to avoid shocking the roots.
Fertilize every 2 weeks with a balanced orchid fertilizer (20-20-20) diluted to half strength. I like to say “weakly, weekly” when it comes to orchid feeding. You’ll see new leaf growth and stronger blooms with consistent feeding. Flush the pot with plain water monthly to prevent salt buildup.
After flowers fade, cut the spike back to just above a node (those little bumps on the stem) if it’s still green. If it’s brown and dried, remove it completely. This encourages new spikes. You’ll know a new spike is forming when you see a small green nub emerging from between the leaves.
Be patient—it takes 9-12 months for a new spike to develop and bloom. During this time, maintain consistent care. I’ve found that a little neglect (like slightly cooler nights) often triggers more blooms than constant perfect conditions.
Growing orchids becomes much easier when you understand these key details that most beginners overlook.
Light Assessment: The “bright, indirect light” mentioned in Step 3 is crucial, but here’s how to judge it perfectly. Hold your hand about a foot above the leaves at noon – if you see a soft shadow with fuzzy edges, the light is ideal. Crisp, dark shadows mean too much sun, while no shadow means too little. I’ve found east-facing windows work best because they provide gentle morning light without the harsh afternoon sun that can scorch leaves.
Watering Technique: When watering for 30 seconds as described in Step 4, use this professional trick: lift the pot after watering to feel its weight. A properly watered orchid pot should feel noticeably heavier than when dry. This “weight test” is more reliable than the finger method for beginners. Also, always water in the morning so foliage dries by evening – wet leaves overnight invite fungal diseases.
Temperature Fluctuation: The 10-15°F nighttime temperature drop mentioned in Step 3 is what triggers blooming, but don’t stress about precise measurements. Simply moving your orchid to a cooler room at night (like a guest bathroom) often provides enough variation. I’ve had great success placing orchids near a window that gets naturally cooler at night, then moving them to a warmer spot during the day.
Repotting Timing: The 1-2 year repotting schedule in Step 2 is a guideline, not a rule. Here’s what I’ve learned: if you notice roots growing over the pot’s edge or media that stays wet for more than 3 days, it’s time to repot regardless of the calendar. Spring is ideal for repotting as plants enter active growth, giving them time to recover before winter dormancy.
Got questions about growing orchids? You’re not alone! Here are the most common concerns—with quick, actionable answers to keep your plants thriving.
Water every 7–10 days, but check the roots first! Stick your finger in the potting mix—if it’s dry 1 inch down, it’s time. Avoid soggy roots (they rot!). Use room-temperature water and drain excess to prevent fungal issues. Pro tip: Ice cubes (3–4) on top of the mix work for Phalaenopsis orchids!
Lack of blooms usually means insufficient light or temperature swings. Orchids need bright, indirect light (east/west windows are ideal) and a 10–15°F drop at night to trigger blooming. Fertilize weakly (½-strength) every 2–4 weeks with a balanced formula (20-20-20). Patience pays off—some varieties take months to rebloom!
Absolutely! Most orchids (like Phalaenopsis or Dendrobium) thrive indoors with 40–70% humidity. Place them on a humidity tray (pebbles + water) or group plants together. Avoid drafts or heating vents. A simple LED grow light can supplement low-light spaces—just keep it 12–18 inches away.
Skip regular soil! Orchids need chunky, airy mixes like fir bark, sphagnum moss, or coconut husk chips. For beginners, try a pre-mixed orchid bark blend (add perlite for drainage). Repot every 1–2 years when the mix breaks down. Warning: Never use garden soil—it suffocates roots!
Yellow leaves often signal overwatering, poor drainage, or sunburn. Trim mushy roots with sterilized scissors, repot in fresh mix, and hold off on water for 5–7 days. If leaves are dry and crispy, increase humidity or move away from direct sun. Most orchids bounce back with adjusted care!
Growing orchids may seem intimidating at first, but with the right care—proper lighting, consistent watering, and a little patience—you’ll be rewarded with breathtaking blooms. 🌸 Remember, every orchid is unique, so don’t be afraid to experiment and learn as you go!
Ready to start your orchid journey? Pick a beginner-friendly variety like a Phalaenopsis and watch your confidence (and your plant collection!) grow. Happy growing—your future self will thank you for the stunning results! 🌿
