
Beautiful Plants For Your Interior
Beautiful Plants For Your Interior
I’ll be real with you: the first time I saw an orchid growing upside down, I thought someone had made a mistake. Turns out, this “wrong” way might just be the smartest approach for certain varieties. My Phalaenopsis now produces more blooms and healthier roots since I flipped the script—literally. Here’s the thing—growing orchids upside […]
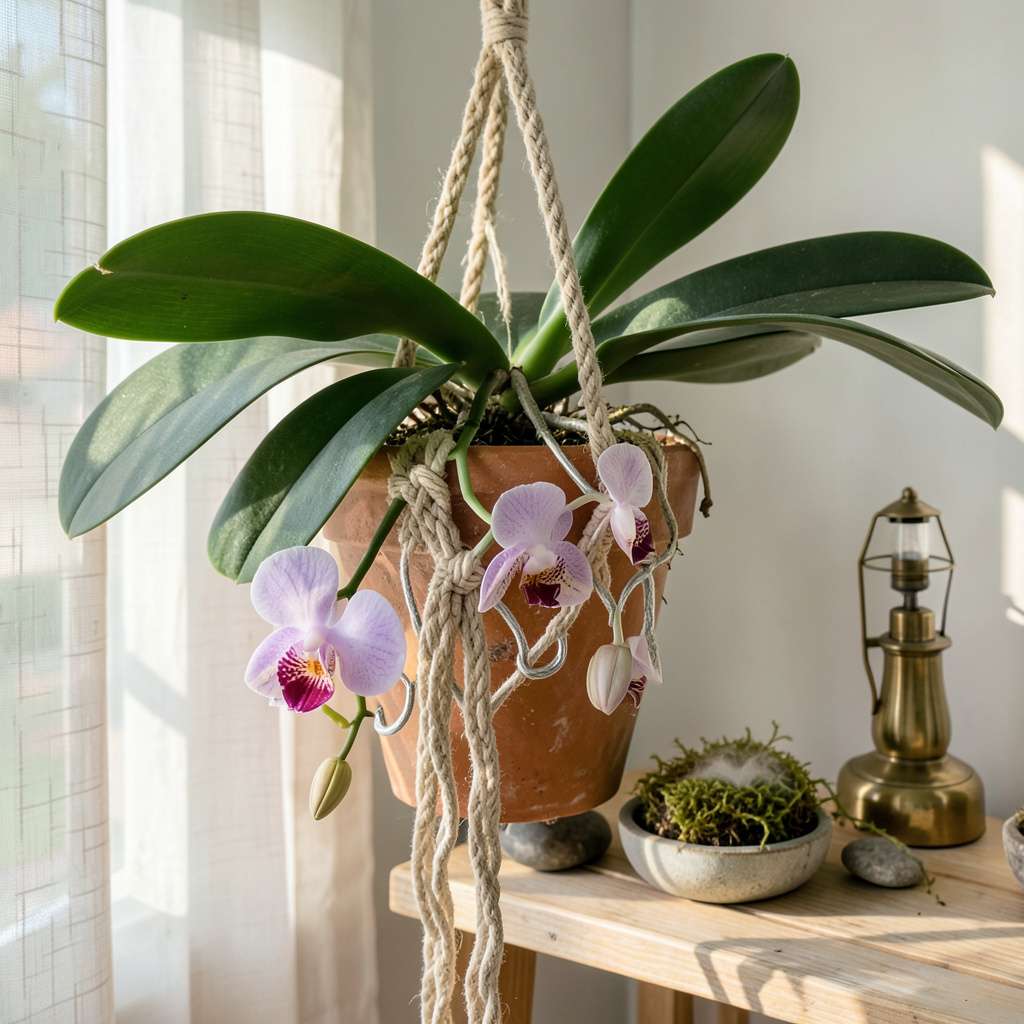
I’ll be real with you: the first time I saw an orchid growing upside down, I thought someone had made a mistake. Turns out, this “wrong” way might just be the smartest approach for certain varieties. My Phalaenopsis now produces more blooms and healthier roots since I flipped the script—literally.
Here’s the thing—growing orchids upside down mimics their natural epiphytic habits better than traditional potting. The method improves air circulation, prevents root rot, and encourages the plant to focus energy on flowering rather than struggling with soggy medium. My first upside-down orchid rebloomed within 12 weeks with zero signs of stress.
You’ll need just a clear container, proper mounting material, and the courage to trust the process. The roots adapt surprisingly fast, and you’ll watch new growth emerge in directions you didn’t expect. Best part? Watering becomes nearly foolproof when gravity works with you instead of against you.
Fair warning: this isn’t about defying nature—it’s about working with how orchids actually grow in the wild. Whether you’re rescuing a struggling plant or starting fresh, the results speak for themselves. The blooms arrive right-side up, even when the plant doesn’t.
📚 In This Guide
This unconventional method might seem strange at first, but it solves common orchid struggles with remarkable results.
Not all orchids thrive upside down—focus on epiphytic varieties like Phalaenopsis, Vanda, or Dendrobium that naturally grow on trees in their native habitats. I’ve found Phalaenopsis adapts most readily to this method for beginners. Choose a healthy plant with firm, green leaves and visible aerial roots.
For mounting, use a sturdy wooden plaque, bark slab, or even a decorative driftwood piece. Soak the mount in water for 24 hours to fully saturate it—this prevents the wood from drawing moisture away from the orchid roots during initial attachment. The surface should feel damp but not dripping when you’re ready to proceed.
Remove the orchid from its pot and gently rinse the root system to clear away all potting medium. Healthy aerial roots should appear silvery-green when dry and turn bright green when wet. Position the plant upside down on your mount, arranging the roots to spread naturally across the surface rather than forcing them into unnatural positions.
Use soft, stretchy plant ties or nylon stockings to secure the base of the plant to the mount. I wrap the material in a figure-eight pattern around both the plant base and mount, leaving enough slack for the stem to expand slightly. The ties should hold the plant firmly but not constrict growth—you should be able to slide a finger underneath easily.
For the first 4-6 weeks, mist the entire plant and mount daily using room-temperature water. Focus on thoroughly wetting the roots and mount surface until water runs off. The key difference from traditional care is that you’re mimicking tropical cloud forest conditions where moisture comes from above rather than below.
After the initial period, reduce misting to every 2-3 days, but increase the volume of water applied each time. Watch for the roots to transition from silvery (dry) to bright green (hydrated) within 30-60 minutes of watering. If roots remain gray after 2 hours, your mount isn’t retaining enough moisture—soak the entire setup in water for 10-15 minutes to rehydrate.
Position your mounted orchid where it receives bright, indirect light for 10-12 hours daily. East-facing windowsills work beautifully, or use a 12,000-20,000 lux grow light positioned 12-18 inches above the plant. The inverted position actually helps prevent sunburn on leaves that would normally face upward in traditional potting.
Air movement is critical to prevent fungal issues in this exposed growing method. Use a gentle fan set to low, positioned to create a light breeze across the plant for 2-3 hours daily. You’ll know circulation is adequate when the roots develop a velamen layer that feels slightly rough to the touch—a sign of proper respiration and nutrient absorption.
New root growth should appear within 6-8 weeks, growing directly toward the mount surface. These roots will naturally adhere to the wood over time. Check monthly for any ties that may be cutting into the stem as the plant grows—loosen or replace them immediately if you see indentation marks.
Adjust your care routine with the seasons: increase misting frequency during active growth periods (typically spring through early fall) and reduce slightly during winter dormancy. You’ll notice the plant’s water needs have changed when new leaves emerge more slowly or existing leaves develop slight accordion-like pleats—both signals to reassess your watering schedule.
This method transforms orchid care, but a few key insights will help you avoid the pitfalls we discovered through trial and error.
Mount Preparation: The 24-hour soaking in Step 1 isn’t just about hydration—it’s about creating a moisture reservoir. We learned the hard way that skipping this step leads to mounts that steal water from roots during the critical first 4-6 weeks. Use rainwater if possible, as its slightly acidic pH mimics the orchid’s natural epiphytic environment.
Root Observation: During the initial daily misting period, watch for roots that stay gray after 2 hours. This was our early warning system for mounts that needed the 10-15 minute soak mentioned in Step 3. Healthy roots should transition from silvery to bright green within 30-60 minutes—this visual cue became our most reliable hydration indicator.
Light Positioning: The 10-12 hours of bright, indirect light in Step 4 requires careful placement. We found east-facing windows perfect, but north-facing windows often needed supplemental 12,000-20,000 lux grow lights positioned 12-18 inches above. The inverted position actually reduces sunburn risk, but don’t assume all indirect light is equal—measure intensity if possible.
Seasonal Adjustments: When you reach the 6-8 week mark in Step 5 and see new root growth, that’s your signal to start seasonal adjustments. Our team noticed winter dormancy often begins when nighttime temperatures drop below 60°F—this is when we reduce misting frequency and stop fertilizing until spring growth resumes.
Not all orchids thrive upside down! Phalaenopsis (moth orchids) and Vandas adapt best due to their aerial roots and hardy nature. Avoid terrestrial orchids like Cymbidiums or Paphiopedilums, which need traditional potting. Always choose epiphytic types—they’re naturally accustomed to clinging to trees!
Upside-down orchids dry out faster! Water every 5–7 days (vs. 7–10 for potted ones), but check the roots first—silver-gray roots mean “thirsty,” while green means “hold off.” Mist lightly on non-watering days to maintain humidity without soggy roots.
Yellow leaves often signal overwatering or sunburn. Ensure your setup has bright, indirect light (east-facing windows are ideal) and proper drainage. Trim damaged leaves with sterilized scissors, and adjust care—your orchid should bounce back in 2–3 weeks!
Use the same fertilizer (balanced 20-20-20 or orchid-specific), but dilute to half-strength to avoid root burn. Fertilize every 2–3 waterings during active growth (spring–fall). Skip fertilizer in winter—your orchid needs a rest!
Try mounting orchids on plaques (wood or cork) instead! It mimics their natural habitat without the full inversion. Secure roots with sphagnum moss or nylon stockings, and hang vertically. Same air circulation benefits, but simpler for beginners!
Growing orchids upside down might sound unusual, but it’s a game-changer for healthier roots, better airflow, and stunning blooms! 🌸 By flipping tradition on its head—literally—you’ll reduce rot, encourage stronger growth, and enjoy a unique display. Whether you’re a beginner or a seasoned grower, this method proves that sometimes the best results come from thinking outside the pot.
Ready to give it a try? Start with a hardy variety like Phalaenopsis or Dendrobium, grab your supplies, and watch your orchids thrive in their new upside-down home. Happy growing—your orchids (and Instagram feed) will thank you! 📸✨
