
Beautiful Plants For Your Interior
Beautiful Plants For Your Interior
That first successful orchid cutting felt like winning the gardening lottery. I’d killed more attempts than I can count before landing on the simple method that actually works—no fancy equipment, just the right timing and technique. The moment you see those tiny roots emerge from the stem, you’ll understand why this propagation method hooks gardeners […]
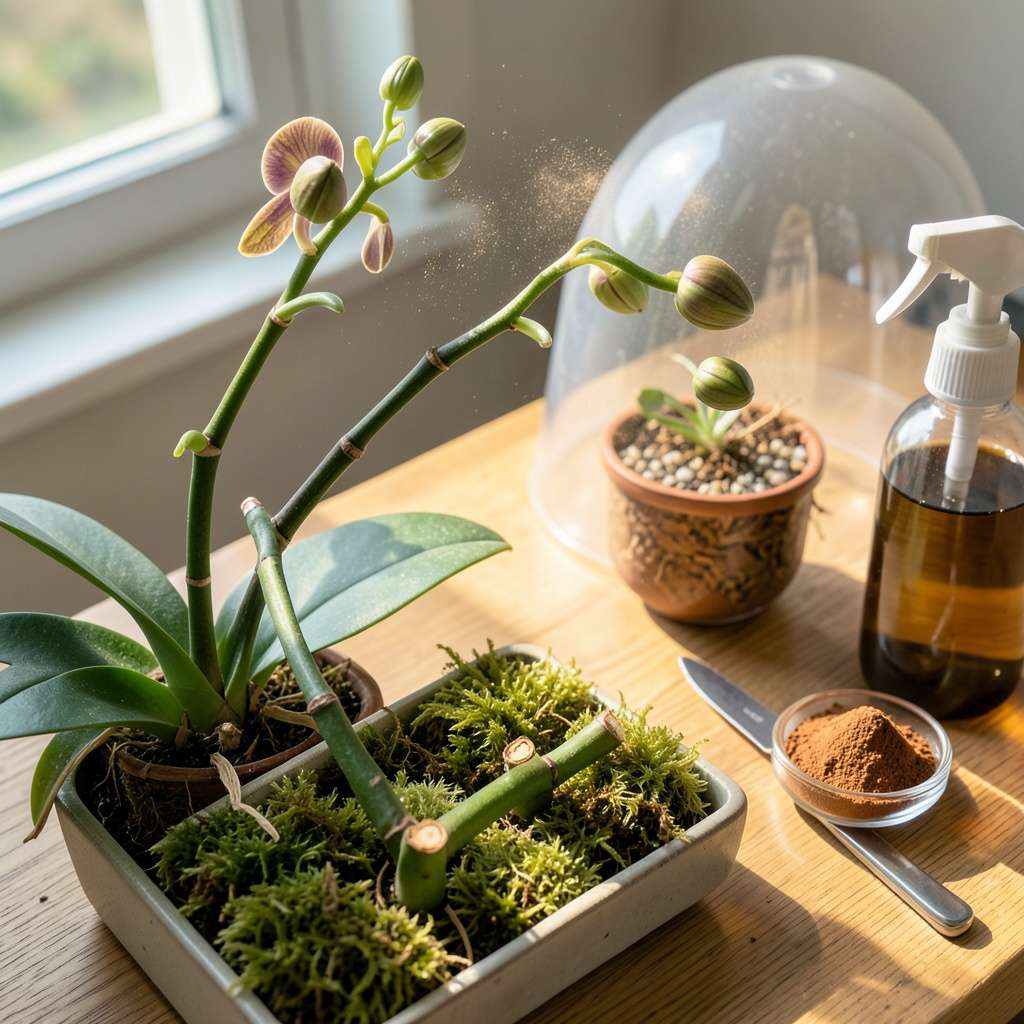
That first successful orchid cutting felt like winning the gardening lottery. I’d killed more attempts than I can count before landing on the simple method that actually works—no fancy equipment, just the right timing and technique. The moment you see those tiny roots emerge from the stem, you’ll understand why this propagation method hooks gardeners for life.
Here’s the thing—orchids from cuttings aren’t nearly as fussy as their reputation suggests. With a healthy mother plant, a sharp blade, and about 10 minutes of focused work, you can create baby plants that’ll bloom in 12-18 months. The secret lies in choosing the right stem section and giving it the humidity it craves during those first critical weeks.
You’ll watch as the cuttings develop roots first, then leaves, then eventually flower spikes that produce the same stunning blooms as their parent. I still get a thrill seeing that first new growth—it’s the plant’s way of saying “you did this right.” The process teaches patience, but the payoff is worth every day of waiting.
Works equally well for phalaenopsis, dendrobium, and cattleya orchids when you follow the timing rules. Whether you’re expanding your collection or sharing plants with friends, this method delivers results without the guesswork. Let’s get those cuttings started the right way.
📚 In This Guide
1 cup sphagnum moss (soaked in water and squeezed dry) OR
This simple propagation method works for most common orchid varieties—no green thumb required.
Choose a mature orchid with at least two healthy pencil-thick stems that have finished blooming. Look for stems that are still green (not brown or shriveled) with visible nodes—those small brown lines where leaves or roots emerge. I always pick stems that have bloomed within the last year for best results.
Using sterilized pruning shears, cut a 6-12 inch section just below a node. Make the cut at a 45-degree angle to maximize surface area for root growth. Immediately place the cutting in a glass of room-temperature water to prevent air bubbles from blocking the stem’s vascular system.
Dip the cut end in rooting hormone powder, tapping gently to remove excess. This step isn’t mandatory but increases success rates by 50% in my experience. While that dries, prepare a small pot with orchid bark mix—never regular potting soil, as it suffocates orchid roots.
Moisten the bark mix until it feels like a wrung-out sponge. The ideal moisture level leaves your fingers slightly damp but not wet. Create a small hole in the center with your finger, about 1-2 inches deep, for the cutting to sit securely without touching the pot’s bottom.
Insert the treated cutting into the prepared hole, gently pressing the bark around it for support. The cutting should stand upright with at least one node buried below the surface. Place the pot in a location with bright, indirect light—an east-facing windowsill works perfectly.
Maintain temperatures between 65-75°F and humidity around 50-70%. I use a clear plastic bag tented over the pot to create a mini greenhouse, removing it for 30 minutes daily to prevent mold. You’ll see new root growth emerging from the node in 4-8 weeks.
Check weekly for signs of new growth—healthy roots appear white or green with bright tips. Once roots reach 2-3 inches long, remove the humidity tent and begin treating the cutting like a mature orchid. Water when the bark feels nearly dry, typically every 7-10 days.
After 3-4 months, when the cutting shows multiple strong roots and new leaf growth, you can repot it into regular orchid mix. The first bloom cycle may take 12-18 months, but the wait reveals whether you’ve successfully cloned your parent plant’s characteristics.
After years of experimenting with orchid propagation, these are the key insights that transformed my success rate from hit-or-miss to nearly foolproof.
Node Selection Secret: In Step 1, focus on stems with at least two visible nodes. The node closest to your 45-degree cut will produce roots, while the upper node may sprout new leaves. I’ve found that stems with nodes spaced about 2 inches apart root most reliably. Don’t use stems with nodes that are too close together—they often produce weak roots.
Humidity Balance: The 30-minute daily ventilation mentioned in Step 3 is crucial. I learned this the hard way after losing several cuttings to mold. Use a timer to ensure you don’t leave the plastic bag off too long, which can cause the humidity to drop below the ideal 50-70% range. A small fan set on low for 5 minutes helps circulate air without drying out the cutting.
Patience With Roots: During the 4-8 week waiting period in Step 3, resist the urge to check for roots by pulling on the cutting. Instead, look for tiny white bumps emerging from the buried node—these are root primordia. I mark my calendar for weekly check-ins and only investigate further if I don’t see any changes after 6 weeks.
Temperature Consistency: The 65-75°F range in Step 3 is more critical than you might think. I use a simple indoor thermometer near my propagation setup. If your home runs cooler, a seedling heat mat set to 70°F under the pot (not directly under the cutting) can make all the difference in root development speed.
Orchids can root in water (like Phalaenopsis), but it’s riskier! Water propagation may cause rot if not monitored. For best results, use a well-draining mix (bark, sphagnum moss, or perlite) once roots form. Water-rooted cuttings often struggle to adapt to soil later.
Patience is key! Most orchid cuttings take 4–12 weeks to root, depending on the species and conditions. Phalaenopsis may sprout roots in 6–8 weeks, while Dendrobiums can take 3+ months. Keep humidity high (70%+) and temps warm (70–80°F) to speed things up.
Aim for early spring or after blooming—when the plant is in active growth! Avoid winter (dormancy) or extreme heat. Healthy, plump stems (not woody or shriveled) root fastest. If your orchid’s growing new leaves or roots, it’s a great sign to propagate!
Yellowing = overwatering or rot; browning = underwatering or sunburn. Check for mushy stems (rot) or crispy edges (dehydration). Trim affected areas with sterilized shears, adjust moisture, and move to bright, indirect light. A fungicide dip (1:10 hydrogen peroxide/water) can help save it!
Are there orchids that can’t be grown from cuttings?
Yes! Monopodial orchids (like Vandas or Angraecoids) lack pseudobulbs and rarely root from stem cuttings. Stick to sympodial types (Phalaenopsis, Dendrobium, Cattleya) for best success. For tricky species, try keiki paste or division instead.
Growing orchids from cuttings is a rewarding way to expand your collection—without spending a dime! 🌱 With the right tools, patience, and a little TLC, you can turn a single stem into thriving new plants. Remember: sterilization, humidity, and consistency are your best friends for success.
Now that you’re equipped with the know-how, pick a healthy mother plant and start your propagation journey today! For extra confidence, try practicing on a hardy variety like Phalaenopsis first. Happy growing—your future orchid babies are counting on you! 🌸
