
Beautiful Plants For Your Interior
Beautiful Plants For Your Interior
I’ll be real with you—orchids from bulbs aren’t like other houseplants. That first time I held a plump pseudobulb in my palm, I doubted anything would grow. But within months, those same bulbs produced spikes of jewel-toned blooms that lasted for weeks. The secret isn’t green thumbs; it’s understanding what these plants actually need to […]
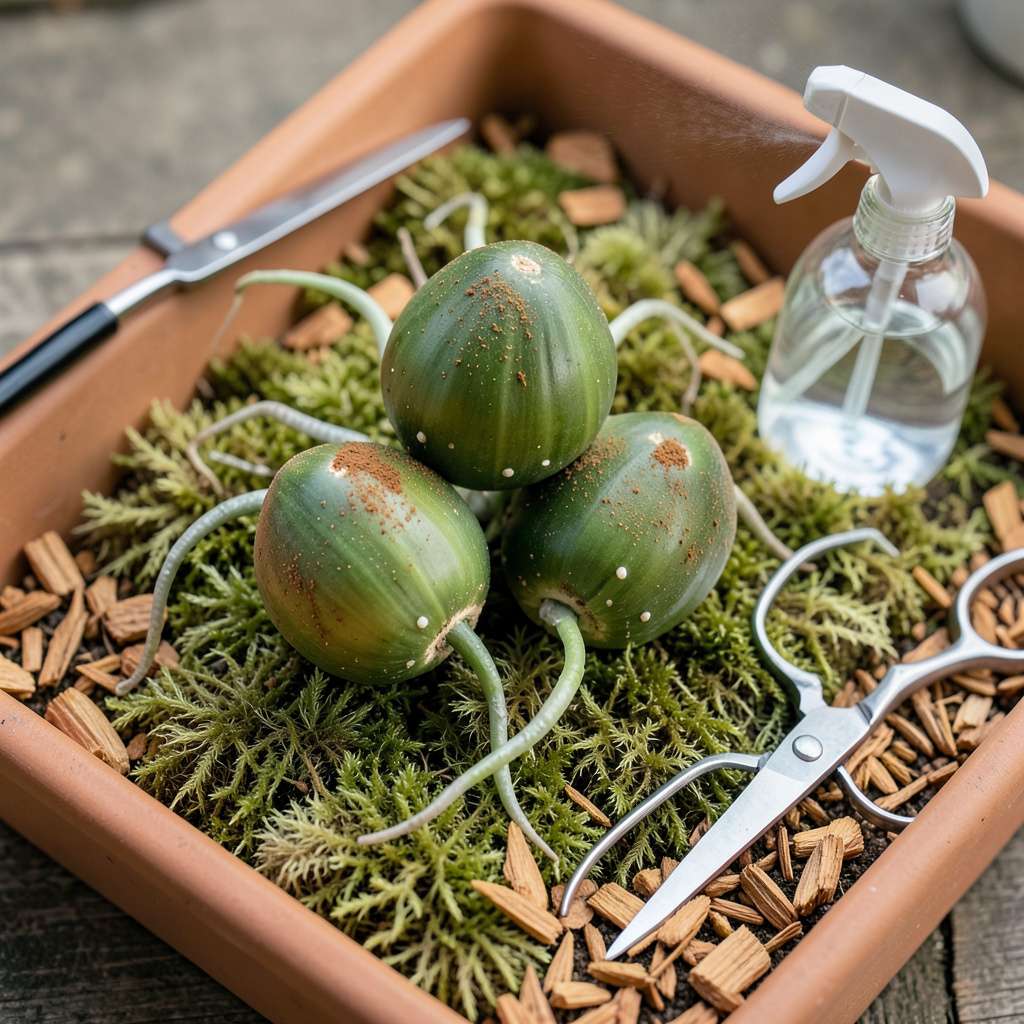
I’ll be real with you—orchids from bulbs aren’t like other houseplants. That first time I held a plump pseudobulb in my palm, I doubted anything would grow. But within months, those same bulbs produced spikes of jewel-toned blooms that lasted for weeks. The secret isn’t green thumbs; it’s understanding what these plants actually need to break dormancy.
Most beginners assume orchid bulbs work like regular bulbs, but they’re really storage organs called pseudobulbs. I killed my first batch by treating them like tulips—too much water, wrong light, impatience. Now I know better: give them bright indirect light, let them dry slightly between waterings, and resist the urge to fuss. The roots tell you everything—silver-green means thirsty, bright green means happy.
You’ll see the first signs of life when new roots emerge, followed by leaf growth. Within 3-4 months, flower spikes appear from between the leaves. That moment when the first bud swells? Worth every minute of careful waiting. The blooms last longer than store-bought orchids because you’ve given them ideal conditions from the start.
Works for Phalaenopsis, Cattleya, and Oncidium types alike. Whether you’re starting with backbulbs from a friend or mail-order pseudobulbs, the process scales to any space. Here’s how to coax those sleeping bulbs into spectacular blooms—without the mystery or frustration.
📚 In This Guide
This foolproof method delivers stunning blooms even if you’ve never grown orchids before—just follow these simple stages.
Start with plump, firm orchid bulbs (called pseudobulbs) that show no wrinkling or soft spots. I look for ones with visible growth nodes—those small bumps indicate where new shoots will emerge. Gently remove any dried husks or old roots attached to the bulb using your fingers or sterile scissors.
Soak the cleaned bulbs in room-temperature water for 15-20 minutes to rehydrate them. You’ll notice the outer layer becomes slightly more flexible when properly hydrated. Don’t skip this step—it kickstarts the growth process and helps prevent early dehydration after planting.
Fill a 4-6 inch pot with orchid-specific bark mix, leaving about 1 inch of space at the top. The chunks should be ½ to 1 inch in size—this allows air circulation around roots while retaining just enough moisture. I avoid regular potting soil completely, as it suffocates orchid roots.
Position the bulb so its base sits just above the mix surface—never bury it completely. The growth nodes should face upward, with any existing roots spread naturally over the bark. Lightly anchor the bulb by placing a few bark pieces around its base, but don’t pack them tightly.
Water immediately after planting until moisture runs freely from the drainage holes, then wait until the bark feels almost completely dry before watering again. This usually takes 5-7 days in average home conditions. I check by sticking my finger 1 inch deep into the mix—it should feel barely damp.
Maintain 50-70% humidity around your orchid. A humidity tray (pebbles in a shallow dish with water) works perfectly. You’ll know humidity is right when new roots appear plump and silvery-green rather than shriveled or brown. Avoid misting the bulb directly, as trapped moisture causes rot.
Place your orchid where it receives bright, indirect light for 12-14 hours daily. An east-facing windowsill or a spot 12-18 inches from a grow light works best. You’ll see healthy growth when leaves maintain a medium green color—not dark (too little light) or yellowish (too much).
Keep temperatures between 65-80°F during the day, with a 10°F drop at night. This natural fluctuation triggers blooming. I use a simple indoor thermometer to monitor this—most homes naturally provide this range without adjustment.
Begin fertilizing when you see new root growth (typically 4-6 weeks after planting). Use a balanced orchid fertilizer diluted to half strength, applying every 2-3 waterings. You’ll notice faster leaf development and stronger stems with consistent feeding.
Watch for flower spikes emerging from the growth nodes—this means blooms are coming! Once spikes appear, increase phosphorus slightly (look for a 10-30-20 formula) to support flower development. Your first blooms should open within 3-5 months of planting when conditions stay consistent.
Growing orchids from bulbs becomes much easier when you understand these key details from years of hands-on experience.
Bulb Selection Insight: In Step 1, pay special attention to the growth nodes—those small bumps should be firm and light green. I’ve found that bulbs with three or more visible nodes produce the strongest plants. Avoid any with sunken or discolored nodes, as these indicate poor viability. The 15-20 minute soaking time is perfect for rehydration; you’ll feel the difference when the outer layer becomes slightly pliable.
Potting Technique That Matters: When following Step 2, remember that the 1 inch of space at the top isn’t just for aesthetics—it prevents water from pooling around the bulb’s base. I use clear plastic pots to monitor root development without disturbing the plant. The ½ to 1 inch bark chunks are ideal because smaller pieces compact too much while larger ones dry out too quickly.
Watering Wisdom: The 5-7 day drying period in Step 3 is crucial for preventing root rot. Here’s what nobody tells you—when you stick your finger 1 inch deep, you’re not just checking moisture, you’re also assessing temperature. The mix should feel cool but not cold. If it feels warm, your orchid needs more air circulation. I’ve ruined more orchids by watering too soon than by waiting too long.
Light and Temperature Secret: For the 12-14 hours of bright, indirect light in Step 4, I’ve had best results with LED grow lights on a timer. The 10°F nighttime drop mentioned in the instructions is non-negotiable for blooming—this mimics their natural tropical environment. A simple digital thermometer with min/max readings helps track this fluctuation perfectly.
Most orchids grown from bulbs (like Dendrobium or Cattleya) take 6–18 months to bloom, depending on the species and care. Pseudo-bulbs (stored energy) speed up growth, but patience is key! Provide bright, indirect light and consistent humidity to encourage faster flowering.
While some orchids (like Phalaenopsis) can root in water temporarily, bulbs need a well-draining medium (e.g., bark or sphagnum moss) long-term. Water-only growth risks rot and weakens the plant. Try semi-hydroponics with LECA balls if you prefer less soil.
Shriveling bulbs often signal underwatering, poor nutrition, or pests. Check roots—mushy means overwatering; dry means thirst. Feed with balanced orchid fertilizer (20-20-20) every 2–4 weeks. If bulbs turn yellow, trim dead tissue and repot in fresh medium.
Spring is ideal (March–May) when temperatures rise (65–80°F) and humidity increases. Avoid winter dormancy periods unless you’re in a tropical climate. If growing indoors, year-round planting works with stable light/heat, but spring still gives a natural growth boost.
Soaking isn’t required but can revive dehydrated bulbs. Submerge in room-temperature water for 10–15 minutes if they’re wrinkled. Skip soaking for plump, healthy bulbs—overhydration causes rot. Always let them dry slightly before planting in medium.
Growing orchids from bulbs is simpler than it seems—just patience, the right conditions, and a little TLC will reward you with stunning blooms! 🌸 Whether you’re starting with Phalaenopsis or Dendrobium, remember: light, humidity, and gentle care are your best tools for success.
Now that you’re equipped with the know-how, pick your favorite bulb and get planting! For next steps, check out our guide on orchid repotting tips to keep your new plants thriving for years. Happy growing! 🌱
