
Beautiful Plants For Your Interior
Beautiful Plants For Your Interior
That heart-sinking moment when your orchid refuses to bloom—again—is something I know too well. After watching my first Phalaenopsis sit stubbornly leafy for 18 months, I stumbled onto the exact combination of light, temperature tweaks, and feeding that finally triggered those first flower spikes. The difference between a leafy plant and one covered in blooms […]
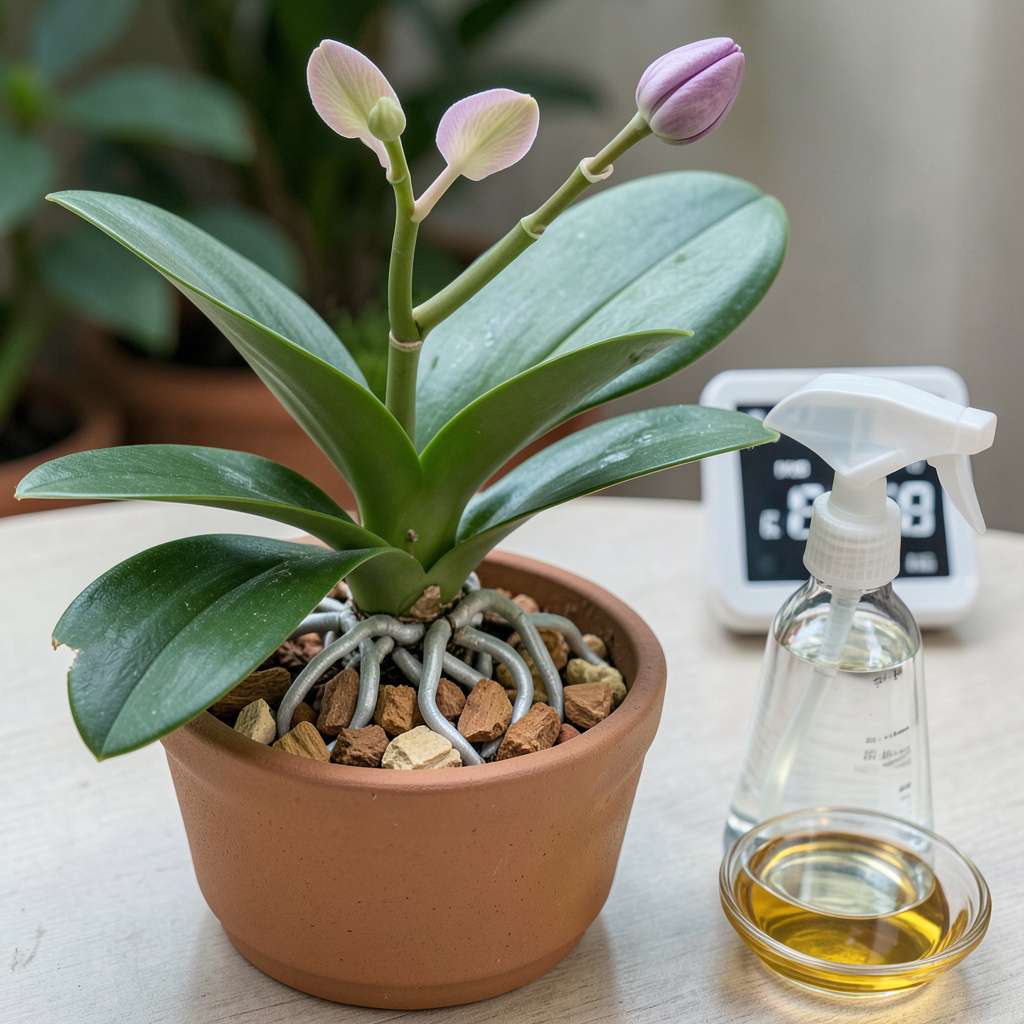
That heart-sinking moment when your orchid refuses to bloom—again—is something I know too well. After watching my first Phalaenopsis sit stubbornly leafy for 18 months, I stumbled onto the exact combination of light, temperature tweaks, and feeding that finally triggered those first flower spikes. The difference between a leafy plant and one covered in blooms often comes down to replicating what orchids experience in nature, just in your living room.
Here’s the thing—orchids aren’t being difficult on purpose. They bloom when conditions mimic their native tropical environment: bright indirect light, a 10-15°F nighttime temperature drop, and a feeding schedule that pushes energy toward flowers instead of just leaves. My collection now produces 2-3 bloom cycles annually because I finally stopped guessing and started working with their natural rhythms.
You’ll know it’s working when you spot that first tiny flower spike emerging from the stem. Within weeks, you’ll have arches of buds that unfurl into those showstopping blooms orchids are famous for. The satisfaction of seeing those first petals open—after months of what felt like babysitting a houseplant—never gets old.
This isn’t about forcing anything unnatural. It’s about giving orchids what they’ve been waiting for: the right cues at the right time. Works for Phalaenopsis, Cattleya, and Oncidium varieties alike, whether you’re growing them on a windowsill or under lights. The blooms will prove the system works.
📚 In This Guide
This method works for even the most stubborn orchids—no green thumb required, just patience and precision.
Before attempting to force blooms, examine your orchid’s health. Look for plump, green roots (silver-green when dry, bright green when wet) and firm, upright pseudobulbs. Yellowing leaves or mushy roots indicate stress—address these issues first before attempting to trigger flowering.
Check the last bloom cycle. If your orchid hasn’t flowered in over 12 months, it’s ready for intervention. Count the mature leaves—most orchids need 3-5 healthy leaves to support a flower spike. Remove any dead roots or leaves with sterile scissors to redirect energy.
The most reliable bloom trigger is exposing orchids to a 10-15°F temperature drop between day and night for 2-4 weeks. Move your plant to a cooler location (like a basement or garage) where nighttime temperatures stay between 55-65°F, while maintaining daytime temps around 75°F.
This mimics their natural tropical environment where seasonal temperature shifts signal blooming time. I use a simple digital thermometer to monitor conditions. The cooler nights stimulate the production of florigen, the hormone responsible for flower spike initiation. You’ll know it’s working when you see a small green nub emerging from the base of a leaf.
Once you spot the emerging flower spike, provide 12-14 hours of bright, indirect light daily. East-facing windows work well, or use a full-spectrum LED grow light positioned 12-18 inches above the plant. Avoid direct midday sun which can scorch leaves and stress the developing spike.
Rotate the pot quarter turn weekly to ensure even growth. The spike will grow toward the light source, so consistent rotation prevents lopsided development. Watch for the spike to elongate—this indicates successful bloom initiation. Most orchids will show visible bud development within 4-6 weeks of proper light exposure.
During spike development, water only when the top inch of bark mix feels completely dry—typically every 7-10 days. Use room-temperature water and avoid wetting the emerging spike. I bottom-water by placing the pot in a tray of water for 15-20 minutes, then allowing complete drainage.
Switch to a bloom-boosting fertilizer (10-30-20 ratio) diluted to half strength, applied every other watering. The higher phosphorus content supports flower development. Discontinue fertilizer once buds open to prevent premature dropping. Maintain 40-70% humidity around the plant—use a pebble tray if your home is dry.
As the flower spike grows, it may need support to prevent bending. Insert a bamboo stake gently beside the spike and secure it with soft plant ties, leaving room for growth. The stake should reach just below the highest bud cluster to provide support without restricting natural movement.
Monitor for bud blast (premature bud drop) caused by temperature fluctuations or ethylene gas from nearby fruit. Once the first bud shows color, you can return the orchid to its normal location. The entire process from spike initiation to full bloom typically takes 8-12 weeks, but the spectacular results last for months.
After years of experimenting with stubborn orchids, I’ve learned these key insights that make all the difference between frustration and spectacular blooms.
Temperature Precision: That 10-15°F nighttime temperature drop in Step 2 isn’t just helpful—it’s critical. I’ve found that maintaining daytime temperatures at exactly 75°F while letting nights drop to 55-65°F consistently triggers florigen production. Use a digital thermometer with min/max memory to verify your setup, as even small fluctuations can delay spike formation. The 2-4 week duration is non-negotiable; shorter periods often fail to initiate blooming.
Light Quality Control: When implementing Step 3’s 12-14 hours of light, remember that not all light sources are equal. I learned the hard way that standard LED bulbs lack the full spectrum needed for optimal spike development. Invest in a quality full-spectrum LED grow light positioned precisely 12-18 inches above the plant. The weekly quarter-turn rotation prevents phototropism (light-seeking growth) from creating lopsided spikes that may topple under bud weight.
Watering Discipline: The “top inch of bark mix completely dry” guideline in Step 4 is your best defense against root rot during spike development. I bottom-water for exactly 15-20 minutes every 7-10 days, using room-temperature water to avoid shocking the developing spike. This method prevents overwatering while ensuring thorough hydration. The bloom-boosting fertilizer at half strength every other watering provides just enough phosphorus to support bud development without burning tender new roots.
Environmental Vigilance: During the 8-12 week process from spike initiation to bloom, maintain constant vigilance against bud blast. Keep orchids away from fruit bowls (ethylene gas is invisible but deadly to buds), drafty windows, or heating vents. I lost an entire spike once by placing my orchid too close to a ripening banana. The 40-70% humidity range isn’t just ideal—it’s essential for preventing desiccation of developing buds.
Most orchids (like Phalaenopsis) take 6–12 weeks to produce a flower spike after stress triggers (e.g., temperature drops or light adjustments). Once the spike appears, buds form in 4–6 weeks. Patience is key—over-fertilizing or repotting can delay blooming!
Yes! If cool nights aren’t possible, try these alternatives:
Common culprits include:
No! While ice cubes can water orchids, they don’t trigger blooming and may shock roots. Instead, use room-temperature water and pair with a 10–15°F nighttime temp drop for 2–3 weeks. Ice can also cause root rot in sensitive varieties.
Focus on revival first! A struggling orchid (yellow leaves, mushy roots) needs:
Blooming forces energy—wait until you see new root/leaf growth before trying again.
With the right care—proper lighting, temperature shifts, and smart fertilization—your orchids will reward you with breathtaking blooms! 🌸 Remember, patience and consistency are key, but the payoff is worth it. Ready to see those stunning flowers? Start by adjusting your orchid’s environment today, and watch the magic unfold in just a few weeks!
