
Beautiful Plants For Your Interior
Beautiful Plants For Your Interior
I’ll be real with you—orchids have a reputation for being divas, but their fertilizer needs are simpler than most people think. After watching my first Phalaenopsis drop all its buds from overfeeding, I learned the hard way that less is more with these plants. The right routine turns finicky orchids into reliable bloomers that produce […]
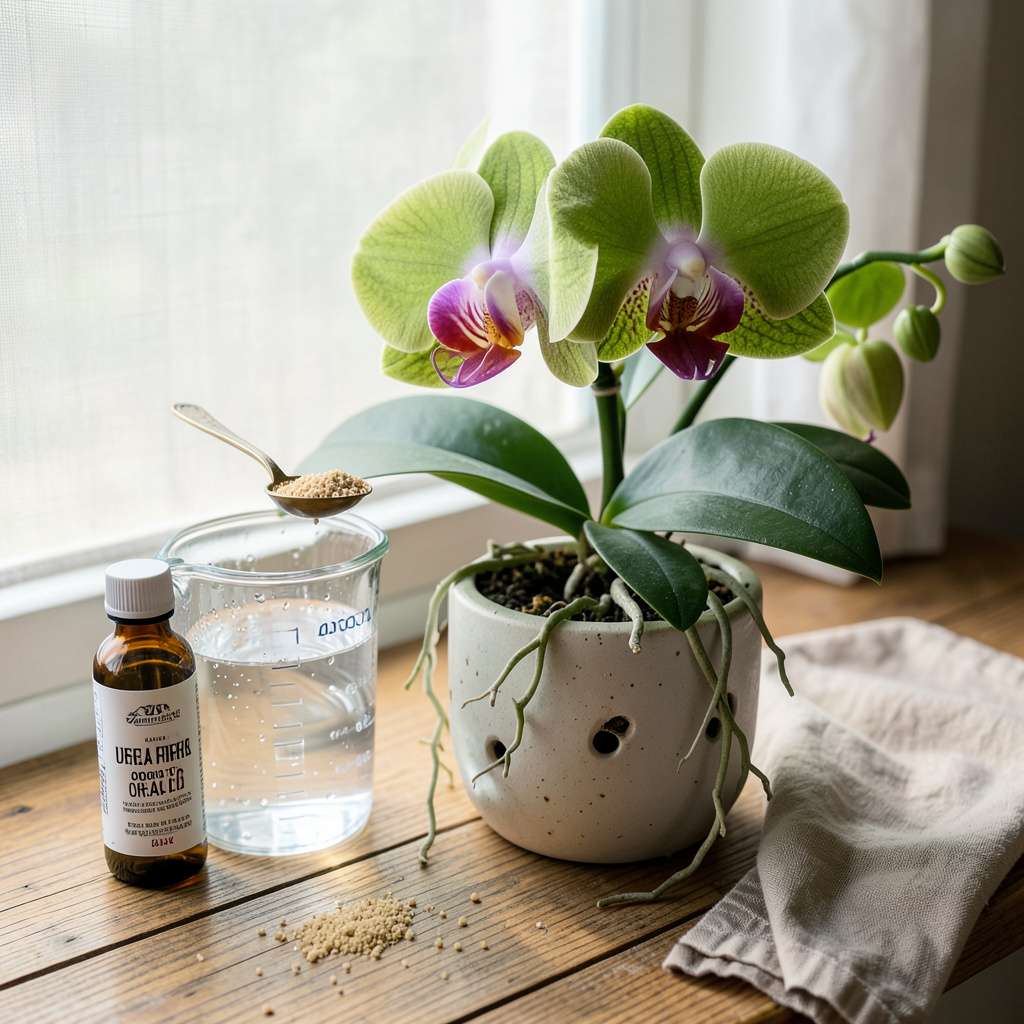
I’ll be real with you—orchids have a reputation for being divas, but their fertilizer needs are simpler than most people think. After watching my first Phalaenopsis drop all its buds from overfeeding, I learned the hard way that less is more with these plants. The right routine turns finicky orchids into reliable bloomers that produce spike after spike of those stunning flowers we all want.
The secret isn’t expensive products or complicated schedules. My orchids thrive on a basic balanced fertilizer (20-20-20 works perfectly) applied at half strength, paired with a flushing routine that prevents salt buildup. I mark my calendar for every other watering—that’s all the tracking it takes. The plants respond with darker green leaves and flower spikes that emerge like clockwork each season.
What you’ll notice first is the difference in leaf texture—they become firmer, glossier, and that deep jungle green that signals a happy plant. Then come the flower spikes, often appearing when you least expect them. My collection now blooms in rotation nearly year-round, with some plants producing three spikes on a single stem when conditions are right.
This method works for Phalaenopsis, Cattleya, and even those temperamental Dendrobiums that frustrated me for years. Whether you’re growing under lights or on a sunny windowsill, the principles stay the same. Here’s exactly how to make it work for your plants.
📚 In This Guide
This method ensures vibrant blooms without overfeeding—perfect for both novice and experienced growers.
Select a balanced, water-soluble orchid fertilizer with an N-P-K ratio of 20-20-20 or 10-10-10. I prefer urea-free formulas because they prevent salt buildup, which orchids despise. Always dilute to half-strength—full concentration burns delicate roots. For example, if the label recommends 1 tablespoon per gallon, use ½ tablespoon instead.
Check the pH level of your water first. Orchids thrive when fertilized with water between 5.5 and 6.5 pH. If your tap water is alkaline, use rainwater or distilled water to mix the solution. You’ll notice healthier root tips within weeks when the pH is correct.
Fertilize only when orchids are in active growth—typically spring through early fall. Look for new leaf or root growth as your signal to start. Water the plant thoroughly with plain water first, then apply the diluted fertilizer solution. This prevents root burn by flushing excess salts before feeding.
Use the “weakly, weekly” approach: fertilize every 7-10 days with the half-strength solution. Skip fertilization entirely during dormancy (usually winter). You’ll see darker green leaves and plumper pseudobulbs when the feeding schedule is ideal.
Pour the fertilizer solution directly onto the root zone, avoiding the crown where leaves emerge. Orchid roots absorb nutrients through their velamen layer, so ensure the solution contacts the roots evenly. I use a narrow-spout watering can for precision, circling the pot to cover all roots.
After fertilizing, observe the leaves. Yellowing tips indicate over-fertilization, while pale green leaves suggest under-fertilization. Adjust your dilution or frequency accordingly. Healthy roots should appear silver-green when dry and bright green when wet—this is your visual confirmation of proper care.
Every 4-6 weeks, flush the potting medium with 2-3 volumes of plain water to remove salt buildup. Run water through the pot for 30-60 seconds, allowing it to drain completely. This mimics the natural rainfall orchids experience in their native habitats.
You’ll know it’s working when water runs clear from the drainage holes. If the water appears cloudy or salty, repeat the flush. This step prevents root tip burn and nutrient lockout, ensuring your orchid can absorb what you provide.
As flower spikes emerge, switch to a high-phosphorus fertilizer (like 10-30-20) to encourage blooming. Reduce nitrogen at this stage—it promotes leaf growth at the expense of flowers. Apply this bloom booster every other week until the first bud opens.
Once in bloom, return to the balanced fertilizer at half-strength. You’ll be rewarded with larger, longer-lasting flowers and a plant that’s primed for the next blooming cycle. The key is consistency: orchids respond best to regular, gentle feeding rather than sporadic heavy doses.
After years of experimenting with different approaches, these are the subtle details that transform good orchid care into spectacular blooms.
Dilution Precision: The half-strength dilution in Step 1 isn’t arbitrary—it’s the difference between thriving roots and chemical burns. I measure meticulously using a kitchen scale for accuracy, especially with concentrated fertilizers. Remember that “half-strength” means exactly 50% of the label’s recommendation, not an approximate splash. This precision prevents the salt accumulation that leads to those troublesome yellow leaf tips mentioned in Step 3.
Seasonal Timing Nuance: The “spring through early fall” window in Step 2 requires careful observation of your specific orchid variety. Some tropical species may show growth signs year-round in indoor conditions, while others enter dormancy earlier. I’ve found that monitoring root activity (look for bright green tips emerging) is more reliable than calendar dates. When in doubt, it’s better to under-fertilize than risk pushing growth during natural rest periods.
Application Technique: The advice in Step 3 about avoiding the crown is critical—water pooling there causes rot faster than you’d expect. I use a turkey baster for pinpoint accuracy when applying fertilizer to the root zone, especially with mounted orchids or those in bark-heavy mixes. This ensures the velamen layer gets proper nutrient contact without saturating the entire plant. The silver-green to bright green color change in healthy roots becomes your visual feedback system.
Flushing Protocol: The 30-60 second flush in Step 4 should be vigorous enough to see water flowing freely from all drainage holes. I place my orchids in the sink and use lukewarm water to mimic natural rainfall temperature. For plants in decorative cache pots, remove them completely during flushing—standing water in the outer pot defeats the purpose. You’ll be amazed how much salt residue appears even when you think you’ve been careful with dilution.
Got questions about fertilizing your orchids? You’re not alone! Here are the most common concerns—with quick, action-packed answers to keep your plants thriving.
Most orchids thrive with weekly, weakly feeding: Use a ¼- to ½-strength balanced fertilizer (like 20-20-20) every 7–10 days during active growth (spring/summer). Cut back to monthly in fall/winter when growth slows. Over-fertilizing burns roots—less is more!
Not ideal! Orchids need lower nitrogen and micronutrients like magnesium. Choose a urea-free, orchid-specific fertilizer (e.g., 10-10-10 or 20-20-20) or a calcium/magnesium supplement. Avoid heavy salts—flush pots with water monthly to prevent buildup.
Yellowing leaves often mean fertilizer burn or salt accumulation. Stop feeding immediately, flush the pot with distilled water for 5 minutes, and trim damaged roots. Switch to a weaker dose (⅛ strength) and repot if needed.
Bark dries faster, so fertilize more frequently (weekly) but at half strength. Moss retains moisture/nutrients longer—fertilize every 2–3 weeks with a balanced mix. Always water before fertilizing to avoid root shock!
Risky! Coffee grounds may compact and suffocate roots, while eggshells (calcium) take months to break down. Stick to liquid fertilizers for precision. For organic options, try diluted fish emulsion (1 tbsp/gallon) or worm castings tea.
Fertilizing orchids doesn’t have to be complicated—just consistent, gentle, and tailored to your plant’s needs! 🌱 With the right balance of nutrients, proper timing, and a little patience, you’ll be rewarded with vibrant, long-lasting blooms that make the effort worthwhile. Remember, less is more when it comes to feeding these delicate beauties.
Now that you’re equipped with the know-how, grab your fertilizer and give your orchids the TLC they deserve! For even better results, pair your feeding routine with optimal light conditions—your orchids will thank you with a stunning display. Happy growing! 🌸
