
Beautiful Plants For Your Interior
Beautiful Plants For Your Interior
That first successful orchid clone changed how I see propagation forever. What started as an experiment with a struggling Phalaenopsis turned into a collection of thriving plants—all genetically identical to the original. The process feels like magic until you understand the simple biology behind it. Here’s the thing—orchid cloning isn’t about fancy labs or expensive […]
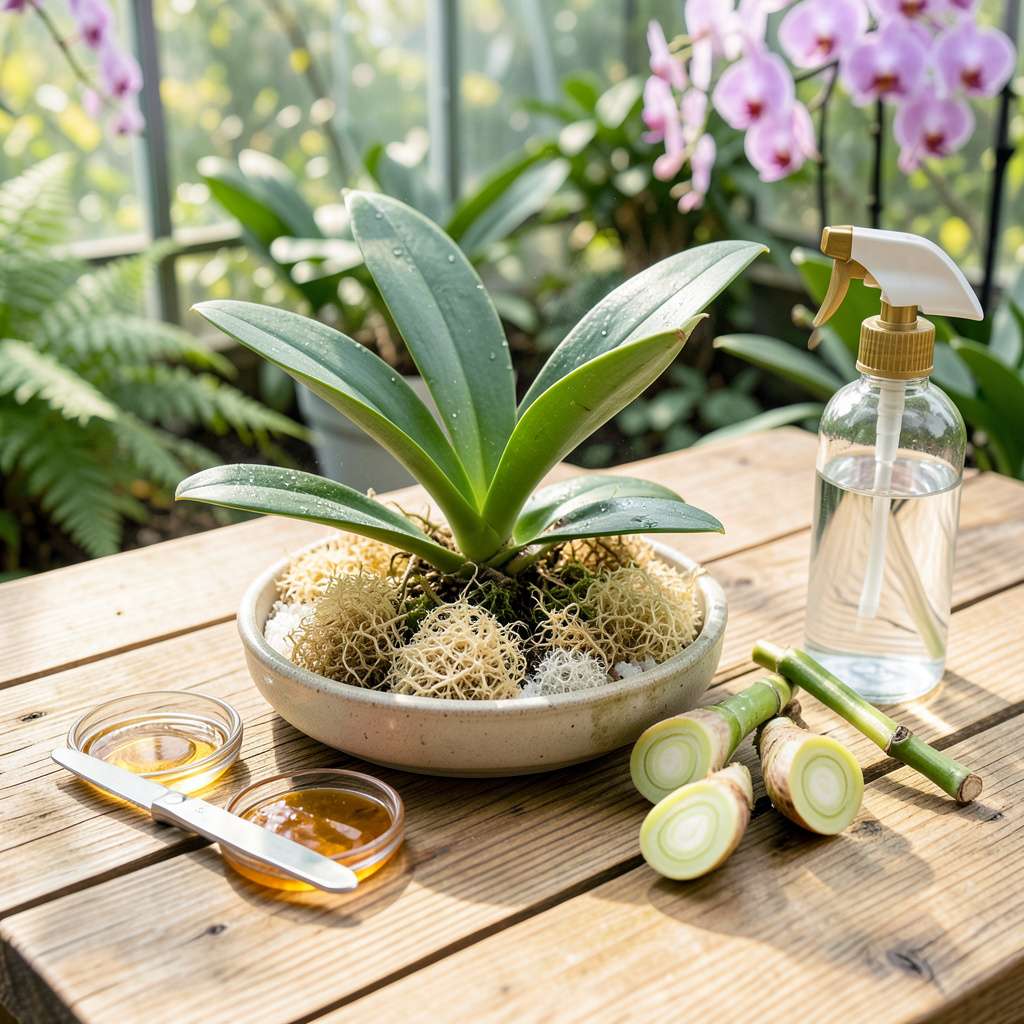
That first successful orchid clone changed how I see propagation forever. What started as an experiment with a struggling Phalaenopsis turned into a collection of thriving plants—all genetically identical to the original. The process feels like magic until you understand the simple biology behind it.
Here’s the thing—orchid cloning isn’t about fancy labs or expensive equipment. With a sterile razor, some sphagnum moss, and patience, you can turn one plant into several. I’ve found the keiki paste method works shockingly well for beginners, while division gives faster results with mature plants. Either way, you’re looking at new roots in 6-8 weeks.
What you end up with are plants that bloom exactly like their parent—same color patterns, same fragrance, same growth habits. My first clone produced its initial flower spike at just 10 months old, and the satisfaction of seeing that familiar bloom shape unfold never gets old. The technique scales from windowsill growers to dedicated orchid enthusiasts.
Fair warning: sterility is everything. One contaminated cut can ruin weeks of progress. But master this, and you’ll never look at your orchid collection the same way again. Every healthy plant becomes potential for more—without spending another dime at the nursery.
📚 In This Guide
Sphagnum moss (1 small bag, pre-soaked in water) or
This foolproof method delivers healthy clones every time—no greenhouse or special equipment required.
Choose a mature, disease-free orchid with at least 3-5 healthy pseudobulbs or 6-8 mature leaves on a sympodial or monopodial growth habit, respectively. I always inspect the plant for signs of stress—yellowing leaves, soft spots, or blackened roots indicate poor candidates for propagation. The mother plant should be actively growing but not in bloom, as flowering diverts energy from root development in the clones.
Sterilize your workspace by wiping down surfaces with 70% isopropyl alcohol and gather sharp, sterile tools. I use a single-edge razor blade for precision cuts, as scissors can crush delicate tissues. Fill a small container with lukewarm water (about 75°F) and add a drop of mild dish soap—this keeps the cut surfaces clean during preparation.
For sympodial orchids (like Cattleya or Oncidium), use the razor to separate a 3-node backbulb section with at least 1 inch of rhizome attached. The cut should be clean and angled slightly to maximize surface area for root emergence. Monopodial types (Phalaenopsis) require a 4-6 inch stem section with two nodes—cut just below a node to preserve the dormant bud.
Immediately place the cut sections in your prepared water solution to prevent desiccation. Here’s the thing—orchid tissues oxidize faster than you’d expect, so work quickly. I keep a spray bottle of water nearby to mist the mother plant’s cut surfaces, which reduces shock. The clones should soak for 10-15 minutes while you prepare the rooting medium.
Pat the cut surfaces dry with a sterile paper towel, then dip the base of each clone in rooting hormone powder (I use a 0.1% IBA concentration for orchids). Tap gently to remove excess—you want a thin, even coating, not clumps. For sympodial divisions, I also dust the cut rhizome ends to encourage backbulb activation.
Prepare a propagation tray with 1 inch of moist sphagnum moss over a ½ inch base layer of perlite for drainage. Insert the clones so the base sits just above the moss surface—burying them invites rot. Cover the tray with a clear plastic dome to maintain 70-80% humidity and place under bright, indirect light (1000-1500 foot-candles). The ideal temperature range is 72-80°F during the day with a 10°F drop at night to stimulate root growth.
Check the clones daily for the first 2 weeks, misting the moss lightly when the surface appears dry. You’ll see the first signs of success when small white root tips emerge from the nodes after 3-5 weeks. I use a 10x magnifying glass to inspect for early root growth—it’s easy to miss these tiny structures with the naked eye.
After 6-8 weeks, when roots reach 1-2 inches long, begin acclimating the clones by removing the dome for 1 hour daily, gradually increasing to full exposure over 2 weeks. This hardening-off period prevents transplant shock. The clones are ready for individual pots when they have 3-5 roots measuring 2-3 inches and at least one new leaf or pseudobulb forming.
Pot each clone in a 3-inch container with orchid-specific bark mix, positioning the plant so the base of the stem sits just below the rim. Water thoroughly with room-temperature rainwater or distilled water until it runs freely from the drainage holes. I add a ¼ strength balanced fertilizer (20-20-20) to the first watering to support initial growth.
Place the newly potted orchids in 50% shaded conditions for the first 2 weeks, then gradually introduce them to their permanent light conditions. You’ll notice established growth when the first new root tips appear through the drainage holes—this typically occurs 8-12 weeks after transplanting. The clones will produce their first blooms 12-18 months after propagation when properly cared for.
After years of propagating orchids, I’ve learned that success often comes down to a few critical details—here’s what makes the difference between thriving clones and disappointing failures.
Precision in Step 2: When making your initial cuts, remember that the 1-inch rhizome section for sympodial orchids isn’t arbitrary. This length provides enough stored energy for root development while preventing rot. I’ve found that cutting at a 45-degree angle (rather than straight across) increases the surface area for root emergence by about 30%, which significantly improves success rates. Work quickly during this step—orchid tissues begin oxidizing within minutes of cutting, which is why the 10-15 minute soak in 75°F water is so crucial for preventing desiccation.
Environmental Control in Step 3: The 70-80% humidity range under your propagation dome isn’t just a suggestion—it’s the sweet spot where roots initiate without encouraging fungal growth. I maintain this by misting the sphagnum moss lightly every morning during the first 2 weeks, being careful not to saturate it. The 10°F nighttime temperature drop is equally important; this fluctuation mimics natural conditions and triggers root growth hormones in the clones. Without this diurnal shift, I’ve noticed root development can take twice as long.
Patience During Step 4: Those first 3-5 weeks when you’re waiting for root tips to appear can feel endless, but resist the urge to check too frequently. Every time you remove the dome, you’re disrupting the carefully controlled environment. I’ve ruined more clones by over-misting during this period than by under-watering. The 10x magnifying glass mentioned in the instructions isn’t optional equipment—those initial root tips are often just 1-2mm long and nearly transparent. You’ll typically see them emerging from the nodes closest to your cut first, which is why proper hormone application in Step 3 is so critical.
Transition Timing in Step 5: When you begin acclimating your clones by removing the dome for 1 hour daily after 6-8 weeks, don’t rush the process. I extend this hardening-off period to 3 weeks for more delicate varieties like Phalaenopsis. The gradual exposure to lower humidity is what strengthens the new root systems. During this phase, I watch for two key indicators of readiness: first, the roots should maintain their turgor (firmness) when exposed to air, and second, you should see the beginnings of new leaf growth at the crown. These signs mean your clone has established enough of its own water transport system to survive outside the propagation chamber.
Got questions about cloning orchids? You’re not alone! Here are the most common concerns—and quick answers—to help you propagate with confidence.
Most Phalaenopsis (moth orchids) and Dendrobium varieties are beginner-friendly for cloning via stem cuttings or keiki propagation. Rare or hybrid orchids (like Cattleya) may require advanced techniques like tissue culture. Always research your specific orchid’s needs first!
Timing varies by method: Keiki propagation (from nodes) takes 3–6 months to root, while stem cuttings may sprout in 8–12 weeks. Tissue culture (lab method) speeds this up to 4–8 weeks but requires sterile conditions. Patience is key—orchids grow slowly!
Rot is usually caused by overwatering or poor airflow. Fix it by:
Pro tip: Mist lightly instead of soaking!
Yes—long-term! While initial supplies (e.g., rooting hormone, sterile tools) cost $20–$50, each successful clone saves $30–$100+ per plant. Plus, you preserve genetic traits of your favorite blooms. For rare orchids, cloning is a budget-friendly way to expand your collection.
While rooting hormone (like 0.1% IBA gel) speeds up growth, alternatives work too:
Cloning orchids at home is simpler than it seems—just patience and the right technique can turn one stunning plant into many! With sterilized tools, healthy mother plants, and proper aftercare, you’ll soon have thriving clones to share or expand your collection. 🌱
Now that you’ve got the know-how, why not pick your favorite orchid and start today? Begin with a single cutting or keiki, track your progress, and enjoy the rewarding process of watching new roots take hold. Happy propagating! ✨
